Cleaning Pavers With a Power Washer: My Seminole County Protocol to Eliminate Algae Regrowth
After restoring countless paver driveways and pool decks in Lake Mary and Sanford, I’ve pinpointed the single most critical failure in DIY power washing: an over-reliance on pressure and a complete misunderstanding of our unique Seminole County climate. The intense humidity and shade from our oak trees create a perfect breeding ground for black mold and algae, which can’t be permanently solved with high PSI alone. Blasting the surface not only fails to kill the organic spores but also damages the paver's cream layer and blows out the essential jointing sand, leading to paver shifting and a faster return of grime. My approach is built on a chemical-first, pressure-second philosophy that protects the paver integrity and extends the clean look by up to 50%. This isn't just about making pavers look clean for a month; it's about systematically treating the root cause of the staining, a lesson I learned the hard way after a callback on a large property in Heathrow. I realized the high-pressure method was just giving the algae a haircut, not removing it.My Pre-Wash Diagnostic for Seminole County's Unique Paver Challenges
Before a single drop of water is sprayed, I perform a mandatory three-point assessment on every project, whether it's a small walkway in Longwood or an expansive lanai in Altamonte Springs. This diagnostic is crucial because a one-size-fits-all approach is what leads to irreversible paver etching and discoloration. I’ve seen beautiful travertine pool decks permanently scarred by contractors who skipped this step. My proprietary methodology focuses on identifying the paver type, stain source, and joint stability. Concrete pavers, common in many HOA communities here, can handle a different treatment than the more delicate travertine or older brick pavers found in historic Sanford. I categorize stains into organic (algae, mold, mildew), inorganic (rust from irrigation), and petroleum-based (oil leaks). Each requires a completely different chemical pre-treatment and pressure setting. Finally, I inspect the polymeric sand in the joints. If it's cracked or missing, power washing without a plan to replace it will destabilize the entire surface.Calibrating PSI and Nozzle Selection for Florida's Porous Pavers
This is where most DIY efforts and inexperienced operators go wrong. The goal is to clean, not to erode. Based on my field data from hundreds of Seminole County jobs, I have a strict pressure ceiling. For most residential concrete and brick pavers, I never exceed 1,600 PSI. For softer materials like travertine, I often dial it down to 1,200 PSI. The real workhorse isn't the pressure; it's the combination of the right cleaning solution and the right nozzle. My standard setup involves two key nozzles:- 40-degree (white) nozzle: This is my primary tool. It provides a wide, fan-like spray that is gentle enough for general surface cleaning without aggressively stripping the surface or joint sand. I use this for the main washing and rinsing phases.
- 25-degree (green) nozzle: I use this with extreme caution and only for targeted treatment of deeply embedded organic stains or specific oil spots after the pre-treatment has dwelled. Holding it too close will absolutely cause damage.
The 5-Step Paver Restoration Process I Use from Altamonte to Oviedo
Here is my exact, field-tested implementation process. Following this order of operations is non-negotiable for achieving a professional, lasting result that respects the investment you've made in your hardscaping.- Site Preparation and Pre-Soak: I first remove all furniture, planters, and vehicles. Then, using a regular garden hose, I thoroughly saturate the pavers and all surrounding vegetation. This pre-soak prevents the cleaning solutions from drying out too quickly under the Florida sun and protects your grass and plants from chemical burn.
- Chemical Pre-Treatment Application: This is the most vital step. I apply a professional-grade sodium hypochlorite-based algaecide at a specific dilution ratio tailored to the level of organic growth. I let this solution dwell for 10-15 minutes, but never long enough to dry. You can physically see it working as the black and green stains begin to fade to brown.
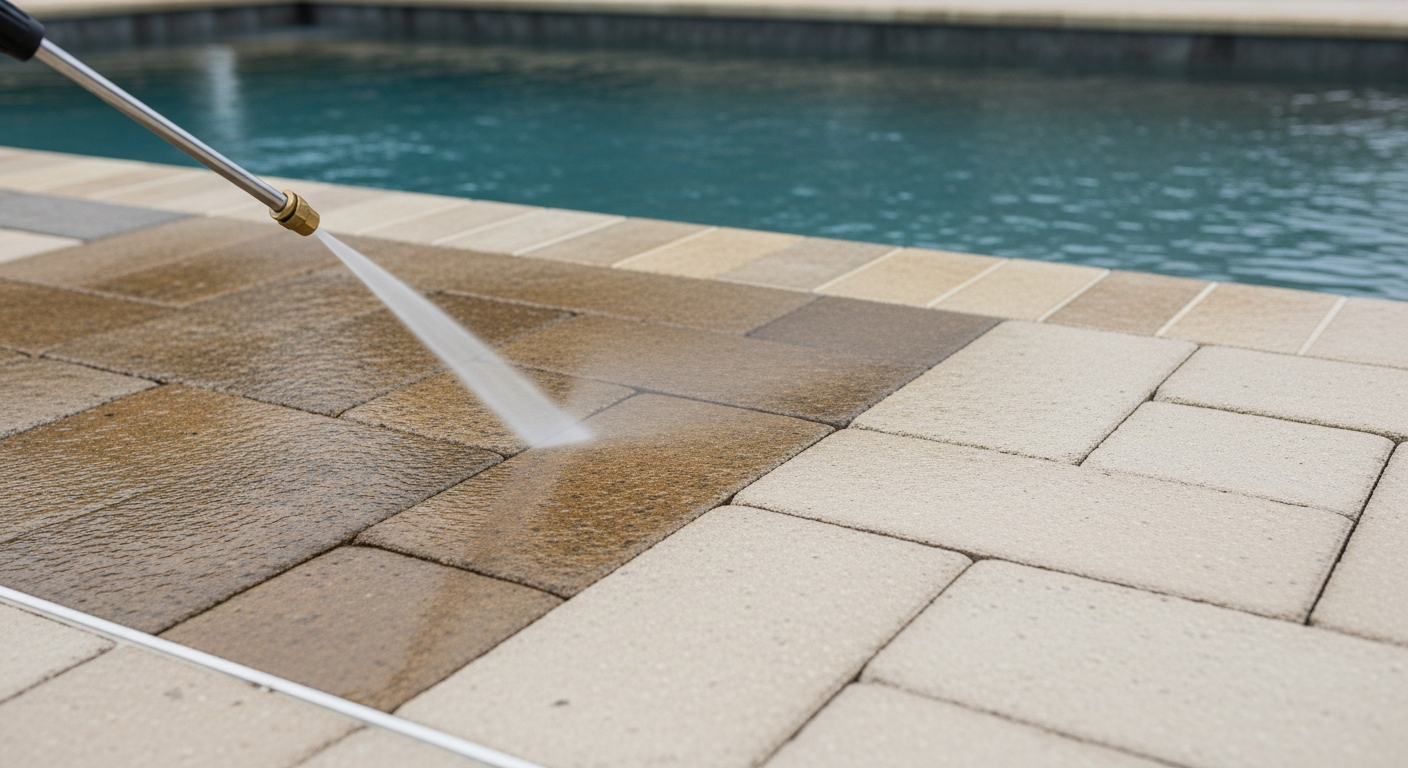
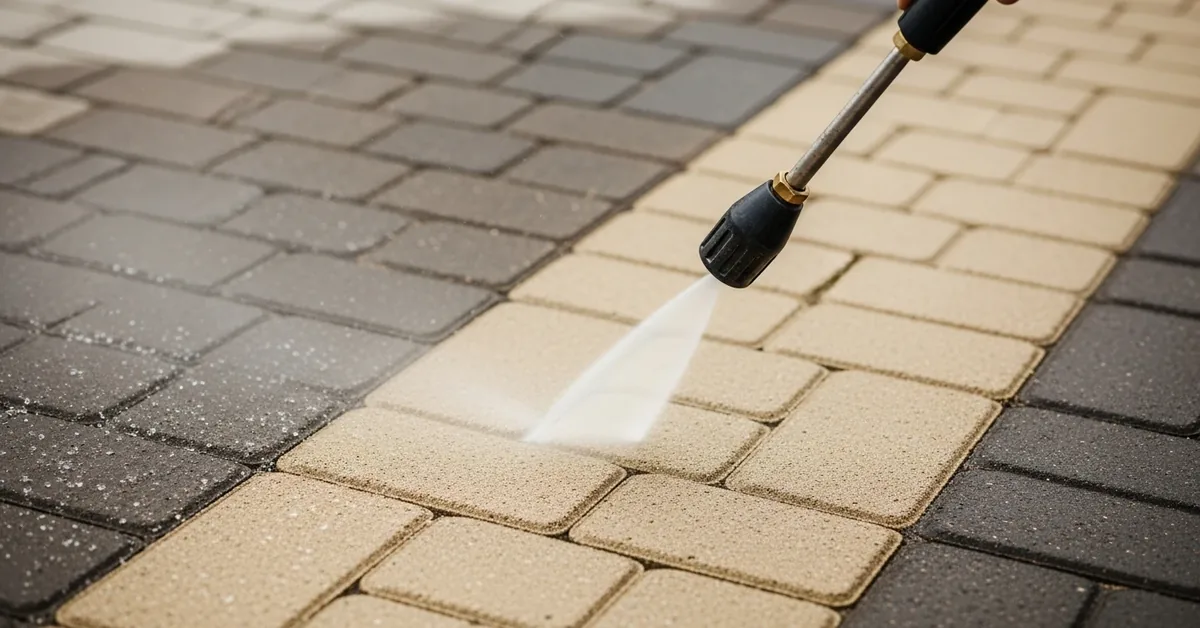
- The Surface Cleaning Pass: With the pre-treatment having done the heavy lifting, I begin the pressure washing. I work in systematic, overlapping passes, keeping the nozzle tip a consistent 10-12 inches from the surface. My pattern is methodical, like mowing a lawn, to avoid streaking and "zebra stripes," an amateur mistake I see all the time.
- Detailed Rinsing: After the initial cleaning pass, I switch to my lowest pressure setting or a wide nozzle to thoroughly rinse the entire surface. I always work from the highest point downwards, pushing all the dislodged dirt, debris, and cleaning solution away from the house and into a designated drainage area.
- Post-Wash Inspection and Sanding Prep: Once clean, I do a final walk-through to identify any areas that need touch-ups. Most importantly, I assess the paver joints. In at least 80% of cases, some joint sand will have been displaced. The pavers must be allowed to become 100% bone dry before moving to the next critical phase. I often use a leaf blower to speed this up, especially during our humid summer months.
Post-Wash Protocol: Re-Sanding and Sealing for Longevity
A clean paver surface with empty joints is an open invitation for weeds, ants, and water intrusion, which leads to paver shifting. This is why I consider re-sanding a mandatory part of a complete restoration. I exclusively use a high-quality polymeric sand. I sweep it into the dry joints, ensuring they are completely filled. Then, I lightly mist the area with water to activate the polymers, which hardens the sand into a firm, durable grout. The final step for maximum ROI and protection is applying a penetrating sealer. After the polymeric sand has cured for at least 24 hours, I apply two thin coats of a quality solvent-based or water-based sealer. This not only enhances the color but provides a protective barrier against UV rays, oil stains, and, most critically in Seminole County, it inhibits the regrowth of algae and mildew, dramatically extending the life of the cleaning job. Now that you understand my professional process, what's your plan for adjusting your chemical dwell time when the surface temperature of your Sanford driveway exceeds 95°F in direct sunlight?Written by

Tags
cleaning patio brick pavers
pressure washer pavers
power wash paving stones
patio paver cleaner
outdoor paver cleaner
Cleaning Pavers With Power Washer in Seminole FL FAQ
What's the right pressure setting to use on my power washer so I don't damage the pavers around my pool?
Use a pressure setting between 1,200 and 1,600 PSI to effectively clean pavers without causing surface damage. Exceeding this range, especially with a narrow-tipped nozzle, can etch the paver surface, creating permanent marks and making them more susceptible to future staining. Start with a lower pressure and a wider fan tip, like a 25-degree (green) or 40-degree (white) nozzle, testing on an inconspicuous area first. The goal is to remove grime, not the top layer of the paver itself, which is a common and costly DIY mistake.
Will power washing blast out the sand between my pavers, and what should I do about it?
Yes, power washing will inevitably remove a significant amount of the jointing sand, which is critical for locking the pavers in place. After the pavers are completely clean and dry, you must sweep new polymeric sand into the joints to stabilize the entire surface. Skipping this step allows pavers to shift and wobble, leading to an uneven deck and trip hazards. The new sand, when lightly misted with water, hardens to form a durable bond that also helps prevent weed growth.
How do I prevent dirty water and cleaning chemicals from getting into my pool?
Always direct your spray pattern away from the pool edge, working from the pool outwards towards the yard or drains. Before starting, you can slightly overfill the pool so that water flows out of the skimmers, creating an outward current that pushes debris away. If using a chemical cleaner, ensure it is specifically rated as safe for pool areas; runoff from general-purpose cleaners can introduce phosphates that fuel algae blooms or metals that stain your pool's surface, forcing you to rebalance a water chemistry with a pH level that has been thrown out of the safe 7.2 to 7.6 range.
Can I use the power washer to remove those stubborn black spots on my pavers?
A power washer alone may not remove embedded organic stains like black algae or lichen, which can root into the porous surface. For these, you will need to pre-treat the area with a paver-safe algaecide or a diluted bleach solution, allowing it to dwell before washing. A common mistake is using a high-pressure, zero-degree (red) nozzle to blast these spots, which is extremely dangerous and almost certain to permanently scar the paver. The right approach is chemical treatment followed by washing with an appropriate fan tip.
What's the most common mistake people make when power washing their own pool deck?
The most damaging mistake is inconsistent technique, creating visible lines and unevenly cleaned patches called 'zebra striping'. This happens from holding the nozzle too close to the surface, moving at an inconsistent speed, or stopping and starting in the middle of a paver. To avoid this, maintain a constant distance of 20 to 30 cm (8 to 12 inches) between the nozzle and the paver. Work in long, sweeping, slightly overlapping motions to ensure a uniform finish across the entire deck.
Do I need to seal my pavers after I'm done power washing them?
Sealing your pavers after cleaning and re-sanding is highly recommended to protect your investment and simplify future maintenance. A quality sealer will protect against stains from spills, inhibit weed and algae growth, and prevent the color from fading due to UV exposure. Critically, you must wait at least 24 to 48 hours after washing for the pavers and the new jointing sand to be bone-dry before applying a sealer. Applying sealer to a damp surface will trap moisture, resulting in a cloudy, white haze that is very difficult to remove.