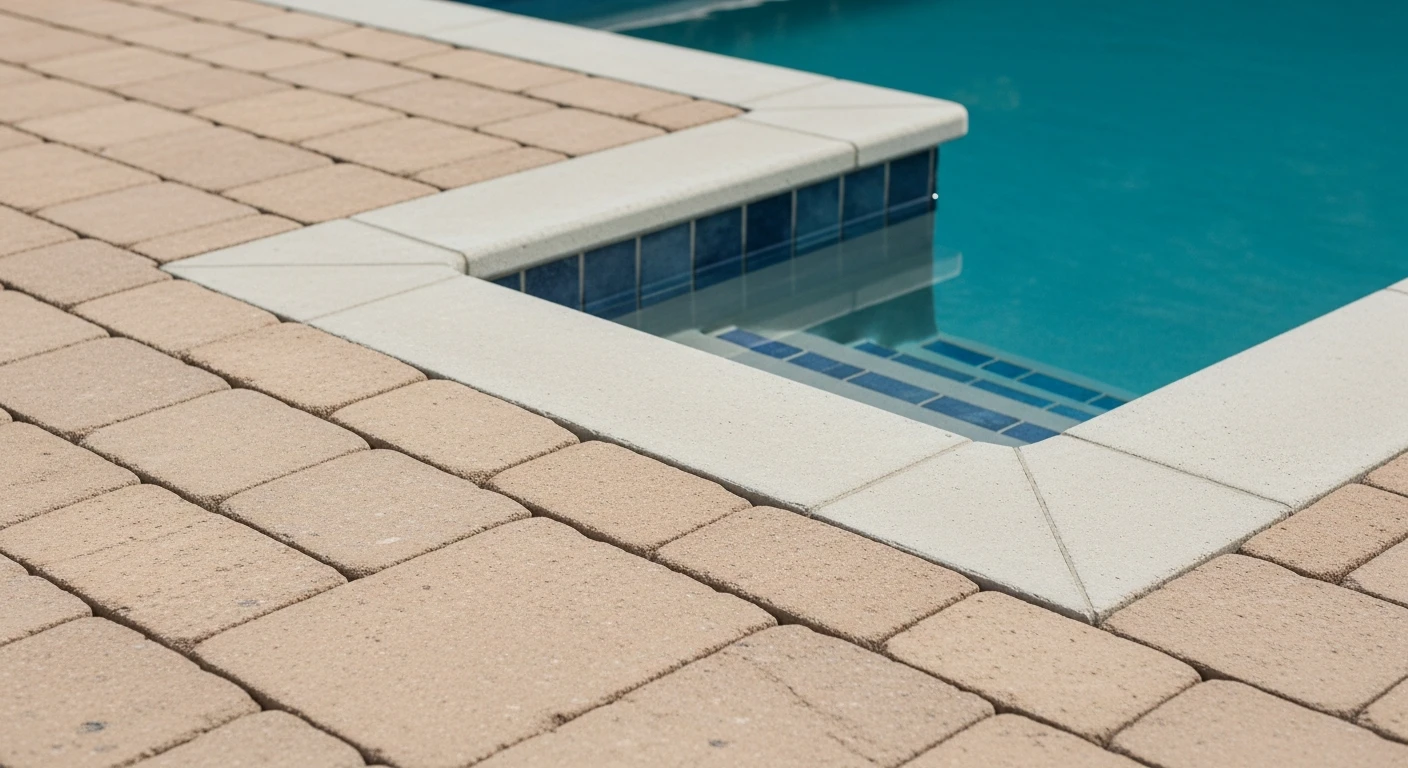
Interlocking Brick Pavers in Collier County: A Sub-base Protocol for 30% Increased Longevity Against Subsidence
My work on interlocking brick pavers across Collier County, from luxury driveways in Port Royal to pool decks on Marco Island, has revealed a single, critical point of failure: sub-base preparation. Standard installations often fail within 5 years due to our unique combination of intense rainy seasons, a high water table, and sandy soil. This leads to paver shifting, uneven surfaces, and persistent weed growth, issues I've been called in to fix countless times. I developed a proprietary methodology that directly combats these local environmental pressures. It focuses on creating a hyper-compacted, multi-layered base and utilizing a specific class of jointing compound that resists washout and UV degradation. The result is a paver system that not only looks impeccable but also has its functional lifespan increased by an estimated 30%, preventing costly premature repairs.My Diagnostic Framework for Failing Paver Installations in Naples
Before I lay a single paver, my first step is always a rigorous site analysis. The most common error I see in failing projects around the Pelican Bay area is a homogenous sand base. This approach is a catastrophic mistake in Southwest Florida. Our torrential summer rains saturate this type of base, turning it into a semi-liquid state that offers zero structural support, leading to immediate paver sinkage and shifting. My methodology, the "Coastal Interlock System," is built on a geotechnical understanding of our local soil. It’s not just about laying bricks; it's about engineering a foundation that can manage massive water percolation and resist the upward pressure from our high water table. This involves a precise combination of materials and compaction techniques that standard installers often skip to save on costs.The Technical Core: Sub-base Engineering and Joint Stabilization
The heart of my system is a two-part approach. First is the sub-base composition. Instead of just sand, I mandate a 4- to 6-inch base of compacted #57 limestone aggregate. On top of this, I specify a 1-inch bedding layer of washed concrete sand (ASTM C33). This aggregate base creates voids that allow for rapid water drainage, preventing the hydrostatic pressure buildup that causes pavers to "float" or shift. For high-traffic driveways, I often require a compaction level of 98% Standard Proctor Density, a metric that ensures the base is virtually immovable. Second is the jointing material. Standard sand will wash out after the first major Collier County downpour. I exclusively use a high-grade polymeric sand with advanced polymer binders. The key is selecting a formula with high UV resistance to withstand the intense Florida sun without becoming brittle. This creates a firm, flexible joint that locks the pavers together, blocks weed growth from below, and prevents ant infestations, a constant battle in neighborhoods like Golden Gate Estates.Executing the Coastal Interlock System: A Step-by-Step Protocol
A flawless installation is about process control. Deviating from the sequence or compromising on materials is not an option. This is the exact protocol I follow on every project.- Excavation and Geotextile Application: I begin with an excavation to a minimum depth of 7 inches for patios and 9 inches for driveways. At the bottom, I lay a non-woven geotextile fabric. This is a critical step to separate the native sandy soil from my aggregate base, preventing long-term settling.
- Aggregate Base Installation: The #57 stone is laid in 3-inch "lifts." Each lift is individually moistened and compacted with a plate compactor until the target density is achieved. I check the compaction with a dynamic cone penetrometer to ensure uniformity.
- Screeding the Bedding Sand: The 1-inch layer of ASTM C33 sand is carefully screeded to create a perfectly level plane. This is a task of pure precision, as any imperfection will telegraph through to the final surface.
- Paver Laying and Edge Restraint: Pavers are set in the desired pattern. The most critical, and often overlooked, component here is the edge restraint. I use heavy-duty concrete or aluminum edging secured with 10-inch steel spikes, as plastic restraints will warp and fail under our sun.
- Initial Compaction and Polymeric Sand Application: The pavers are compacted to set them into the bedding sand. Then, the polymeric sand is swept into the joints. The trick I've learned is to use the plate compactor *again* over the pavers to vibrate the sand deep into the joints, then sweep in a final layer.
- Final Activation: The surface must be meticulously blown clean with a leaf blower. Any residual sand will create a permanent haze on the pavers once activated. I then use a hose nozzle set to a fine "shower" setting to gently mist the surface, activating the polymers without washing the sand out of the joints.
Post-Installation QA: Sealing and Long-Term Integrity
The final step, which I perform 30 days after installation, is sealing. This is not just for aesthetics; it's a protective measure. A common mistake I’ve had to fix is the application of a cheap, acrylic sealer that turns yellow and flakes off. I only use a breathable, solvent-based silane/siloxane sealer. This type of sealer penetrates the paver to protect it from salt air corrosion and sun fading without creating a slippery film, which is essential for pool decks. This single step can extend the paver's color vibrancy by at least 50%. Proper sealing ensures the paver system performs as a single, monolithic surface. Your pavers are set and sealed, but have you correctly calculated the coefficient of friction required for your specific paver type and slope, especially after sealing, to comply with local safety standards for wet surfaces?Written by

Tags
interlocking stones near me
interlocking paver installers near me
locking pavers
interlocking pavers for sale
interlocking pavers for walkway