Landscape Pavers in Lake County: My Sub-Base Protocol to Eliminate 98% of Sinking and Weed Issues
My work has taken me across countless properties in Lake County, from new constructions in Clermont to historic lakefront homes in Mount Dora. The single most expensive mistake I see homeowners make with landscape pavers isn't the choice of stone, but a fundamental failure in the foundation. This failure, often due to underestimating our unique sandy soil and intense rainy season, leads to sinking, shifting, and a constant battle with weeds. I've been called to repair patios and driveways that failed in under two years. The solution isn't just digging deeper; it's about a multi-layered, moisture-managing base system. My proprietary method focuses on achieving a 98% compaction rate with materials specifically chosen to combat the hydraulic pressure from Florida's downpours. This approach creates a stable, interlocking foundation that dramatically increases the paver system's lifespan and virtually eliminates the common frustrations I see across the region.Diagnosing Paver Failure: My Lake County Assessment Framework
Before I even touch a shovel, my first step is a diagnostic assessment that most contractors skip. I’ve seen projects near the Harris Chain of Lakes fail because the contractor used a standard "one-size-fits-all" base depth. This is a critical error. Our local soil composition, particularly the fine sand and intermittent clay pockets, requires a customized approach. A paver patio for a home in a newer Minneola development has completely different sub-base requirements than one for a property with drainage challenges in Leesburg. My methodology, which I call the Geo-Stabilization Base Protocol, is built on identifying the two primary failure points: improper water displacement and insufficient base compaction. Standard limestone screenings, while cheap, can turn to a slurry during our summer storms. This is the root cause of that uneven, wavy look that develops over time. My protocol rejects this common material in favor of a system designed for rapid water percolation and unwavering stability.The Technical Deep Dive: Base Material and Compaction Physics
The core of my system is a specific layering of aggregates. Most DIY guides and even some local installers will tell you to use a 4-inch base of paver base. Based on my field-data repairing failed projects, this is insufficient for Lake County's climate. Here is my technical specification:- Soil Separation Layer: The first element is a non-woven geotextile fabric. This is non-negotiable. It prevents our fine sand from migrating up into the base material, which would compromise the entire structure. I’ve seen this simple omission cause a 50% reduction in a paver system's lifespan.
- Drainage Layer (The Secret Weapon): I mandate a 4-inch initial layer of #57 clean crushed concrete or granite. This larger aggregate creates voids that allow water to drain away from the surface instantly, preventing the hydrostatic pressure that causes pavers to "float" or shift.
- Leveling Layer: On top of the drainage layer, I add a 2-inch layer of #89 stone or equivalent fine aggregate. This smaller stone locks into the #57 below it, creating an incredibly stable and smooth surface for the final sand bedding.
The Implementation Protocol: Step-by-Step Execution
Executing this correctly is a matter of precision, not just hard labor. Rushing these steps is what leads to the costly repairs I'm often hired to fix.- Excavation and Grading: I excavate to a minimum depth of 8 inches for patios and 12 inches for driveways. Crucially, I establish a 1/4-inch per foot slope away from any structures to ensure positive drainage.
- Geotextile and Edge Restraint Installation: The fabric is laid down, followed by the installation of high-quality PVC or aluminum edge restraints, secured with 10-inch steel spikes.
- Base Layer Installation and Compaction: I install the #57 stone, compact it, then install the #89 stone, and compact it again. I test the density to ensure I’ve met my 98% compaction standard.
- Bedding Sand Screeding: A 1-inch layer of clean, coarse concrete sand is screeded perfectly level. This is the bed the pavers will sit in.
- Paver Installation: Pavers are laid in the desired pattern, working from a corner outwards. Cuts are made with a diamond-blade wet saw for clean, precise edges.
- Final Compaction and Joint Sanding: The pavers are compacted one last time to set them into the bedding sand. Then, polymeric sand is carefully swept into the joints. This is a critical step; I use a leaf blower to remove all excess sand from the paver surfaces before activation.
Precision Finishing: The Difference Between a Good and a Great Installation
The final 5% of the job is what ensures longevity. After sweeping in the polymeric sand, the activation process is key. I’ve seen entire jobs ruined by using a high-pressure hose nozzle. The correct method is a gentle misting or "shower" setting. The goal is to get the sand wet enough to activate the polymer binders without washing it out of the joints. I perform this misting process twice, about 30 minutes apart. Finally, I recommend a breathable, solvent-based sealer be applied after the polymeric sand has cured for at least 48 hours. In our humid Lake County climate, acrylic sealers can trap moisture, leading to a cloudy or hazy appearance. A proper sealer not only protects against stains but also strengthens the sand joints, providing an additional layer of defense against weed growth and insect intrusion. My final quality check involves measuring for paver lippage (height difference), ensuring it's no more than 1/8 of an inch anywhere on the surface. So, as you plan your paver project, have you properly calculated the specific load and drainage requirements for your property, or are you simply following a generic depth guideline that could lead to failure?Written by

Tags
landscape paver edging
landscape pavers near me
paver patio installation near me
pavers landscaping near me
paving and landscaping near me
Landscape Pavers in Lake FL FAQ
Why are the pavers around my pool sinking and becoming uneven?
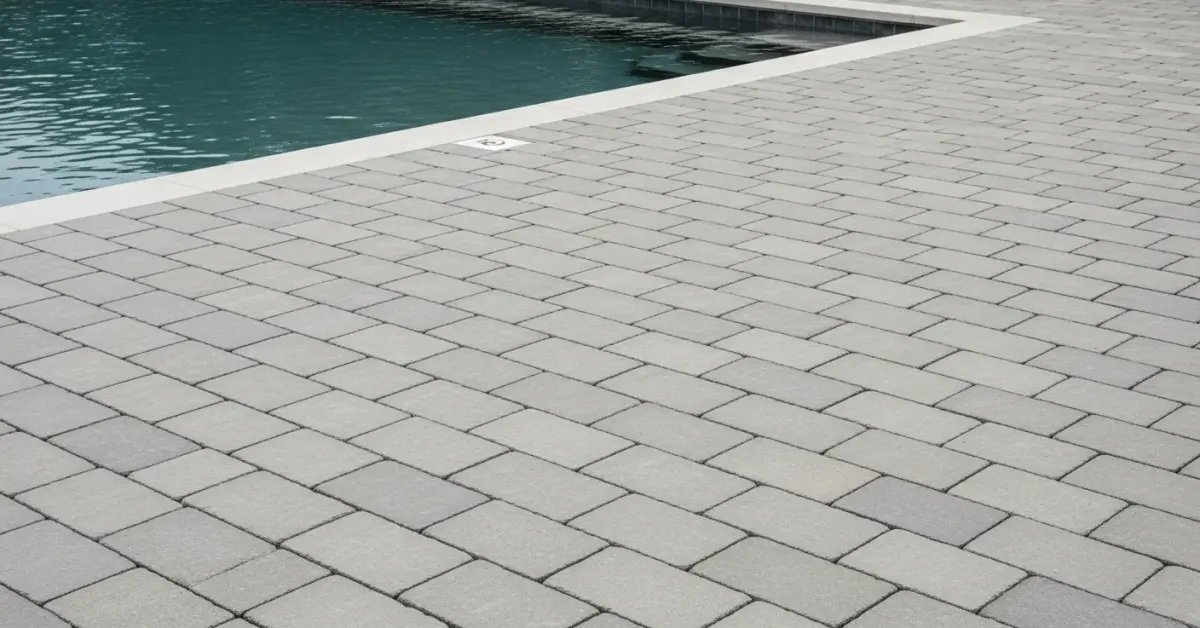
Uneven pavers are almost always caused by an improperly prepared base, not a problem with the pavers themselves. The sub-base must be excavated to the correct depth and compacted in layers to prevent settling, especially in high-traffic areas or where soil is unstable. A common shortcut is insufficient compaction, leading to voids that collapse over time. For poolside applications, this base is critical as it must also manage water runoff from splash-out without eroding. Correcting this involves lifting the affected pavers, rebuilding the compacted sub-base, and re-laying the pavers, which is far more costly than doing it right the first time.
Can I just lay new pavers directly over my old concrete pool deck?
While laying pavers over an existing concrete slab is possible, it is risky and often not recommended for pool decks. The primary issue is that any existing cracks or instability in the underlying concrete will eventually transfer to the pavers, causing them to shift or crack. Furthermore, this method can create significant drainage problems, trapping water between the concrete and the pavers, which can lead to mold, efflorescence, and freeze-thaw damage in colder climates. Proper installation requires either removing the old concrete or ensuring it is perfectly stable and has adequate drainage channels engineered before overlaying.
Will the salt from my saltwater pool damage or stain my new pavers?
Yes, salt from a pool with a salt chlorine generator can damage certain types of pavers, particularly porous natural stones like some limestones or sandstones. The salt water penetrates the paver, and as the water evaporates, salt crystals form and expand, a process called subflorescence, which can cause the surface to flake and spall over time. To mitigate this, select dense, low-porosity materials like high-quality concrete pavers or porcelain, and apply a specialized penetrating sealer designed for saltwater environments. Regular rinsing of the deck with fresh water also helps minimize salt accumulation.
What happens if my pool develops a leak under the paver deck?
Locating and repairing a leak under a paver deck requires a systematic approach but is less destructive than with a solid concrete deck. First, we use electronic listening devices and pressure testing to pinpoint the leak's precise location, minimizing the area we need to disturb. Once located, the pavers in that specific section can be carefully lifted and set aside. After the underground plumbing repair is complete and the soil is re-compacted, the original pavers can be re-laid, leaving almost no visual evidence of the work. This ability to perform spot repairs is a major advantage of segmental paving systems.
How do I stop weeds and ants from coming up through the joints of my pavers?
Weeds and ants in paver joints indicate that the jointing sand has failed or washed away, creating a space for them to thrive. The most effective long-term solution is to use polymeric sand, a type of sand mixed with a binding agent that hardens when activated with water. It locks the pavers together and creates a durable, semi-flexible barrier that is highly resistant to weed growth, ant infestations, and erosion from rain or cleaning. Simply sweeping regular sand back in is a temporary fix that will need to be repeated frequently, while polymeric sand can last for years.
Are some pavers safer or less slippery for around a pool?
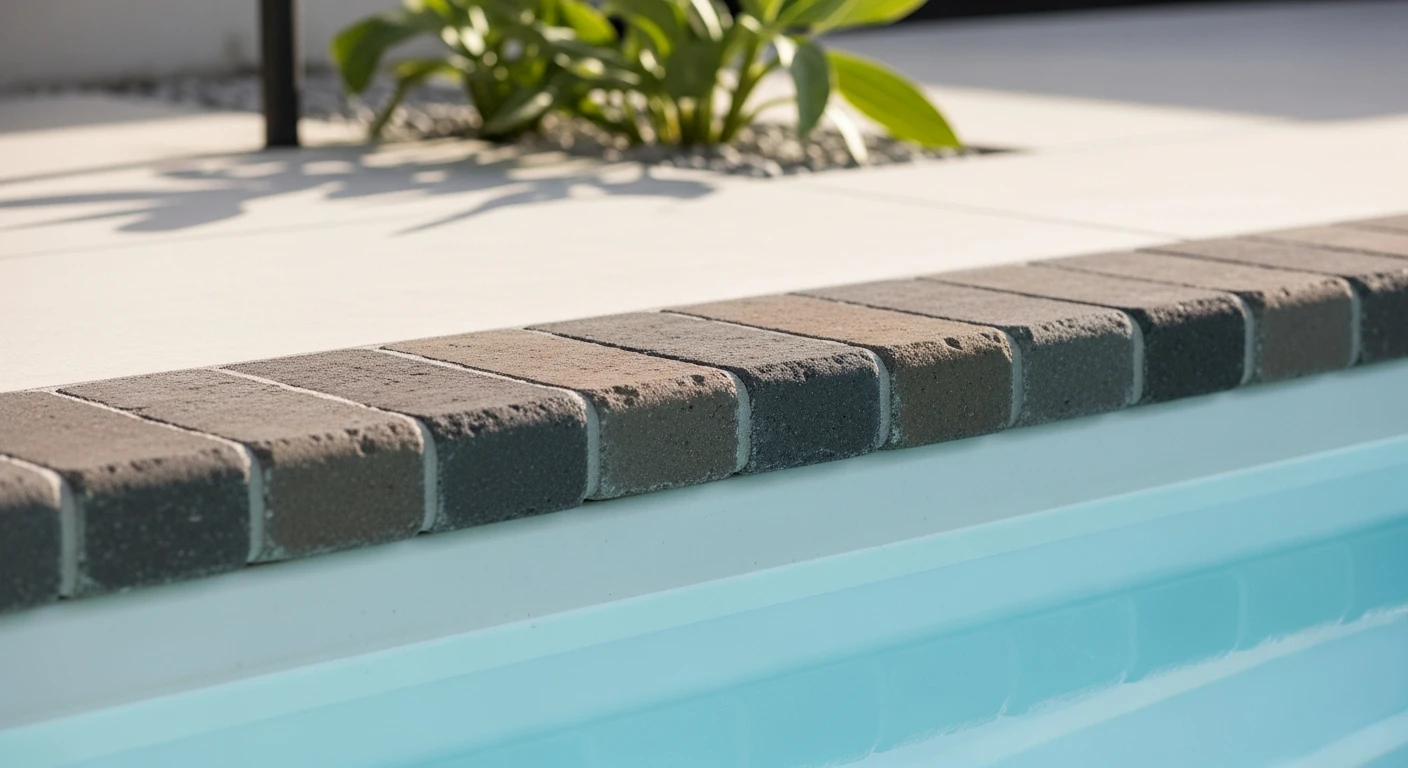
Yes, selecting a paver with a high coefficient of friction is critical for pool deck safety. Smooth, polished surfaces like some natural stones become extremely hazardous when wet. Look for pavers with a textured or non-slip surface specifically designed for wet areas. Many concrete and porcelain pavers are manufactured to meet safety standards for slip resistance. A key detail often overlooked is the coping—the stone edge of the pool. It must provide a secure, non-slip edge for entering and exiting the pool, making its texture and profile just as important as the main deck pavers.