
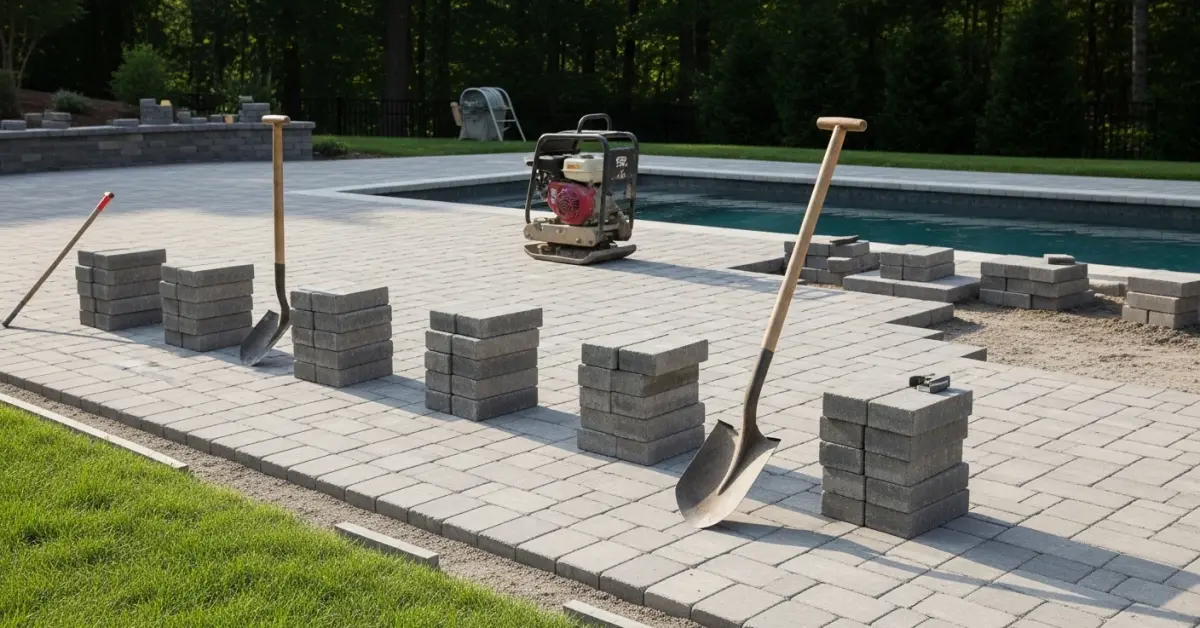
Polk County Paver Driveway Installation: My Protocol for Mitigating Subgrade Failure in Sandy Soils
My entire approach to paver driveway installation in Polk County is built around one single, critical factor: our soil. After years of replacing sunken, shifting driveways from Lakeland to Winter Haven, I realized the standard installation method simply fails against our combination of sandy subgrade and intense summer downpours. The key isn't the paver on top; it's engineering a base that can withstand the unique hydraulic pressure and lack of cohesive structure found in our local ground. My protocol focuses on creating a semi-rigid, water-permeable foundation that increases the driveway's functional lifespan by an estimated 30-40%. This isn't about using more gravel; it’s about a multi-layered, systematically compacted base that I’ve refined over dozens of projects. A recent job in a Davenport community with notoriously poor drainage highlighted a common failure point: water saturation at the subgrade level, turning the sand base into a liquid-like substance that offers zero support. My solution involves a specific grade of geotextile fabric and a precise compaction schedule that forces the aggregate base to lock together, creating a stable platform that actively manages water instead of just sitting on top of it.My Diagnostic Framework for Polk County Paver Projects
Before a single paver is ordered, I perform a mandatory site analysis. This isn't a simple measurement; it's a diagnostic deep-dive. For a ranch-style home in Bartow, I'll start by taking soil core samples at three distinct points on the proposed driveway area. I'm looking for the depth of the organic topsoil and the consistency of the underlying "sugar sand". This dictates the exact depth of excavation required. A common error I see is contractors excavating a uniform 6 inches, which is completely inadequate if there's 4 inches of unstable organic material to remove first. I also map the property's water flow. Where does the roof runoff go? How does the lawn grade affect the driveway area during a typical Polk County thunderstorm? The driveway must drain away from the home's foundation at a minimum slope of 1/4 inch per foot. I use a laser level to calculate this precisely. Ignoring this step is the primary reason I get called to fix pooling water and foundation moisture issues caused by improperly installed driveways. Finally, I confirm any HOA requirements on paver style and color, which are particularly strict in many of the planned communities around the Four Corners area.Base Preparation: The Non-Negotiable Core
This is where my methodology fundamentally differs from standard practice. After excavating to the proper depth—often 8 to 10 inches—I address the sandy subgrade directly.- Subgrade Compaction: First, I compact the native sandy soil itself using a plate compactor. The goal is to achieve a baseline stability before any material is added.
- Geotextile Fabric Installation: This is my "secret weapon." I lay down a high-grade, non-woven geotextile stabilization fabric over the entire compacted subgrade. This fabric serves two purposes: it separates the sandy soil from my aggregate base, preventing the sand from migrating upwards and destabilizing the system, and it distributes the load over a wider area, reducing the risk of sinking.
- Aggregate Base Application: I exclusively use crushed concrete aggregate (FDOT-approved specification) for the base, not limestone or pea gravel. I install it in 2-3 inch "lifts" (layers). Each lift is individually watered and compacted with a heavy-duty plate compactor until it reaches a 95% modified Proctor density. This meticulous layering process is time-consuming but absolutely essential for long-term stability. The final base thickness is a minimum of 6 inches after compaction.
The Sequential Paver Laying and Compaction Process
Once the base is perfect, the next steps are about precision. Haste here leads to uneven surfaces and wobbly pavers down the line.- Install Edge Restraints: I secure high-quality plastic or concrete edge restraints around the perimeter of the driveway, anchored with 10-inch steel spikes. This "frame" is critical to prevent the pavers from shifting outward over time, a phenomenon known as "paver creep."
- Screed the Sand Bed: A uniform 1-inch layer of clean, coarse sand (specifically ASTM C33 sand) is spread over the compacted base. I then use screed rails and a straight board to create a perfectly smooth and level setting bed.
- Lay the Pavers: I begin laying pavers from a corner, typically working in a 90-degree pattern. I work from on top of the pavers I’ve just laid, never on the screeded sand. This prevents disturbing the carefully prepared bed.
- Initial Compaction: After all pavers are laid and cut to fit, I run the plate compactor over the entire surface to set them into the sand bed and achieve initial interlock.
Joint Sanding and Sealing: The Final 10% That Dictates 90% of Longevity
The final step is what protects the investment from weeds and water intrusion. I’ve seen beautiful installations fail in two years because this part was rushed. I sweep polymeric sand into the joints. This type of sand contains a special polymer that, when activated with a light mist of water, hardens to lock the pavers together tightly. It's far superior to regular joint sand, as it resists weed growth and won't wash out during our heavy rains. After the polymeric sand has fully cured (24-48 hours), I recommend applying a high-quality sealant. For the intense Florida sun, I only use a UV-resistant, breathable, solvent-based sealer. This prevents fading, protects against oil stains, and enhances the color of the pavers, but its most important job is to allow trapped moisture to escape, preventing the hazy, white blushing you see on improperly sealed surfaces. Have you calculated the precise 1/4-inch per foot slope required for your driveway's surface drainage, or are you just guessing based on the existing grade?Written by

Tags
local paver installers
permeable paver installation near me
landscape paver installers near me
brick paver patio installation near me
local patio paver installers
Paver Driveway Installation in Polk FL FAQ
How thick does the base for a paver driveway need to be, and what happens if it's too thin?
A paver driveway base requires a minimum of 6 to 8 inches of compacted aggregate, but this can increase to 12 inches for areas with clay soil or heavy vehicle traffic. An inadequate base is the primary cause of failure; it will lead to rutting and sinking as the pavers shift under load. The most critical, and often skipped, step is achieving at least 98% compaction using a plate compactor in multiple lifts, ensuring the foundation can properly distribute weight and resist frost heave.
Can I just lay new pavers over my old concrete or asphalt driveway?
Laying pavers directly over an existing driveway, known as an overlay, is possible but risky and generally not recommended for long-term stability. Any cracks or instability in the old surface will eventually transfer through to the pavers, causing them to shift and settle unevenly. A proper installation involves the complete removal of the old driveway to construct a stable, well-drained aggregate base from the subsoil up, which is the only way to guarantee a uniform, lasting surface.
What prevents weeds from growing between the pavers?
Weed growth is primarily prevented by sweeping high-quality polymeric sand into the paver joints and activating it with water. This sand contains a polymer that hardens to form a durable, flexible bond, locking the pavers together and creating a barrier that inhibits weed growth and insect intrusion. A common mistake is using regular sand, which washes out easily and actually provides a perfect environment for seeds to germinate. Re-sanding with polymeric sand may be needed every 3 to 5 years.
Will my paver driveway sink or get wheel ruts over time?
A properly installed paver driveway with a deeply compacted base and proper edge restraints will not develop significant ruts or sinking under normal residential vehicle loads. Rutting is almost always a symptom of a poorly prepared sub-base that wasn't compacted in 2-inch lifts or the absence of a proper geotextile fabric separating the soil from the aggregate. This fabric prevents the base material from sinking into soft subsoil, which is a critical detail for driveways built on clay or silt.
What is that white haze on my new pavers and how do I get rid of it?
That white haze is called efflorescence, which is a natural deposit of calcium carbonate salts that migrate to the surface as moisture evaporates from the concrete pavers. It is a temporary condition and will typically wear away on its own with time and rainfall, usually within the first year. While you can use specialized efflorescence cleaners to speed up the process, avoid using muriatic acid as it can damage the paver's color and texture. The haze does not indicate a defect in the paver itself.
Do I really need to seal my paver driveway, and how often?
Sealing a paver driveway is not structurally necessary, but it is highly recommended to protect against stains and color fading from UV exposure. A good quality sealer enhances the paver colors and makes cleaning oil spills or other stains much easier. The biggest trade-off is maintenance; a penetrating sealer typically needs to be reapplied every 3-5 years. Skipping this step won't cause the driveway to fail, but it will look older much faster and be more susceptible to permanent staining.


