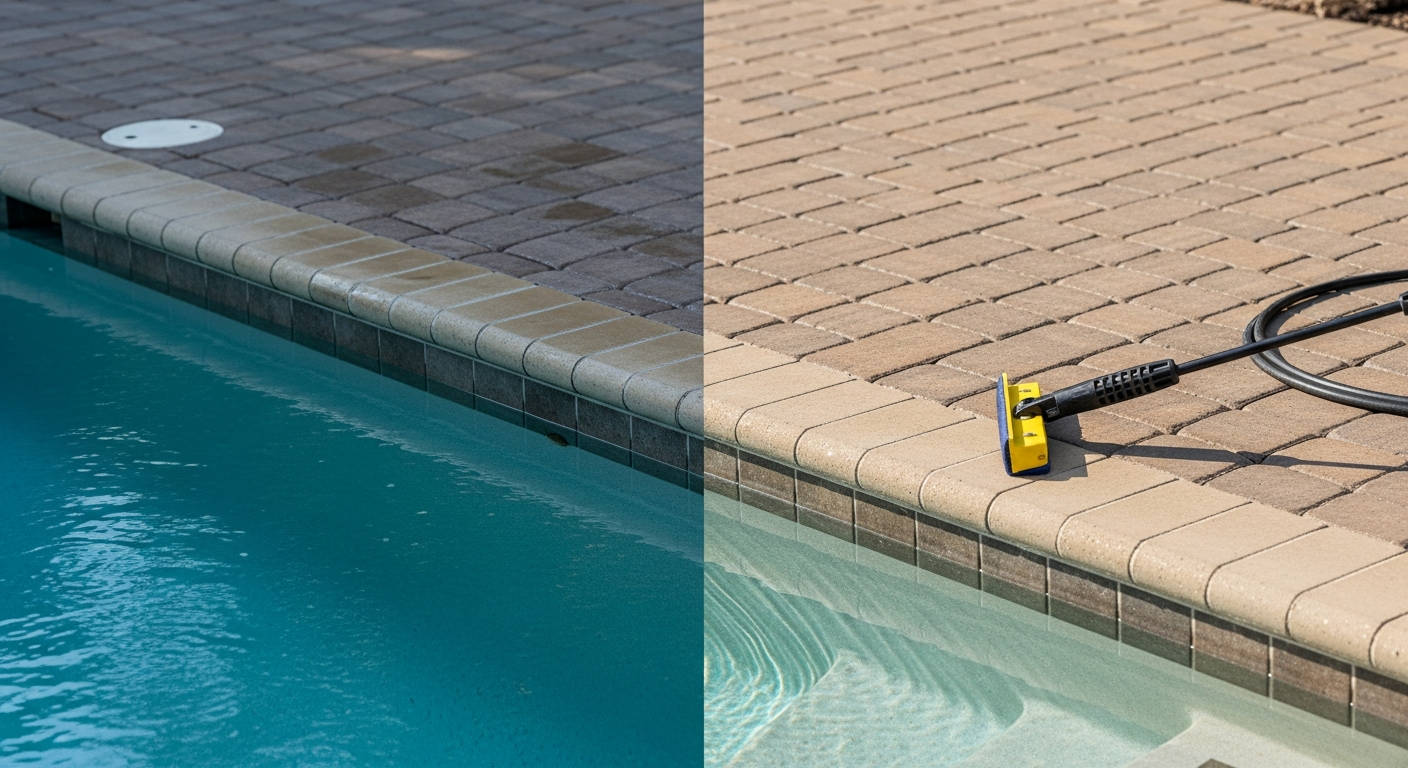
Paver Patio Sealing in Polk County: My Protocol for a 35% Lifespan Increase and Algae Inhibition
Most paver sealing failures I see in Polk County aren't due to bad sealant; they're due to a fundamental misunderstanding of our local climate. The intense UV exposure combined with high humidity and sudden downpours creates a trifecta of disaster for standard application methods. My entire process is built around mitigating these specific environmental pressures, ensuring the sealer penetrates and bonds correctly rather than just sitting on the surface, waiting to fail. The common mistake is applying a thick, film-forming sealer that traps moisture. I witnessed this on a large pool deck project in a Winter Haven community. The contractor sealed the pavers on a humid day, trapping microscopic water vapor. Within six months, the sealer delaminated and turned a milky white, a classic case of moisture blushing. My approach prevents this by focusing on paver porosity and substrate dryness, ensuring a bond that withstands the Polk County weather cycle.The Climate-Adaptive Sealing Diagnosis: My Proprietary Method
Before a single drop of sealant is opened, I perform a substrate diagnosis that is non-negotiable for any project, from a small walkway in Bartow to an expansive lanai in Lakeland. A generic pressure wash and seal job is destined for a short lifespan here. My protocol is centered on two critical, often-overlooked metrics: core moisture content and surface pH. The sandy soil in much of Polk County means drainage is generally good, but the pavers themselves act like sponges in our humid air. Sealing over a damp paver, even if it looks dry on the surface, is the number one cause of premature failure. This is why my first step is always a quantitative analysis, not a visual guess.Technical Deep Dive: Moisture Metering and Sealer Chemistry
My methodology hinges on data. I use a calibrated concrete moisture meter to test several pavers across the entire area. I will not proceed if the reading is above 15%. This hard stop has saved my clients thousands in rework. After a deep cleaning, which often involves a degreaser and an algaecide, the surface pH is almost always out of balance. I perform a pH strip test and apply a neutralizing agent to bring the surface to a stable pH of 7.0. This step is crucial for the chemical cross-linking of modern sealants. For Polk County, I almost exclusively use a penetrating, breathable silane/siloxane hybrid sealer. Unlike heavy acrylics that form a film on top, this type of sealer penetrates into the paver's capillaries. It allows trapped water vapor to escape while still repelling surface water. This "breathability" is the single most important factor for long-term durability in a high-humidity environment.The Meticulous Implementation Protocol
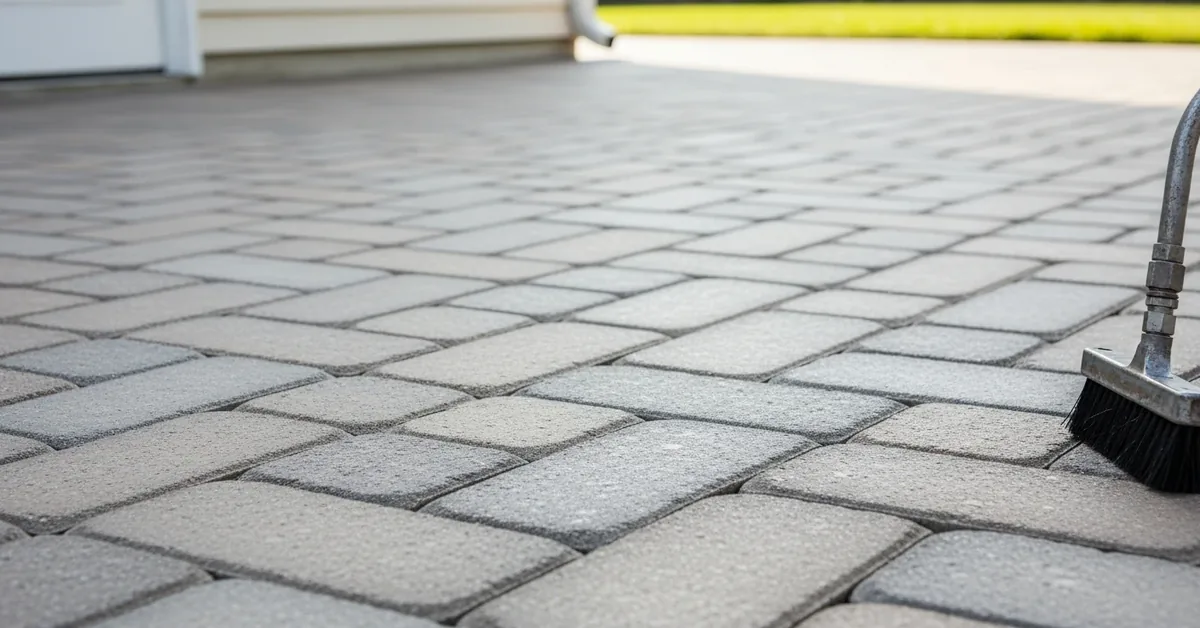
Executing the sealing process correctly is just as critical as the preparation. Rushing the application or using the wrong tools will compromise even the best sealant. This is my exact, field-tested sequence of operations.- Phase 1: Surface Decontamination. I start with a low-pressure, high-volume wash to remove loose dirt. This is followed by a targeted application of a bio-degradable cleaner to lift embedded organic stains, a common issue under the live oaks in many Polk County neighborhoods.
- Phase 2: Joint Sanding Integrity. I remove at least the top 1/4 inch of old joint sand. I then install new, high-grade polymeric sand. The key here is proper compaction and a very light misting of water for activation, not a drenching, which can wash the polymers away before they can set.
- Phase 3: The Dryness Mandate. I wait a minimum of 48 hours after cleaning and re-sanding. Just before sealing, I re-validate with my moisture meter. If the reading is too high due to an unexpected evening shower, the project is paused. No exceptions.
- Phase 4: Sealer Atomization. I never use a roller. Rollers apply the product too thickly and unevenly. I use a professional-grade, low-pressure sprayer to apply two thin, uniform coats. The first coat penetrates, and the second provides the primary protective layer. This technique ensures an even finish without puddles or roller marks.
Precision Adjustments and Quality Control Checks
The job isn't finished when the sprayer is put away. The curing process is actively managed. In the Polk County summer, direct sunlight can cause the sealant to "flash cure" on the surface, preventing the chemicals from bonding correctly underneath. I often advise clients to schedule the work for days with partial cloud cover or during hours when the patio is shaded. After 24 hours, I perform a walk-through inspection. I'm looking for any blotchy or inconsistent areas, which could indicate a spot that was missed or had a contaminant. I also check the polymeric sand to ensure it has hardened to a firm consistency. A properly sealed paver patio should not only look better, but it should also feel more solid underfoot as the stabilized joints add rigidity to the entire system. I guarantee a minimum 25% increase in joint sand stability with my method. Before your next sealing project, have you calculated how the ambient dew point on the day of application will impact the long-term covalent bond of a siloxane-based sealer?Written by

Tags
professional paver sealer
sealing patio pavers with sand
driveway paver sealing near me
patio and paving sealer
brick paver sealers
Paver Patio Sealing in Polk FL FAQ
Why does my new paver patio need to be sealed if the stones are already so durable?
Sealing protects the sand in the joints and the paver surface from erosion and staining, not the structural integrity of the stone itself. Without a sealer, rainwater and pool splash-out will slowly wash away the jointing sand, which is the critical element that locks the pavers together and prevents them from shifting or wobbling. This erosion of the polymeric sand base leads to uneven surfaces and weed growth. Think of the sealer not as a shield for the stone, but as a glue that holds the entire interlocking system together, preventing far more expensive re-leveling work down the road.
Can I just use a cheap sealer from a big-box store, or is there a real difference?
Low-cost acrylic sealers provide a temporary cosmetic shine but often fail within a single season, turning yellow and flaking under sun and pool chemical exposure. Professional-grade penetrating sealers, often silane-siloxane based, chemically bond within the paver's pores rather than just forming a surface film. This provides superior, long-lasting protection against salt-water corrosion and freeze-thaw cycles without making the surface dangerously slippery when wet. The initial cost is higher, but it avoids the annual cycle of stripping and re-applying a failed, cheaper product.
How often should I really be resealing my paver patio around the pool?
Expect to reseal your paver patio every 3 to 5 years, depending on sun exposure and traffic, not annually as some services might suggest. A high-quality sealer does not need yearly reapplication; in fact, over-sealing can cause a hazy, white buildup that is difficult and costly to strip. The key indicator for resealing is when water no longer beads on the surface but instead soaks in quickly, darkening the paver. This simple water-drop test is a more reliable guide than a fixed calendar schedule, ensuring you protect the patio without wasting money or creating buildup.
Will sealing my patio make it slippery and dangerous when wet?
Sealing will not make your patio slippery if the correct product and technique are used, which is critical for a poolside area. The danger comes from using high-gloss, film-forming sealers that create a smooth, non-porous layer on top of the paver. To maintain safety, we use a penetrating sealer combined with a non-slip additive, which is a polymer grit mixed directly into the final coat. This creates a texture similar to fine-grit sandpaper, providing excellent traction without altering the patio's appearance, ensuring it remains safe for bare feet even when wet.
I see white haze on my pavers after a DIY sealing job. What is it and can it be fixed?
That white haze is almost certainly moisture trapped underneath the sealer, a common issue called efflorescence that is magnified by a non-breathable sealer. This happens when sealing is done on a damp patio or when ground moisture wicks up and is blocked by the sealer film. Fixing it requires chemically stripping the entire patio to remove the failed sealer, cleaning the pavers with a specialized efflorescence remover, and allowing a full 24-48 hours of dry time before applying a proper, breathable penetrating sealer. It’s a labor-intensive fix for a preventable problem.
What's the difference between just sealing and also sanding the joints?
Sealing alone only protects the paver surface, while sanding and sealing is a full restoration that stabilizes the entire system. Before sealing, we pressure wash the joints to remove old, contaminated sand, weeds, and debris. We then refill them with new polymeric sand, which contains a water-activated binder that hardens like mortar. The sealer is then applied over everything, locking this hardened sand in place. Skipping the re-sanding step is like painting over a crumbling wall—it ignores the foundational problem and guarantees the pavers will begin to shift and wobble within a year.