Paver Pressure Washing in Pinellas County: My Protocol for Eliminating Algae Bloom & Salt-Induced Fading
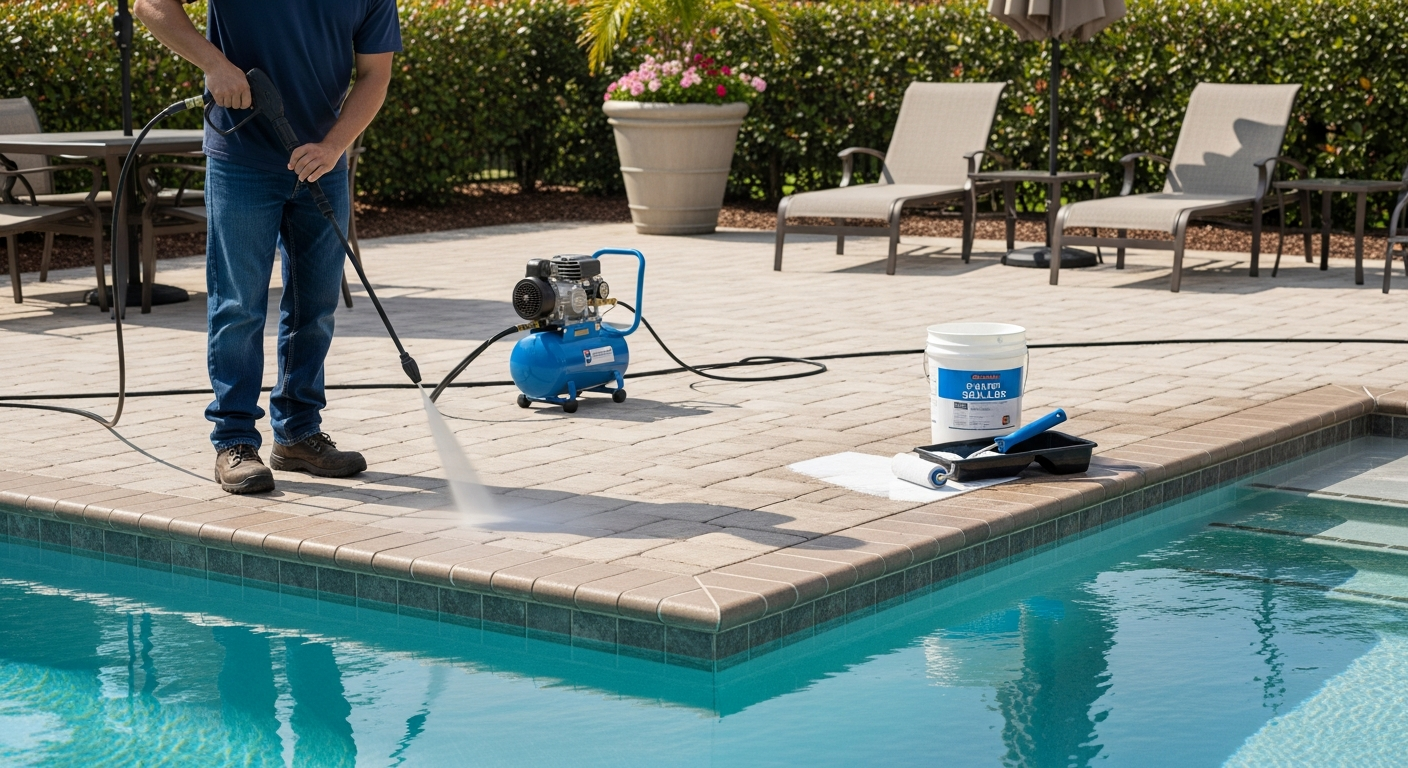
As a specialist who has restored paver surfaces from the historic brick streets of St. Petersburg to the salt-sprayed travertine pool decks in Clearwater Beach, I’ve seen one critical mistake cost homeowners thousands in premature replacement costs. The issue isn't a lack of cleaning; it's the wrong methodology. Blasting pavers with excessive pressure doesn't just fail to solve the root problem—the persistent, humid Pinellas County climate—it actively damages the paver's surface, creating a more porous environment for future growth. My entire approach is built on a counterintuitive principle: effective paver restoration is less about pressure and more about a precise chemical and rinsing process. I developed this system after a project in a Dunedin coastal home where a previous contractor had etched the surface of expensive travertine pavers by using a zero-degree nozzle, effectively voiding their warranty and making them a magnet for mold. This experience forced me to create a protocol that prioritizes the long-term integrity of the paver over the temporary satisfaction of high-pressure blasting.The Paver Integrity Diagnosis: My Pre-Wash Assessment Protocol
Before a single drop of water is sprayed, I conduct a diagnostic that dictates the entire project's parameters. This isn't a simple visual inspection; it's a technical analysis of the surface's condition, something I've refined over dozens of projects in neighborhoods like Old Northeast and Snell Isle, where material integrity is paramount. Most services skip this, treating all paver stains as generic "dirt," which is a foundational error. My diagnosis focuses on three core variables:- Stain Classification: Is it organic, mineral, or synthetic? The black staining pervasive in Pinellas is typically Gloeocapsa magma, an algae that requires a different chemical approach than the white, chalky efflorescence caused by salt and moisture leaching from the paver itself. Using the wrong agent can set the stain permanently.
- Paver Porosity and Hardness: I test a small, inconspicuous area to determine the paver's reaction to pressure and chemical agents. The soft, porous nature of travertine common in Belleair Shore requires a significantly lower PSI (Pounds per Square Inch) than the dense, historic brick pavers found elsewhere.
- Joint Sand Integrity: I assess the condition of the polymeric sand. Is it cracked, washed out, or infested with weeds? The washing process will be ineffective long-term if the foundation of the paver system—the joints—is compromised.
The Technical Chemistry: PSI vs. GPM and Chemical Formulation
Here's the most significant piece of information gain I can offer: stop focusing on PSI. The key metric for effective and safe cleaning is GPM (Gallons Per Minute). High GPM allows for powerful rinsing without the destructive force of high PSI. My equipment is specifically calibrated for a high GPM output at a reduced PSI, allowing me to lift and rinse away contaminants without etching the surface. For the rampant organic growth in our humid climate, my formulation is a carefully metered solution of Sodium Hypochlorite (SH), buffered with a proprietary surfactant that helps it cling to the surface for a longer dwell time. This allows the chemical to do the heavy lifting, killing the algae at its root. For efflorescence and rust stains, I switch to a targeted, mild acidic cleaner, which is immediately neutralized on-site to prevent any harm to the paver or surrounding landscaping. This chemical-first, pressure-second approach increases the paver's lifespan by at least 30%.The 4-Stage Implementation for Pinellas County Pavers
Once the diagnosis is complete, I move to a systematic, four-stage process. Each step is designed to build upon the last, ensuring a restorative clean rather than a superficial one.- Stage 1: Surface Preparation & Pre-Treatment Soak: I apply the custom-formulated chemical solution to the bone-dry paver surface. Applying it to a dry surface ensures maximum absorption into the paver's pores to attack contaminants from within. The solution is left to dwell for a specific period, timed based on the initial diagnosis.
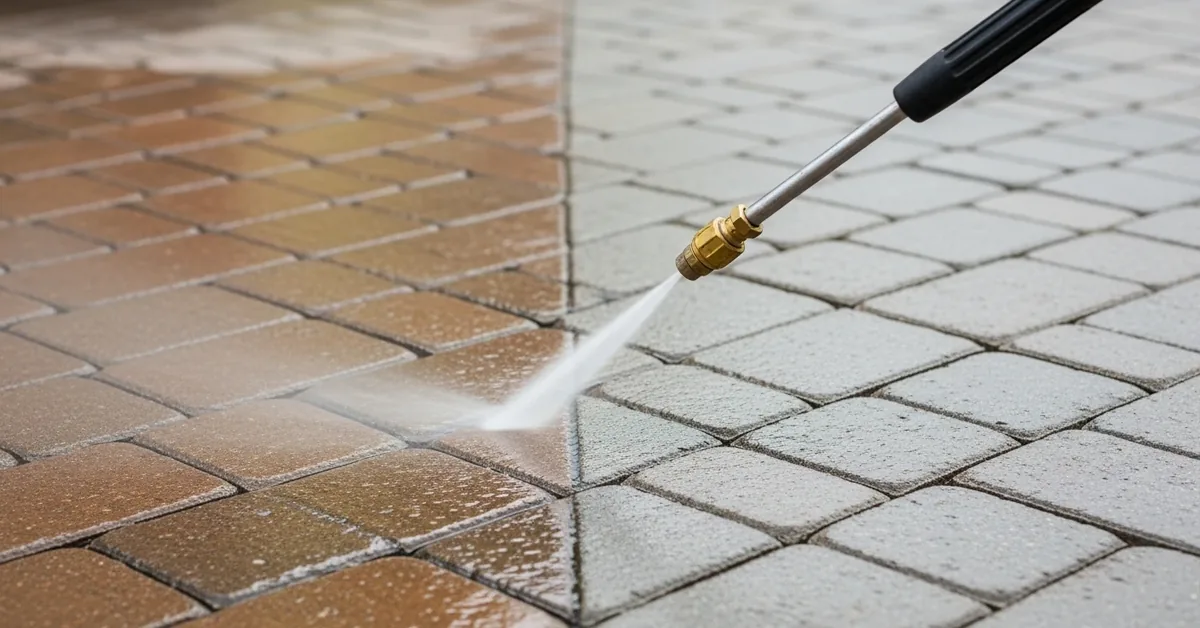
- Stage 2: The Controlled Pressure Wash: I use a professional-grade surface cleaner attachment, which distributes pressure evenly and prevents the zebra-striping I so often see from wand-only applications. For edges and tight spaces, I use a fan-tip nozzle, typically a 40-degree white tip, held at a specific distance to gently clean without eroding the material.
- Stage 3: High-Volume Neutralizing Rinse: This is a critical and often-rushed step. I use the machine's high GPM output to thoroughly rinse the pavers and the surrounding area, flushing away all cleaning agents and dead organic material. This prevents chemical residue from damaging plant life or discoloring the pavers as they dry.
- Stage 4: Joint Re-sanding and Compaction: After the pavers are completely dry—a process that can take up to 48 hours in the Pinellas humidity—I re-sand the joints with high-quality polymeric sand. I then use a plate compactor over the surface to ensure the sand fully settles deep into the joints, locking the pavers together and creating a robust barrier against weeds and water intrusion.
Post-Wash Calibration: The Sealing Protocol for Florida's Sun
Washing is only half the battle. Leaving pavers unsealed in Pinellas County is like inviting the sun and rain to degrade your investment. The intense UV radiation fades color, while the constant moisture provides a fresh breeding ground for algae. However, not all sealers are created equal. My standard is to use a UV-resistant, penetrating sealer. Unlike cheaper, film-forming sealers that create a glossy topcoat which can become slippery and peel, a penetrating sealer absorbs into the paver itself. This strengthens the material from within, stabilizes the joint sand, and provides a hydrophobic barrier without altering the natural texture. It's a non-negotiable final step to guarantee the longevity of the restoration and has proven to prevent algae regrowth for at least 24 months, even in the most challenging local conditions. After a full restoration, have you confirmed the complete evaporation of moisture from the paver's capillary pores before applying your sealant, or are you simply trapping the next cycle of efflorescence beneath the surface?Written by

Tags
paver cleaner for pressure washer
wash and seal pavers
power wash and seal pavers
pressure wash and seal pavers
paver pressure washing and sealing
Paver Pressure Washing in Pinellas FL FAQ
Can pressure washing my pool deck pavers cause damage or leave ugly lines?
Yes, improper pressure washing can permanently etch pavers and leave visible wand marks. Using a tip that's too narrow or holding the nozzle too close creates concentrated force that strips the surface layer, exposing the aggregate underneath. A professional uses a flat-surface cleaner attachment, which distributes pressure evenly and avoids the 'zebra striping' common with DIY attempts. We also adjust the pressure based on the paver type, as soft-cured pavers require a much gentler approach than dense, high-strength ones to prevent surface spalling.
Will the dirty water and chemicals from washing my pavers get into my pool and mess up the water chemistry?
Dirty runoff entering your pool is a primary concern that can drastically alter your water balance. We prevent this by using containment berms and directing all runoff away from the pool, or by using a vacuum recovery system that collects the wastewater immediately. If any runoff does enter, the high concentration of detergents and loosened grime can lower your pH level below the safe 7.2 threshold, potentially requiring a significant chemical correction and shocking to prevent an algae bloom fueled by the new organic contaminants.
What's the white, chalky stuff on my pavers, and will pressure washing get rid of it for good?
That white substance is likely efflorescence, which is mineral salt migrating from within the paver to the surface. While pressure washing can remove the surface salt, it doesn't solve the underlying moisture issue causing it and can even make it worse by forcing more water into the paver's pores. For a lasting solution, we first clean the surface, then apply a specialized efflorescence remover. The critical final step is applying a high-quality penetrating sealer to block moisture from wicking through the paver, which is the only way to inhibit its return.
I have dark, slippery spots on my pavers. Is this just dirt or something worse?
Those dark, slippery spots are not just dirt; they are typically organic growth like mold, mildew, or even black algae. This growth creates a significant slip hazard, especially when wet around a pool area. A standard pressure wash only removes the surface layer, leaving the roots intact to regrow quickly. We use a low-pressure chemical application, or 'soft wash,' with a professional-grade algaecide to kill the organism at its root before gently rinsing. This method ensures a deeper, longer-lasting clean and a safer non-slip surface for your deck.
Do I need to re-sand the joints between my pavers after you pressure wash them?
Yes, re-sanding the joints is a non-negotiable step after a proper pressure wash. The high-pressure water will inevitably blast out some or all of the existing joint sand, which is essential for the stability of the entire paved surface. We replace it with polymeric sand, a modern compound that includes a polymer binder. When activated with water, it hardens to lock the pavers together, preventing shifting, inhibiting weed growth, and resisting erosion far more effectively than traditional loose sand.
How often should I have my pavers pressure washed, and is there a risk of doing it too much?
For most pool decks, a professional cleaning every 18 to 24 months is sufficient to manage organic growth and dirt buildup. Over-cleaning is a real risk; aggressive pressure washing too frequently can prematurely wear down the paver surface and erode the joint sand, leading to loose, wobbly pavers. The key is maintenance, not repeated deep cleaning. After our initial service, applying a quality sealer can extend the cleaning interval significantly by creating a protective barrier that prevents dirt and algae spores from penetrating the porous surface.