Polk County Paver Pressure Washing: My Method for Preventing Sub-Surface Erosion
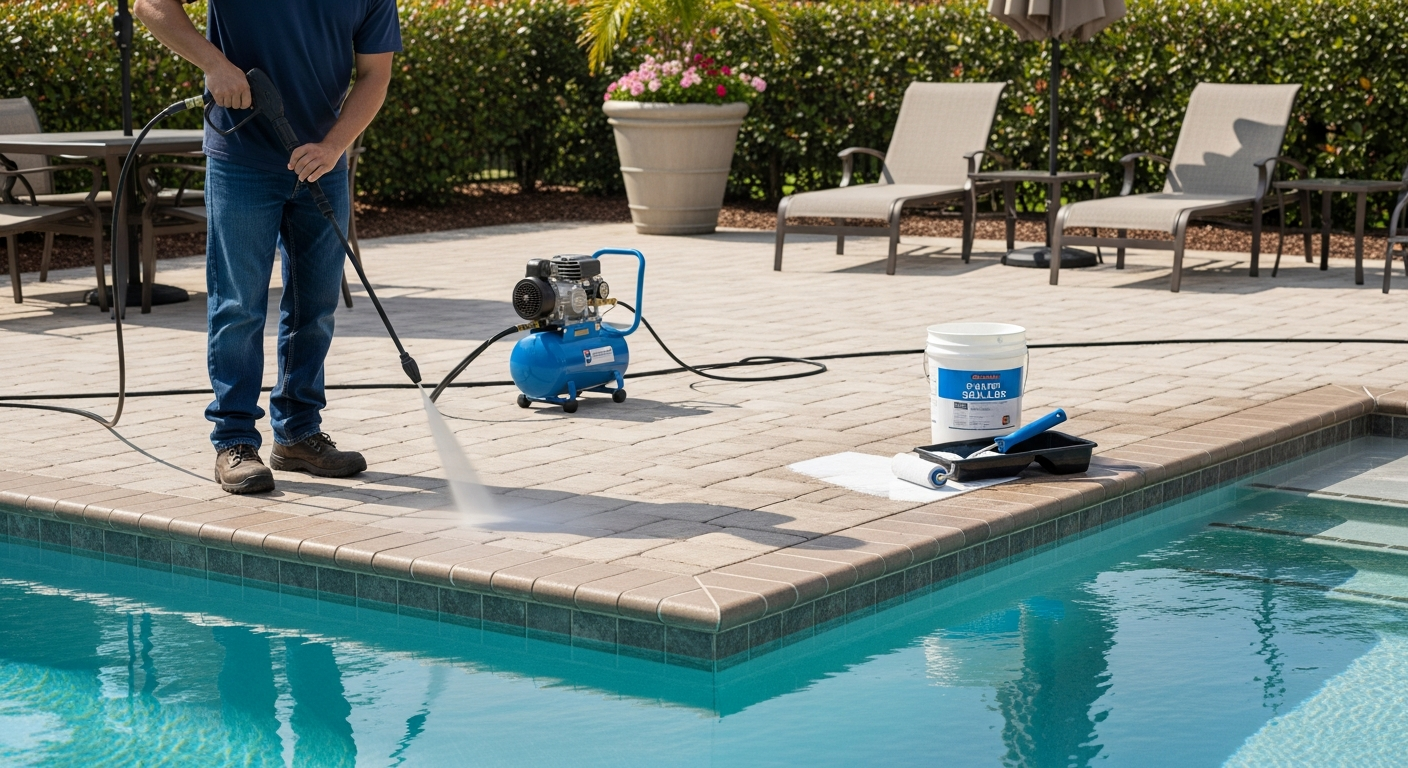
I’ve seen it a hundred times across Polk County, from the historic driveways in Lakeland to the sprawling pool decks in Davenport: paver surfaces ruined by well-intentioned but incorrect pressure washing. The biggest misconception is that high pressure equals a better clean. In reality, for our local paver installations, aggressive pressure washing is the fastest way to cause shifting, weed growth, and a 50% reduction in your hardscape's lifespan. It’s not about blasting the surface; it’s about decontaminating it while protecting the crucial sand-filled joints that lock everything together. My approach isn't just about making pavers look new. It's a structural preservation process designed for Florida's unique climate. The relentless humidity and intense sun create a perfect breeding ground for aggressive black mold and algae that don't just sit on the surface—they root into the porous concrete and the sand between the pavers. My entire methodology is built around neutralizing this organic growth at its source and then rebuilding the joint integrity, which is the true foundation of a lasting paver surface.My Diagnostic Framework: The Interlocking Joint Stabilization Protocol
Before a single drop of water is sprayed, I perform a diagnostic that most operators skip. I analyze the type of paver (clay, concrete, travertine), the condition of the jointing sand, and the specific type of organic growth present. The green, slimy algae common on pool lanais in Winter Haven requires a different approach than the stubborn black mold that embeds itself into north-facing driveways in Bartow. Standard high-pressure cleaning fails because it blasts out the existing jointing sand—the very glue holding the system together. This immediately creates voids, allowing pavers to shift and creating a perfect, nutrient-rich bed for weeds to take hold within weeks. My proprietary Interlocking Joint Stabilization Protocol is a multi-stage process that prioritizes the sub-surface. The goal is to clean deeply without compromising the paver base. This involves a chemical soft wash to kill all organic matter, followed by a low-pressure, high-volume rinse to flush out contaminants without scouring away the foundational bedding sand. I’ve seen projects where a high-PSI wand has created channels beneath the pavers, leading to thousands of dollars in re-leveling repairs a year later.The Technical Deep-Dive: PSI, Chemistry, and Nozzle Selection
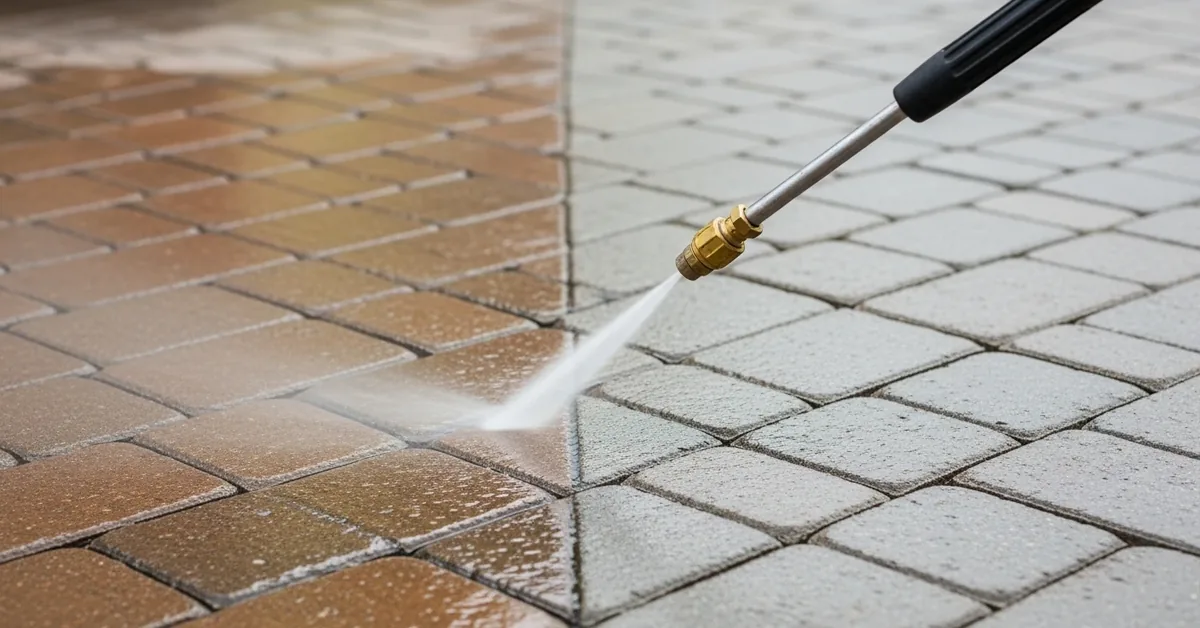
The secret isn’t in the power of the machine, but in the precision of its application. Here's a look at the core technical specifications I work with: * PSI Calibration: I never let the pressure at the nozzle tip exceed 1,200 PSI for standard concrete pavers. For older, more delicate pavers or travertine, I dial it down to between 500-800 PSI. The key is using a pressure washer with a reliable unloader valve and a pressure gauge. Using the wrong tip is a classic mistake; a zero-degree (red) nozzle is a tool for destruction, not cleaning. I almost exclusively use a 40-degree (white) fan tip or a professional-grade surface cleaner attachment to distribute pressure evenly and avoid leaving "tiger stripes" or etching the surface. * Chemical Formulation: The workhorse for dealing with Polk County's humidity-fueled growth is a buffered sodium hypochlorite solution. The percentage is critical; too low and it won't kill the mold spores deep in the pores, too high and it can discolor the pavers or harm adjacent landscaping. For rust stains from irrigation systems, which I see often in communities with well water, I switch to an oxalic acid-based cleaner applied with precision. * Joint Material Science: After cleaning, replacing the jointing sand is non-negotiable. I exclusively use high-grade polymeric sand. Unlike regular paver sand that washes out in the first big Florida thunderstorm, polymeric sand contains a special polymer that activates with water. When applied correctly, it hardens to form a firm yet flexible joint. This locks the pavers in place, preventing shifting, and creates an impenetrable barrier against weeds and ant hills.Step-by-Step Implementation of the Protocol
Executing this correctly is a game of precision. I've refined this process over hundreds of projects to ensure repeatable, long-lasting results that protect the homeowner's investment.- Step 1: Surface Decontamination. I apply my chemical solution using a low-pressure applicator. I let it dwell for a specific time—the "dwell time" is calculated based on the ambient temperature and the severity of the organic growth—to ensure it penetrates the paver pores and neutralizes everything down to the root.
- Step 2: Calibrated Low-Pressure Rinse. Using a wide-angle nozzle and keeping a consistent distance from the surface, I rinse the entire area. The goal here is to flush away the dead algae, dirt, and old sand, not to blast it. I work at an angle that directs water and debris away from pools and landscape beds.
- Step 3: Joint Preparation. I allow the surface to dry completely. This is a critical step many rush. Applying polymeric sand to a wet surface or damp joints will cause it to haze over and fail to cure properly, a mistake I learned the hard way on a large project in a gated community years ago.
- Step 4: Polymeric Sand Application. I carefully sweep the polymeric sand into the joints, ensuring every void is filled completely. I then use a plate compactor or a rubber mallet on a board to vibrate the sand down, compacting it for a tight fit, before sweeping in a final layer.
- Step 5: Final Activation. I then mist the surface with a very specific amount of water. Too little and the polymers won't activate; too much and you'll wash the polymers right out of the sand. This final step is what solidifies the joints and provides the long-term structural benefit.
Precision Tuning and Quality Control Standards
The final 10% of the job is what separates a standard clean from a professional restoration. A common issue in Polk County is efflorescence, a white, chalky residue that can appear on pavers. This is mineral salt migrating to the surface. Blasting it with high pressure only makes it worse. I treat it with a specific efflorescence remover before the main cleaning process begins. Furthermore, I pay close attention to removing tannin stains from fallen oak leaves and the acidic residue left by lovebugs, both common local problems that require targeted treatments. My final quality check involves inspecting the joint lines for uniform depth and ensuring there are absolutely no wand marks or surface etching visible from any angle. Is your current paver maintenance plan just a temporary cosmetic fix, or is it actively reinforcing the structural integrity of your hardscape for the long term?Written by

Tags
paver cleaner for pressure washer
wash and seal pavers
power wash and seal pavers
pressure wash and seal pavers
paver pressure washing and sealing
Paver Pressure Washing in Polk FL FAQ
Can pressure washing my pool deck pavers cause damage or leave ugly lines?
Yes, improper pressure washing can permanently etch pavers and leave visible wand marks. Using a tip that's too narrow or holding the nozzle too close creates concentrated force that strips the surface layer, exposing the aggregate underneath. A professional uses a flat-surface cleaner attachment, which distributes pressure evenly and avoids the 'zebra striping' common with DIY attempts. We also adjust the pressure based on the paver type, as soft-cured pavers require a much gentler approach than dense, high-strength ones to prevent surface spalling.
Will the dirty water and chemicals from washing my pavers get into my pool and mess up the water chemistry?
Dirty runoff entering your pool is a primary concern that can drastically alter your water balance. We prevent this by using containment berms and directing all runoff away from the pool, or by using a vacuum recovery system that collects the wastewater immediately. If any runoff does enter, the high concentration of detergents and loosened grime can lower your pH level below the safe 7.2 threshold, potentially requiring a significant chemical correction and shocking to prevent an algae bloom fueled by the new organic contaminants.
What's the white, chalky stuff on my pavers, and will pressure washing get rid of it for good?
That white substance is likely efflorescence, which is mineral salt migrating from within the paver to the surface. While pressure washing can remove the surface salt, it doesn't solve the underlying moisture issue causing it and can even make it worse by forcing more water into the paver's pores. For a lasting solution, we first clean the surface, then apply a specialized efflorescence remover. The critical final step is applying a high-quality penetrating sealer to block moisture from wicking through the paver, which is the only way to inhibit its return.
I have dark, slippery spots on my pavers. Is this just dirt or something worse?
Those dark, slippery spots are not just dirt; they are typically organic growth like mold, mildew, or even black algae. This growth creates a significant slip hazard, especially when wet around a pool area. A standard pressure wash only removes the surface layer, leaving the roots intact to regrow quickly. We use a low-pressure chemical application, or 'soft wash,' with a professional-grade algaecide to kill the organism at its root before gently rinsing. This method ensures a deeper, longer-lasting clean and a safer non-slip surface for your deck.
Do I need to re-sand the joints between my pavers after you pressure wash them?
Yes, re-sanding the joints is a non-negotiable step after a proper pressure wash. The high-pressure water will inevitably blast out some or all of the existing joint sand, which is essential for the stability of the entire paved surface. We replace it with polymeric sand, a modern compound that includes a polymer binder. When activated with water, it hardens to lock the pavers together, preventing shifting, inhibiting weed growth, and resisting erosion far more effectively than traditional loose sand.
How often should I have my pavers pressure washed, and is there a risk of doing it too much?
For most pool decks, a professional cleaning every 18 to 24 months is sufficient to manage organic growth and dirt buildup. Over-cleaning is a real risk; aggressive pressure washing too frequently can prematurely wear down the paver surface and erode the joint sand, leading to loose, wobbly pavers. The key is maintenance, not repeated deep cleaning. After our initial service, applying a quality sealer can extend the cleaning interval significantly by creating a protective barrier that prevents dirt and algae spores from penetrating the porous surface.