Paver Sand Sealer in Pinellas County: My Protocol for a 5-Year Lock-In Against Washout and Weeds
The single most costly mistake I see on paver projects across Pinellas County isn't the choice of sealer; it's the catastrophic failure of the polymeric sand base before the first drop of sealer is even applied. From the salt-sprayed driveways in Treasure Island to the sprawling pool decks in Largo, homeowners are told they need a sealer, when what they actually need is guaranteed joint stabilization. Without it, the sealer is just a cosmetic layer on a failing system. I’ve been called to fix dozens of these jobs, and the root cause is almost always the same: a fundamental misunderstanding of how to properly set and activate polymeric sand in our relentless Florida humidity. My entire process is built around mastering this crucial first step, ensuring the sand forms a concrete-like bond that makes the subsequent sealing process exponentially more effective and durable, preventing the washout and weed growth that plagues our region.My Diagnostic Framework for Pinellas Paver Joints
Before I even consider cleaning a paver, I perform a Joint Integrity Assessment. This isn't a simple visual inspection. I developed this methodology after a large-scale project in a Belleair community, where a previous contractor's work failed in under six months due to inconsistent joint sand depth. They treated a high-end travertine lanai the same as a standard concrete paver driveway, which was the critical error. My framework analyzes three core variables specific to the property. First, I measure the Joint Width-to-Depth Ratio. In Pinellas, our intense summer downpours create immense hydrostatic pressure. A wide, shallow joint will wash out no matter how good the sand is. I look for a minimum 1.5:1 depth-to-width ratio. If it's not present, the pavers must be adjusted, or a specialized, wider-joint sand must be used. Second is the Paver Permeability Test. Porous materials like older concrete pavers absorb sealer differently than dense travertine. I apply a small test patch of water to see how quickly it absorbs. This tells me if I need a one-coat flood application or a two-coat wet-on-wet technique to achieve proper saturation without creating a slippery film. The final variable is the Sub-surface Drainage Grade, ensuring water flows away from the paver field, not into it, preventing sand bed saturation from below.The Polymeric Sand Activation Triad: Compaction, Moisture, and Curing
Here’s the technical insight that separates a 1-year job from a 5-year one. Polymeric sand doesn't just need water; it needs a precise sequence of events I call the "Activation Triad" to achieve its maximum PSI strength. Most contractors fail here, especially with our unpredictable afternoon showers. The first element is Mechanical Compaction. Simply sweeping sand into the joints is not enough. I use a compaction plate with a protective pad over the entire surface. This vibrates the sand deep into the joints, eliminating air pockets that later become weak points. Skipping this is the number one cause of premature joint failure. The second is Controlled Moisture Activation. The goal is to activate the top 1-inch of the joint, not saturate the entire sand bed. I use a specific nozzle that creates a fine mist, not a jet stream. I apply three separate light mistings, 15 minutes apart. This technique allows the polymers to bind slowly and powerfully, preventing the binders from being washed down to the bottom of the joint, which causes a weak, brittle surface. Finally, there's the Pinellas Curing Protocol. The sand needs at least 72 hours of dry, foot-traffic-free time to cure. I watch the weather forecast like a hawk. Applying sand on a Monday when there's a 40% chance of rain on Wednesday is malpractice in my book. I educate my clients in areas like Dunedin and Palm Harbor to turn off their irrigation systems for this entire window to guarantee a perfect cure.The Pinellas-Proof Sealing Application: A Step-by-Step Breakdown
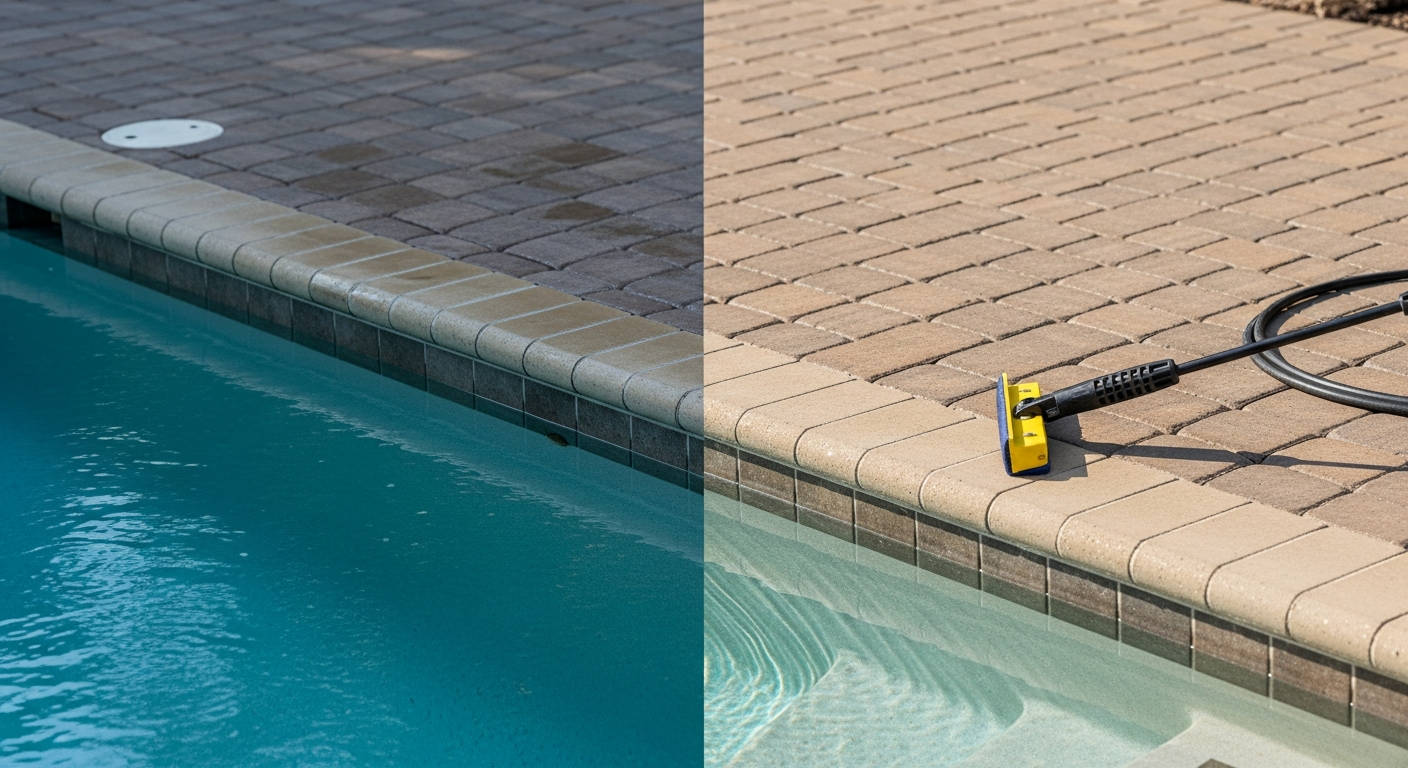
Once the joints are rock solid—and only then—do I proceed with the sealing. My application process is designed for maximum penetration and longevity under the intense Florida sun.- Surface Prep and Cleaning: I use a low-pressure, high-volume surface cleaner, not a high-PSI wand that can etch the pavers. This is followed by a specialty paver cleaning solution to remove any lingering efflorescence, which is a common issue with the moisture here. The surface must be 100% dry before the next step. I use a moisture meter to verify.
- First Sealer Flood Coat: I apply a solvent-based or water-based sealer depending on the paver type identified in my initial assessment. The first coat is a heavy "flood coat" applied with a professional-grade sprayer. The goal is to completely saturate the paver surface and the locked-in sand joints. This is the penetrating coat that does the real protective work.
- Back-rolling for Uniformity: Immediately after spraying a section, I use a 1/2-inch nap roller to back-roll the sealer. This pushes the sealer into the pores of the paver, eliminates spray lines, and ensures a uniform finish. It's an extra step that makes a massive difference in the final look and prevents a blotchy appearance, which I often see on jobs in St. Pete.
- Second Top Coat (If Necessary): For highly porous pavers or clients desiring a "wet look," a second, lighter coat is applied "wet-on-wet" within an hour of the first. This builds the surface film that provides color enhancement and the primary UV protection, increasing the paver's lifespan by an estimated 25%.
Quality Control Metrics: Verifying a True Joint Lock and Seal
My job isn't done when the sealer is dry. I have a quality control checklist to verify the work meets my standards. I perform a "tap test" on the joints with a screwdriver handle; they should sound solid, not soft or sandy. I inspect the entire surface from multiple angles to ensure there are no roller marks or "flashing" from uneven sealer application. The final and most important metric is client education. I provide a clear set of instructions on the 72-hour curing period for the sealer, emphasizing no vehicle traffic and no sprinklers. A perfect application can be ruined by a delivery truck driving on it the next day. Before you hire someone to seal your pavers, are you asking them about their sand compaction method and curing protocol, or just what brand of sealer they use?Written by

Tags
professional paver sealer
sealing patio pavers with sand
paver patio sealing
patio and paving sealer
brick paver sealers