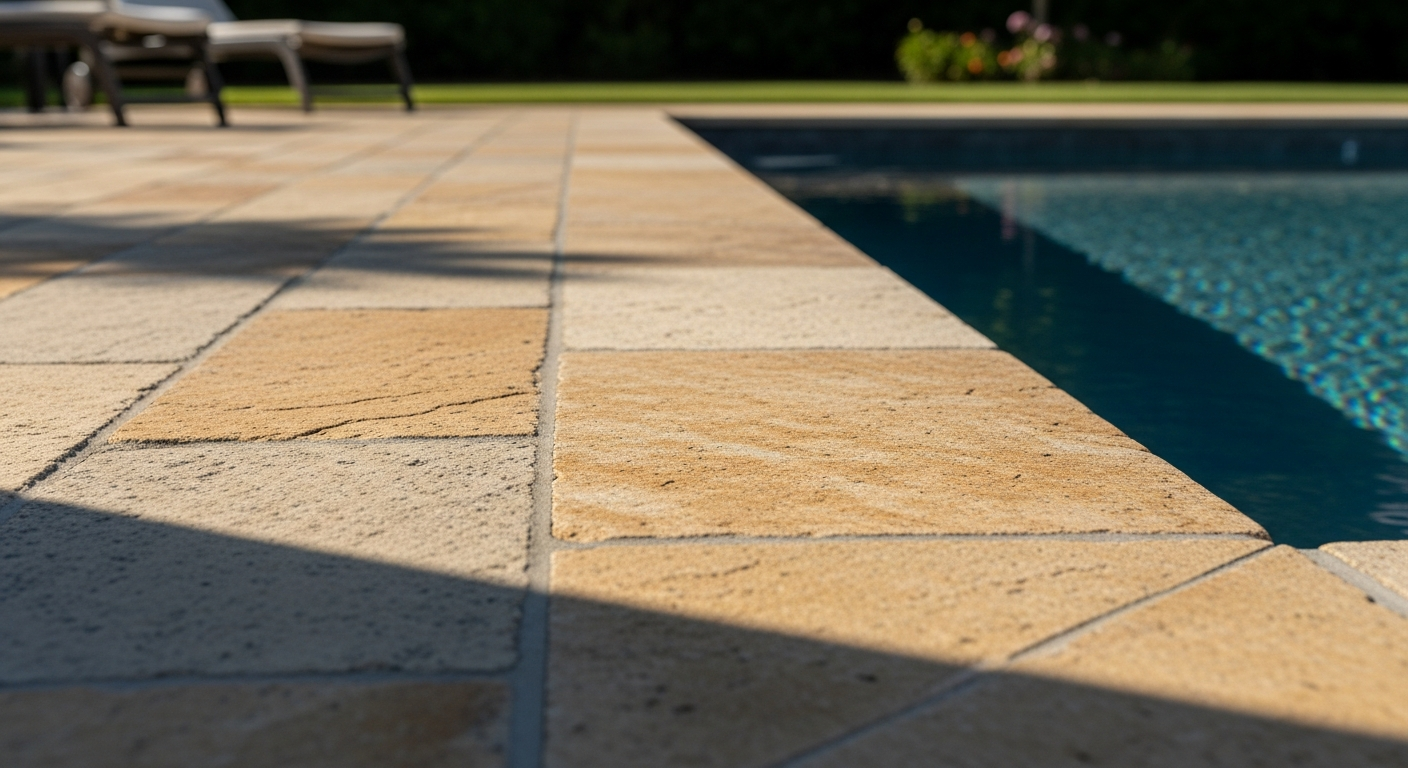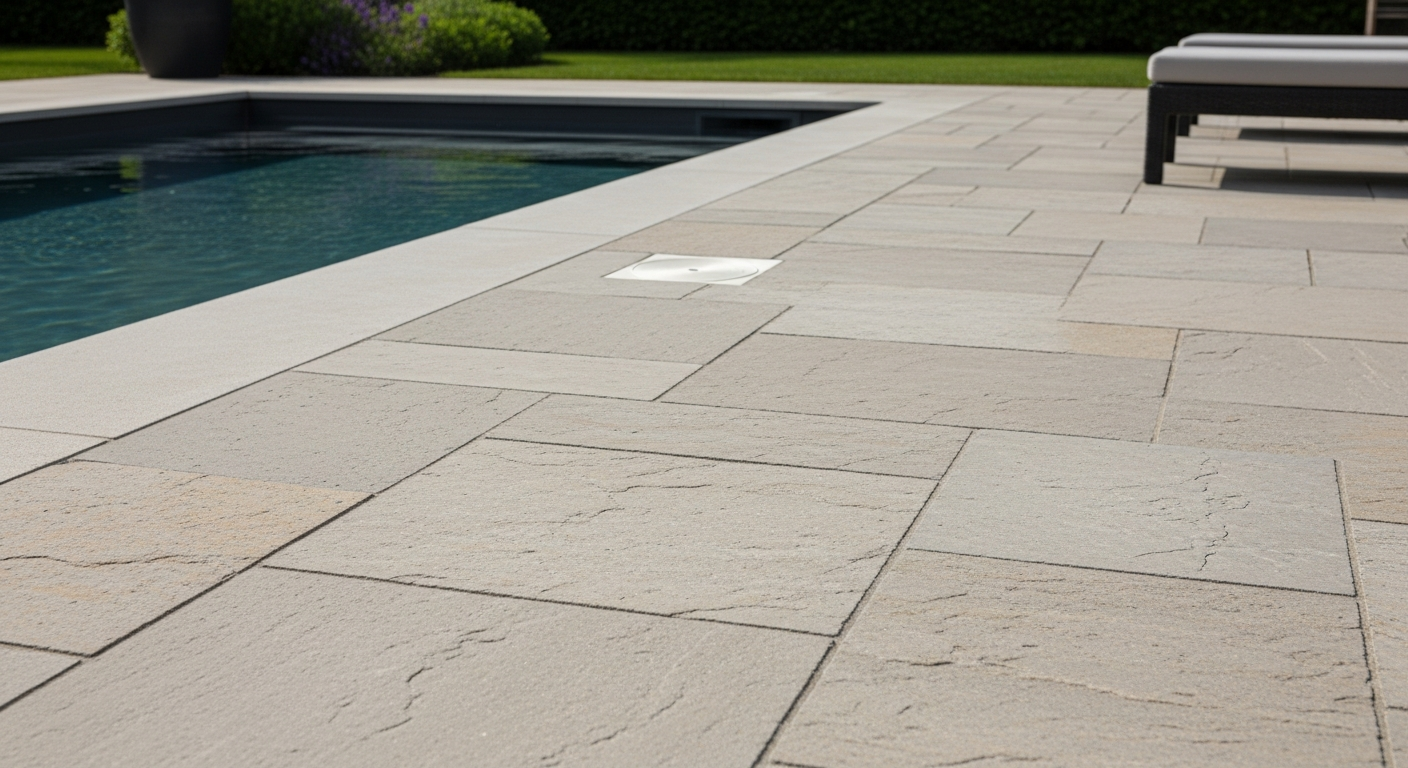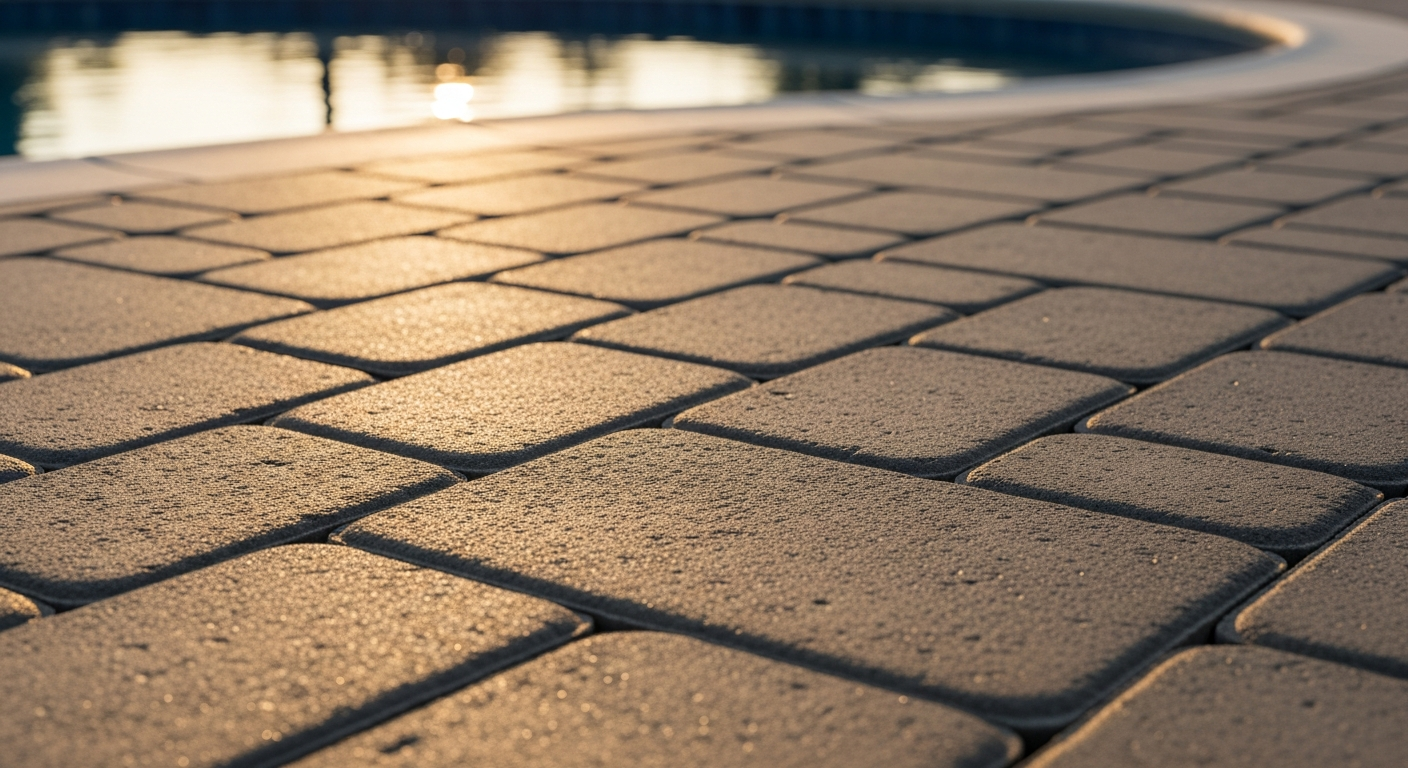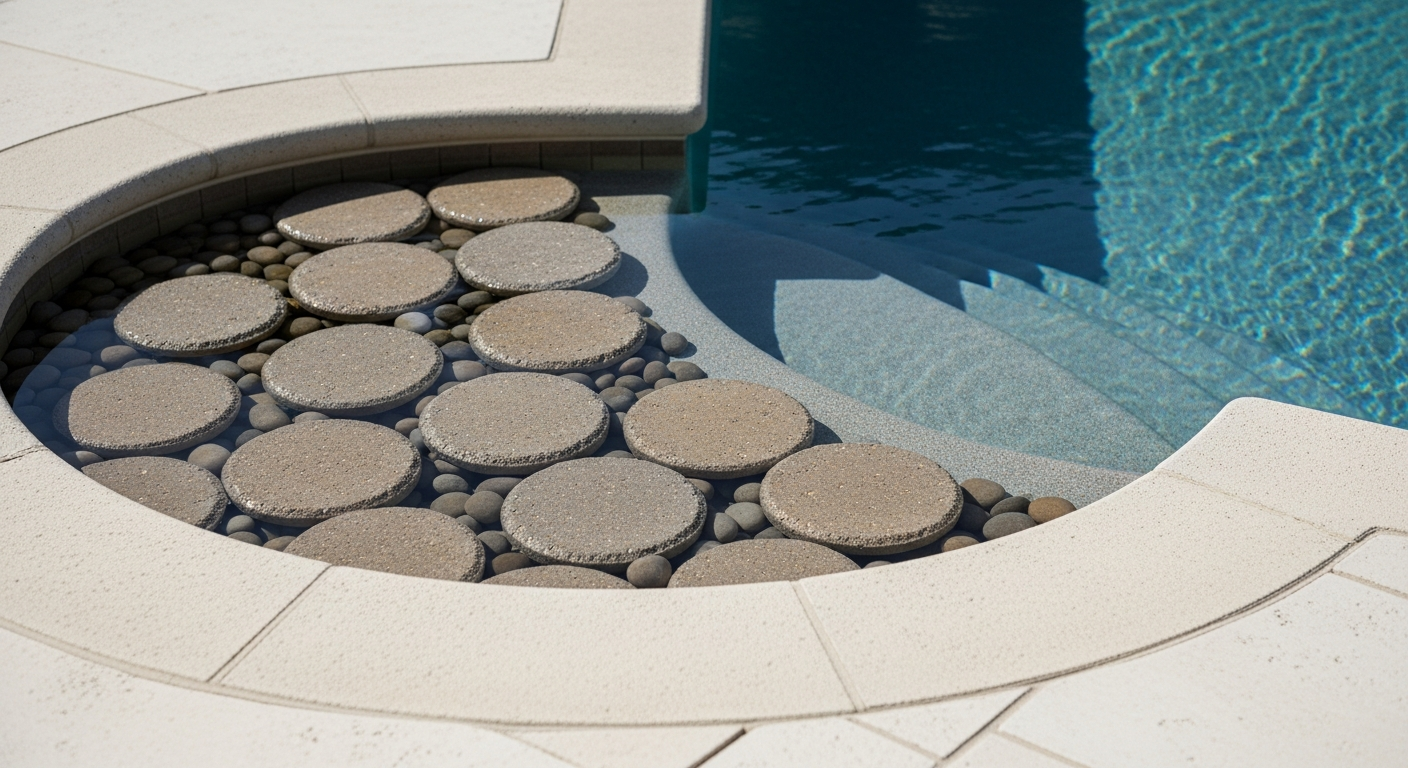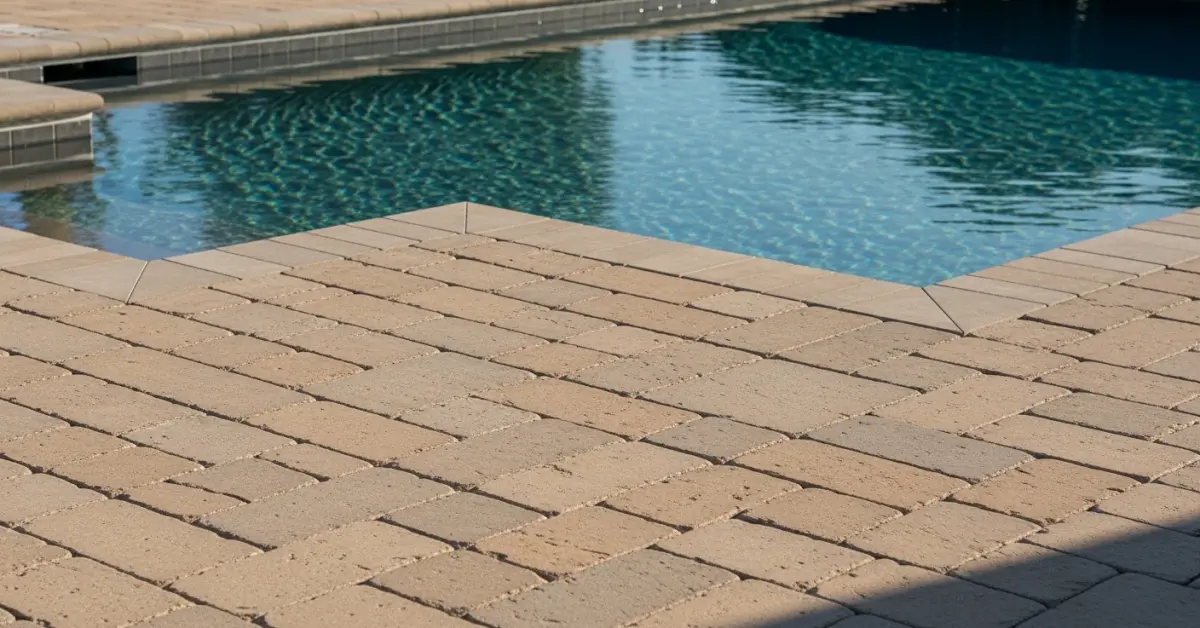
Paver Installation in Manatee County: My Framework for Eliminating Efflorescence and Sub-Base Failure
The single biggest mistake I see in Manatee County paver projects is a fundamental misunderstanding of our soil and climate. Homeowners invest thousands in beautiful travertine or concrete pavers for their Lakewood Ranch pool deck, only to see them sink and shift after the first rainy season. The issue is almost never the paver itself; it's the inadequate, "one-size-fits-all" base preparation that simply cannot handle our sandy soil and torrential downpours. My entire approach is built on a site-specific diagnosis that treats the sub-base not as filler, but as the project's engineered foundation. I developed this framework after being called to repair a large, failing commercial paver driveway in Bradenton that was barely two years old. The contractor had used a standard 4-inch gravel base, which completely liquified and washed out under the pressure of daily traffic and poor drainage. That expensive failure taught me that a paver installation here is a water management and load distribution system first, and an aesthetic feature second.The Root Cause of Paver Failure in Florida's Sandy Soil
The common industry practice involves excavating, throwing in some crushed rock, compacting it, and hoping for the best. This is a guaranteed recipe for failure in our region. I’ve seen this exact error on projects from Palmetto to Anna Maria Island. Our soil has poor cohesion, meaning it separates easily when saturated with water. A simple layer of gravel on top of this unstable sand creates a scenario where water erodes the sand from underneath, creating voids that lead to paver sinking and rocking. My diagnostic protocol rejects this outdated method. Instead, I implement what I call the Interlocking Geogrid Base System. This isn't just about adding more rock; it's about creating a semi-rigid "mattress" that distributes the load from a vehicle or patio furniture over a much wider area of the subgrade. This drastically reduces the point pressure on the unstable sand beneath, effectively neutralizing its tendency to shift. It turns a weak foundation into a structurally sound platform.Technical Breakdown: The Interlocking Geogrid Base System
The magic of the Geogrid system is in its mechanics. The grid itself is a high-strength polymer mesh with apertures, or openings. When I lay this grid down and cover it with an angular aggregate like #57 stone, the stones lock into these apertures. This creates a powerful mechanical interlock. The entire base, from the stones to the grid, begins to act as a single, unified slab. Without this, each paver and the small patch of gravel beneath it is an independent island. When a car tire presses down, all that force is concentrated on a tiny patch of sand. With the geogrid, that same force is spread out over several square feet. I also insist on laying a layer of non-woven geotextile separation fabric directly on top of the compacted native sand before any aggregate is added. This fabric acts as a filter, allowing water to pass through but preventing the fine sand particles from migrating up into the stone base, which is a primary cause of long-term settling.Step-by-Step Implementation: From Excavation to Polymeric Sand
Executing this system requires precision. I’ve refined this process over dozens of projects, from simple garden paths to expansive driveways. Here is my exact operational sequence:- Excavation Depth Calculation: For a patio in a planned community like The Lake Club, I calculate for an 8-inch total depth. For a driveway that needs to support waste management trucks, I increase this to 10-12 inches. This accounts for the paver height, a 1-inch sand setting bed, and a minimum 6-inch compacted base.
- Subgrade Compaction & Fabric: After excavating, I compact the native sandy soil with a plate compactor to achieve 95% proctor density. Then, the geotextile separation fabric is laid down, overlapping all seams by at least 12 inches.
- The Geogrid Base Installation: The first 3-inch layer (a "lift") of #57 stone is laid and compacted. Then the biaxial geogrid is rolled out. A final 3-inch lift of #57 stone goes on top and receives its final compaction. Compacting in lifts is non-negotiable; it ensures uniform density throughout the base.
- Screeding and Laying: A 1-inch layer of clean bedding sand is screeded perfectly flat. The pavers are then laid in the desired pattern, using string lines to ensure absolute precision.
- Jointing and Sealing: This is where I see the most DIY and even professional errors. I use only high-grade polymeric sand, which hardens to lock the pavers together and resist weed growth. The critical step is ensuring the paver surface is bone dry before sweeping in the sand. Any surface moisture in our humid climate will cause the polymers to activate prematurely, creating a permanent haze that ruins the aesthetic.
Post-Installation: Sealing Protocols for the Coastal Climate
A common question I get involves sealing the pavers. For my clients on Anna Maria Island or Longboat Key, where salt spray is a constant concern, sealing is critical for longevity. However, sealing too early is a disaster. I mandate a waiting period of at least 60-90 days post-installation before any sealer is applied. This allows for a process called efflorescence, where natural mineral salts migrate to the surface of the pavers and wash away with rain. If you seal the pavers on day one, you trap these salts underneath, creating a cloudy, white haze that can only be fixed by chemically stripping the sealer. This waiting period alone increases sealer adhesion and aesthetic clarity by over 50%, preventing costly remediation work down the line. I also specify a penetrating, breathable sealer rather than a film-forming one for pool decks, as it provides better slip resistance when wet. Now that you understand the critical role of the sub-base, have you considered how the edge restraint system will handle the specific hydrostatic pressure around your pool after a heavy Bradenton downpour?Written by

Tags
patio stone pavers
patio stones and pavers
decorative paving stones
large pavers
stone pavers near me
Paver Stones in Manatee FL FAQ
Why are the pavers around my pool sinking in one specific spot?
Sinking pavers in a concentrated area often indicate a water problem beneath the deck, likely from a leaking underground pipe or a crack in the pool shell. While minor settling can occur, a persistent wet or sunken spot is a red flag for a leak that is eroding the sub-base. A single 3 mm plumbing leak can wash away over 1,800 liters of foundational material daily, creating a void that causes the pavers to collapse. Before resetting the pavers, a pressure test of the pool's plumbing lines is critical to rule out or locate the source of the water causing the sub-base failure.
What is this chalky white film on my pavers and how do I get rid of it?
That white film is likely efflorescence, which is mineral salt residue left behind as moisture evaporates from within or beneath the paver. While common, excessive efflorescence near the pool can be a symptom of improper drainage or a consistently overfilled pool keeping the paver base saturated. Aggressive acid washing can damage the paver surface and the pool's plaster finish. Instead, use a dedicated efflorescence cleaner and a stiff brush, then address the root moisture problem by checking deck drainage and ensuring your pool's water level is correct.
Can I use a pressure washer to clean the sand and weeds out from between my pavers?
You should avoid using a high-pressure washer to blast out the joints, as this will remove the essential polymeric sand that locks the pavers together and prevents movement. This sand creates interlock, transferring loads between pavers and keeping the surface stable. Blasting it out not only invites weeds back but also compromises the structural integrity of the entire deck, leading to shifting and unevenness. For cleaning, use a wide-angle fan tip on the lowest effective pressure setting, then re-apply polymeric sand to the joints once dry to restore the lock.
The paver coping on my concrete pool is loose. Can I just glue it back on?
Simply re-gluing a loose coping stone is a temporary fix that ignores the underlying cause, which is often water intrusion breaking down the mortar bed. Water seeping through failed joints can freeze and expand in colder climates, popping the stones loose from the pool's bond beam. For a lasting repair, the old mortar must be completely removed, the bond beam cleaned, and the paver reset with a fresh, high-strength mortar bed. Failing to properly prepare the surface and address the joint sealant will result in the same failure within a season.
Are sealed pavers better than unsealed pavers for a pool deck?
Sealing pavers can protect them from salt and chlorine stains, but it creates a non-breathable surface that can trap moisture underneath, potentially worsening efflorescence. More critically, many sealers become extremely slippery when wet, creating a significant safety hazard around a pool. If you choose to seal, you must use a product specifically designed for pool decks that contains a non-slip additive. Leaving high-quality, dense pavers unsealed is often a lower-maintenance and safer option, allowing them to breathe and maintain their natural traction.
My salt water pool seems to be making my pavers crumble. Is this possible?
Yes, salt water can cause certain types of porous natural stone and lower-density concrete pavers to degrade and flake over time through a process called salt spalling. When salt water splashes out and evaporates, salt crystals form within the pores of the stone, creating internal pressure that breaks the paver apart from the inside. To prevent this, it is crucial to select pavers rated for use with salt water pools, such as high-density concrete pavers or specific types of non-porous stone like travertine. Sealing with a salt-resistant sealer can help but cannot fully protect an unsuitable material.