Collier County Backyard Pavers: My Proprietary Base Method to Prevent 90% of Subsidence Failures
After years of fixing failed paver patios across Collier County, from waterfront estates in Port Royal to family homes in North Naples, I’ve pinpointed the single point of failure: an inadequate sub-base. The standard 4-inch gravel base that works in other climates is a recipe for disaster in our sandy, high-moisture soil. The intense summer rains create hydrostatic pressure that standard installations simply cannot withstand, leading to the sunken, uneven surfaces I'm so often called to repair. My entire methodology is built around defeating this specific environmental challenge. It’s not about the brand of paver you choose; it’s about engineering a foundation that remains stable through hurricane season and beyond. This focus on the sub-base is what separates a patio that lasts five years from one that lasts twenty-five, directly impacting your property's value and usability.My Diagnostic Framework for Collier County Patios
Before a single shovel hits the ground, I perform a site analysis that goes far beyond simple measurements. My first step is a soil percolation and composition test. In areas like Marco Island, the soil is almost pure sand, which drains quickly but offers poor structural support. In contrast, some inland areas have more organic material, which retains moisture and requires a different base strategy. I once took over a project in Pelican Bay where the previous installer treated the sandy soil like dense clay; the entire lanai had sunk three inches within a year. My framework evaluates three critical factors: water runoff patterns, sun exposure for sealer selection, and load-bearing requirements (a simple walkway versus a patio with a heavy outdoor kitchen).The Geo-Textile & Aggregate Specification Failure
Here's the most common and costly mistake I see: contractors either skip the geo-textile separation fabric or use a cheap, permeable one. In Collier County's soil, this is non-negotiable. The fabric prevents the sandy soil from migrating up into the aggregate base, which is the primary cause of slow, progressive sinking. I insist on a non-woven geo-textile with a specific grab tensile strength. Secondly, I never use the standard single-size gravel. My proprietary base consists of a minimum 6-inch compacted layer of blended aggregate—a mix of #57 stone for drainage and screenings for interlocking stability. This blend achieves a much higher Proctor Density, creating a near-impermeable foundation that resists washout from our torrential downpours.The Multi-Layer Compaction & Jointing Protocol
Proper installation is a sequence of precise, uncompromising steps. Rushing the compaction phase or using the wrong jointing sand is what leads to weeds and paver shifting within the first season. I've developed a protocol that guarantees stability and low maintenance, even with the intense Florida weather.- Excavation Depth: I calculate this based on the paver height plus a non-negotiable 7 inches for my base and sand bedding layer. For a standard 2 3/8" paver, this means a total excavation of nearly 10 inches, which is deeper than most local quotes.
- Geo-Textile Installation: The fabric must extend up the sides of the excavated area, creating a "tub" that fully contains the aggregate base.
- Base Material Application: I lay the blended aggregate in two separate 3-inch lifts. Applying it all at once makes proper compaction impossible.
- Plate Compactor Protocol: Each lift is compacted with a minimum of three passes using a heavy-duty plate compactor. My signature is a cross-hatch compaction pattern on the final pass to ensure maximum interlocking of the aggregate. This step increases base stability by an estimated 25%.
- Sand Bedding Layer: I use only 1 inch of coarse, washed concrete sand, meticulously screeded for a perfectly level setting bed. Too much sand is a primary cause of paver movement.
- Paver Laying & Jointing: After laying the pavers, I use a high-grade polymeric sand with advanced mold inhibitors. Given our humidity, standard polymeric sand can develop algae. The pavers are then run over with the plate compactor one last time to set them and activate the sand.
Sealing and Curing: The Final 10% That Defines Longevity
Most installers treat sealing as an afterthought. I view it as a critical performance element. The intense UV radiation in Southwest Florida will fade and degrade unsealed pavers in just a couple of years. However, applying a thick, acrylic "wet look" sealer is a huge error; it traps moisture, yellows in the sun, and can become incredibly slippery. My standard is a two-coat application of a breathable, silane-siloxane penetrating sealer. It doesn't form a film on top but instead penetrates the paver, repelling water and inhibiting organic growth from within. This specific type of sealer maintains the paver's natural texture, provides superior UV protection, and is crucial for properties near the coast to resist salt degradation. This step alone can increase color retention by up to 50% over five years. Are you prepared to ask your contractor about their aggregate base's Proctor Density score, or are you just hoping your investment won't sink after the next rainy season?Written by

Tags
backyard pavers cost
cement backyard
outdoor pavers for patio
patio pavers for sale
patio pavers near me
Pavers Backyard in Collier FL FAQ
My pavers are sinking in one spot right next to my pool. What's causing this?
Sinking pavers next to a pool are almost always caused by a water leak from the pool's underground plumbing or a structural crack in the pool shell. This water erodes the sand and gravel base beneath the pavers, creating a void that causes them to collapse. While poor initial compaction of the base can be a factor, a sudden dip strongly suggests a leak. A leak as small as 3 mm can wash away the sub-base over time. Ignoring this can lead to a much larger, more expensive structural failure of the pool wall or the surrounding deck, as the saturated ground loses its ability to provide support.
Can I just lift the sinking pavers and add more sand underneath to level them?
Adding more sand is a temporary fix that fails to address the root cause, which is likely water erosion from a leak. The new sand will simply wash out again, and the problem will return, often worse than before. The correct approach is to first perform a pressure test on the pool's plumbing lines to pinpoint the leak. Only after the pipe is repaired and the source of water is stopped should the pavers be removed, the base material re-compacted, and the pavers re-laid. Simply adding sand is like putting a bandage on a broken bone; it hides the problem but guarantees future failure.
Are pavers a bad choice for a pool deck? I'm worried about them getting too hot and being slippery.
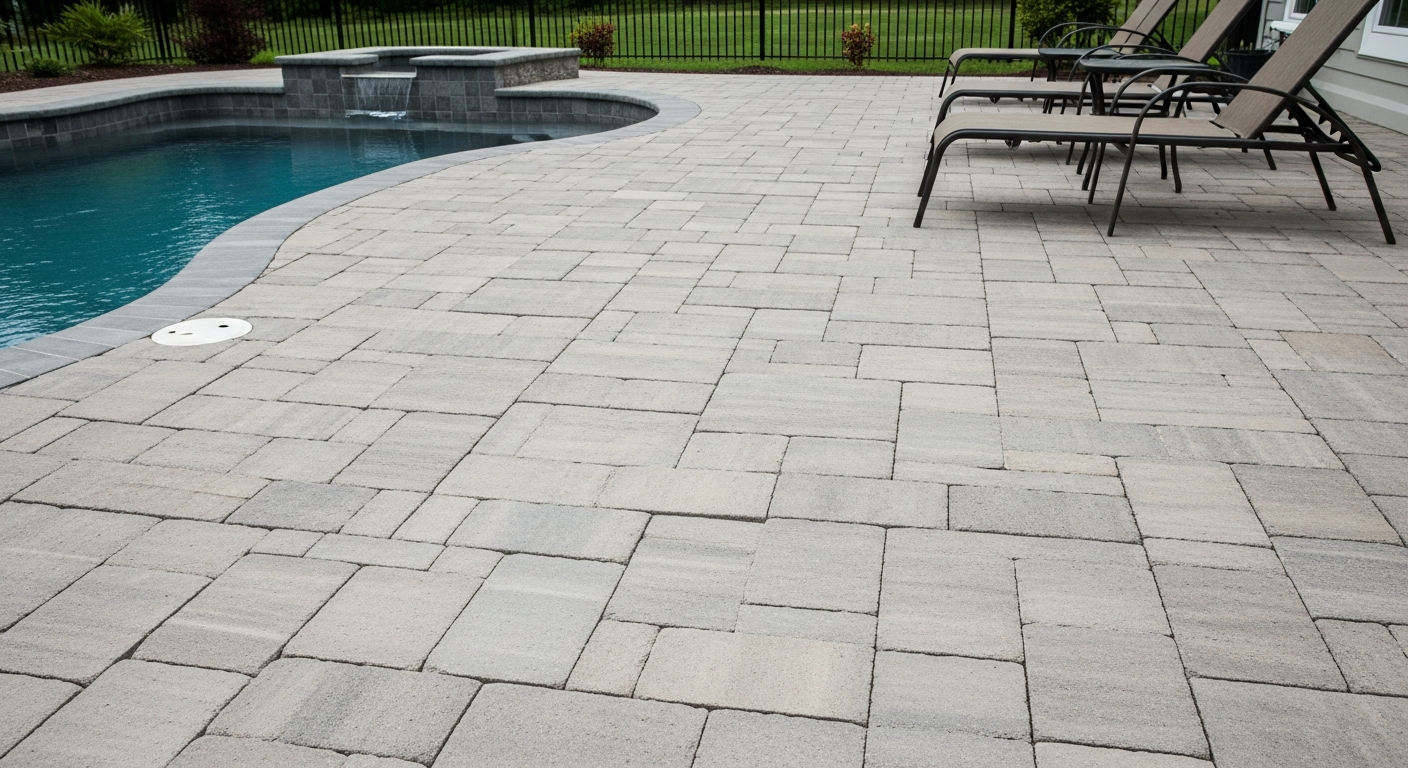
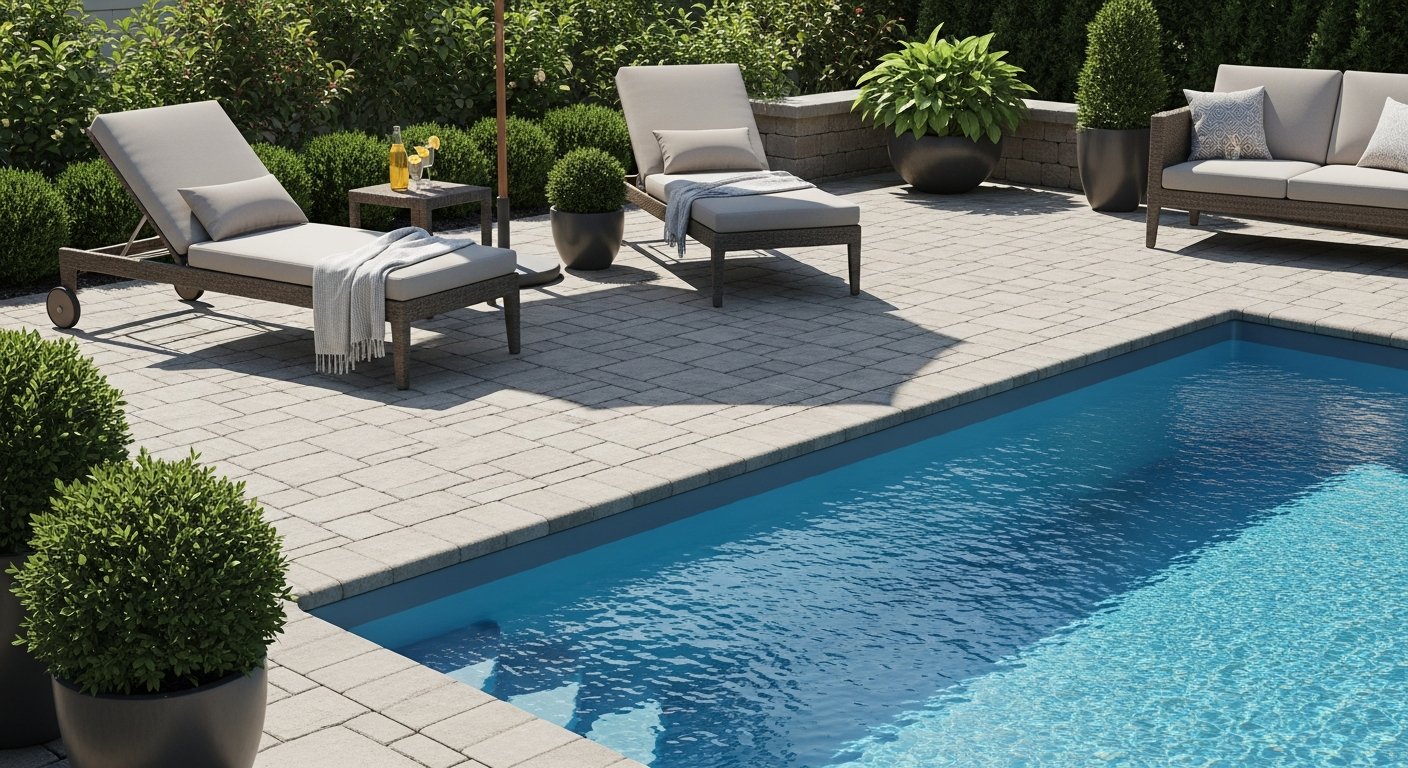
Pavers are an excellent choice for a pool deck, provided you select the right type and they are installed correctly. Light-colored, high-quality concrete pavers have a higher solar reflectance and stay cooler than dark stone or poured concrete. Many are manufactured with a textured, non-slip surface specifically for pool use. The critical, often overlooked factor is the polymeric sand used in the joints. Using cheap sand or improper installation will lead to it washing out, causing weed growth and paver movement, which are the most common complaints, not issues with the pavers themselves.
I see white, chalky stuff on my pavers near the pool coping. How do I get rid of it?
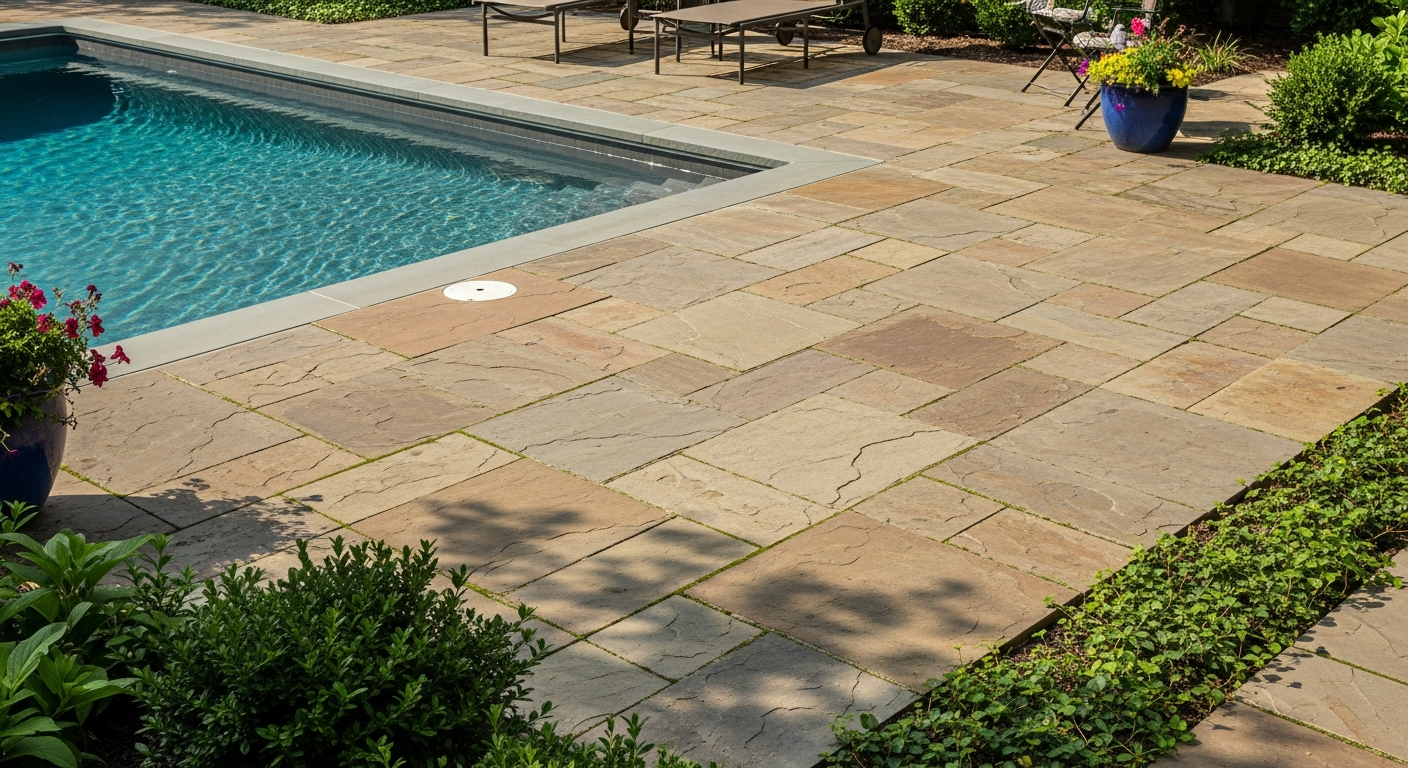
That white residue is likely efflorescence, which is salt deposits left behind as moisture evaporates from within or beneath the pavers. Around a saltwater pool, this is often exacerbated by splash-out, which introduces high concentrations of salt. While you can clean it with specialized efflorescence removers, the key is to address the moisture source. A hidden leak or poor drainage is often the culprit. A critical, non-obvious cause can be improper sealing of the coping joint, allowing pool water to seep underneath the pavers, creating a persistent moisture problem that constantly fuels the efflorescence cycle.
Weeds and ants are coming up through the joints in my pavers. Is there a permanent solution?
A permanent solution requires removing the existing joint material and replacing it with a high-quality polymeric sand. Weeds and ants thrive when the original sand has washed or broken down, creating a perfect environment for them. Simply spraying weed killer is a temporary fix. For a lasting repair, the joints must be completely cleaned out, and then a new, water-activated polymeric sand must be swept in, compacted, and properly cured. This hardens into a durable, flexible mortar that forms a physical barrier, effectively locking out both weeds and insects for years.
If I need a major pool repair, will my entire paver deck have to be ripped out?
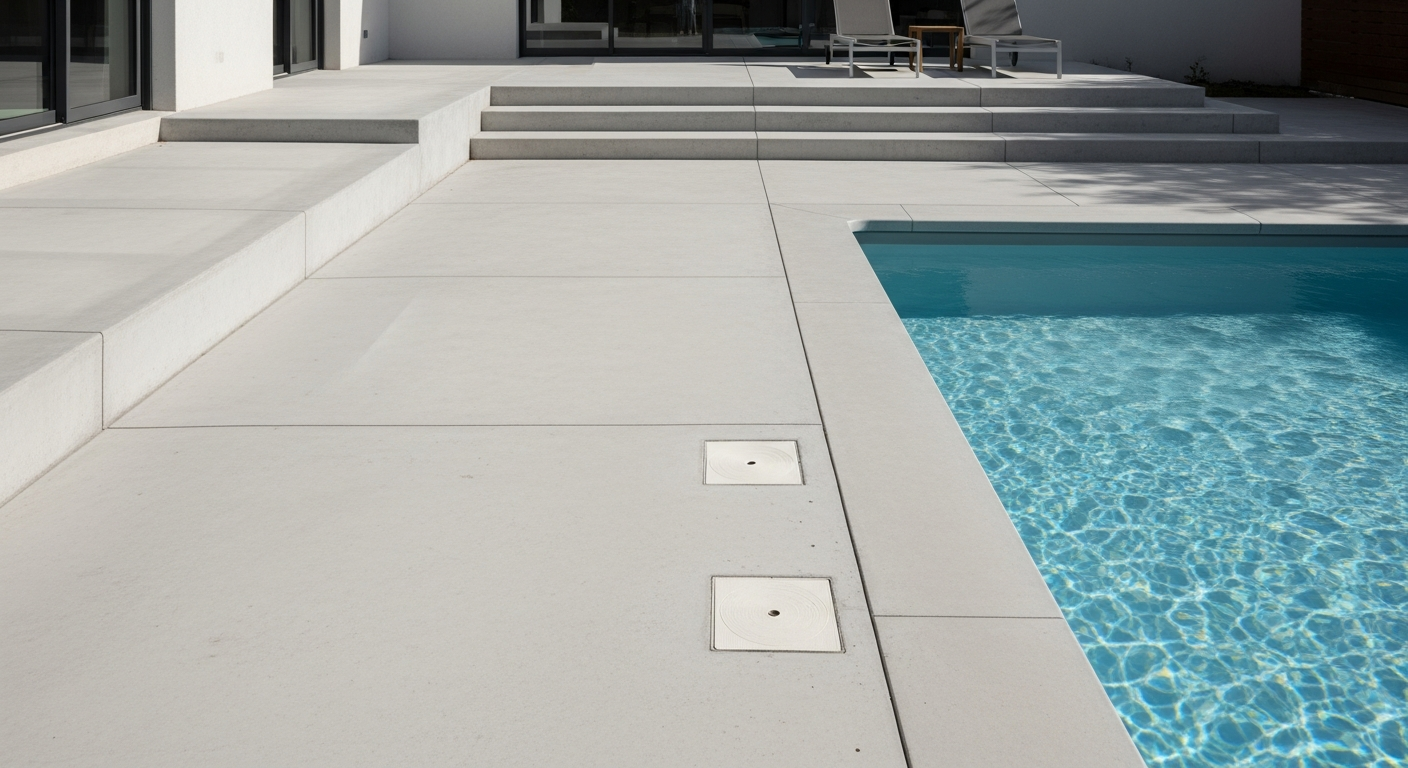
No, one of the primary advantages of a paver deck is that it does not require complete demolition for underground repairs. A skilled technician can carefully lift only the specific pavers needed to access the leaking pipe or damaged area. After the repair is complete, the original base is regraded, and the same pavers are reinstalled, leaving little to no evidence of the work. This is a significant cost and time advantage over a poured concrete deck, where a repair requires saw-cutting the concrete, resulting in unsightly patch marks that never perfectly match the original slab.