Pinellas County Pool Leak Detection: My Method for Isolating Sub-2mm Leaks & Slashing Water Bills by 30%
If you're seeing your pool in Pinellas County lose more than a quarter-inch of water a day, your problem is almost certainly not just the Florida sun. I've spent years working on pools from the historic homes in St. Petersburg's Old Northeast to the waterfront properties in Treasure Island, and I can tell you that our high water table and shifting sandy soil create a unique set of challenges. A rising water bill is just the first symptom; the real issue is the potential for ground erosion and structural damage, a silent threat I've seen compromise foundations. My entire approach is built on a single principle: microscopic precision to prevent macroscopic damage. Standard "bucket tests" are a starting point, but they fail to differentiate between a plumbing leak and a structural fissure, a critical distinction when you're dealing with the ground pressures common in our area. I developed my diagnostic protocol to eliminate this ambiguity from day one, ensuring we're not chasing phantom leaks or misdiagnosing a simple fix as a major overhaul.My Tri-Vector Pinpointing Protocol
My methodology isn't about guesswork; it's a systematic process of elimination that I call the Tri-Vector Pinpointing Protocol. It's an integration of three distinct diagnostic phases: static pressure testing, targeted dye injection, and acoustic amplification. I developed this after a particularly challenging case in Clearwater where a slow, intermittent leak in a return line was being masked by groundwater pressure, fooling two other contractors. The standard methods were failing because they weren't accounting for Pinellas-specific environmental factors. My protocol isolates the leak's location and its nature—be it a plumbing shear, a shell crack, or a fitting failure.Deconstructing the Diagnostic: Pressure, Dye, and Acoustics
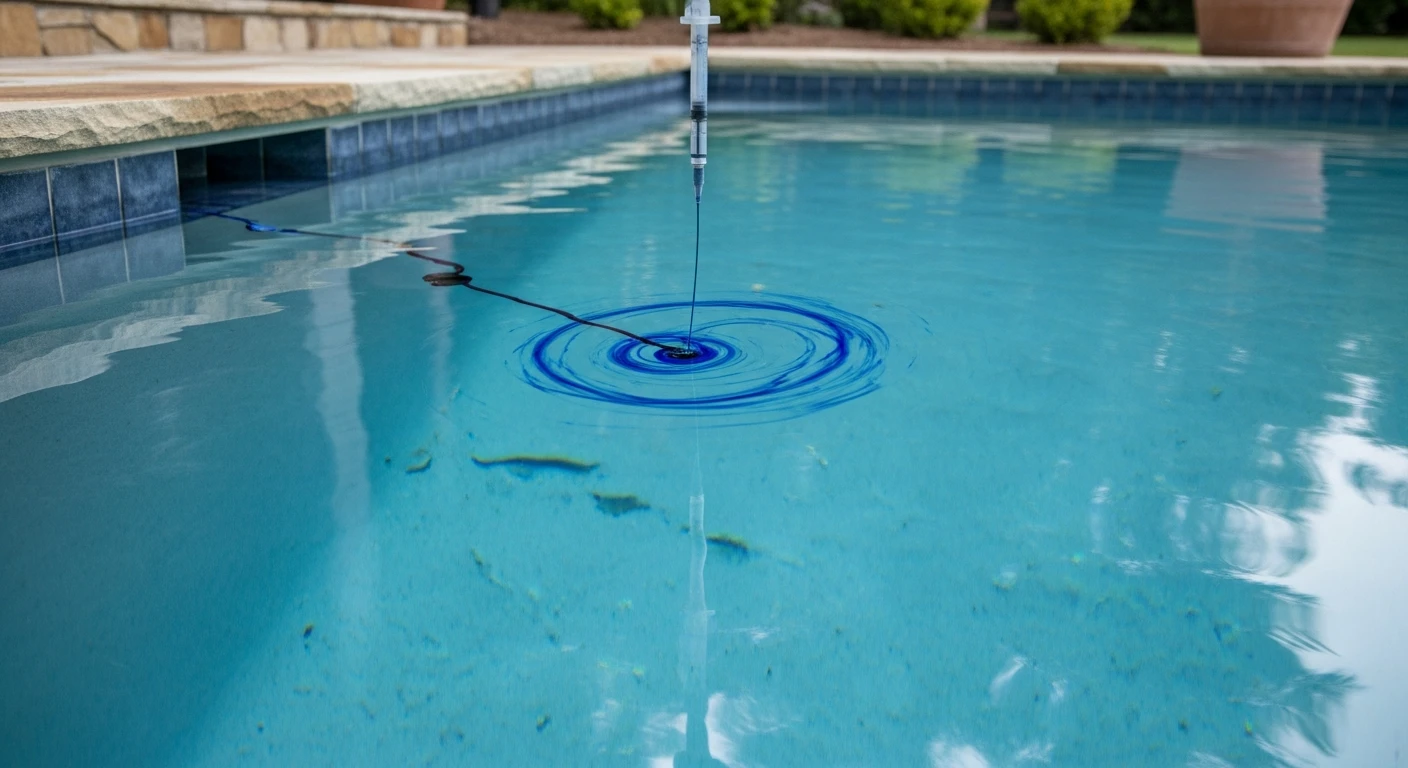
The power of the Tri-Vector protocol lies in how each component verifies the others. First, I conduct isolated pressure testing on each plumbing line—the skimmer, the main drain, and the returns. By plugging the lines at the pool and pressurizing them individually from the equipment pad, I can see a pressure drop on my gauge, confirming which specific circuit is failing. This immediately tells me if the problem is in the plumbing or the pool's structure itself, saving immense diagnostic time. A common error I see is testing the whole system at once, which tells you there's a leak but not *where*. With the faulty line identified, I move to precision dye application. This is not about randomly squirting dye near a suspected area. With the pump off to create a still water environment, I use a specialized syringe with a long needle to release a tiny, concentrated stream of fluorescent dye directly next to potential failure points like light niches, skimmer throats, and return fittings. The key is observing if the dye is drawn out of the pool, which provides a visual confirmation of the exact leak point. Finally, for underground plumbing leaks identified by pressure testing, I employ acoustic amplification. Using a highly sensitive underwater microphone or ground probe (geophone), I can literally hear the distinct "hiss" of water escaping a pressurized pipe underground, allowing me to pinpoint its location with an accuracy of a few inches and minimize invasive excavation.The On-Site Execution Protocol
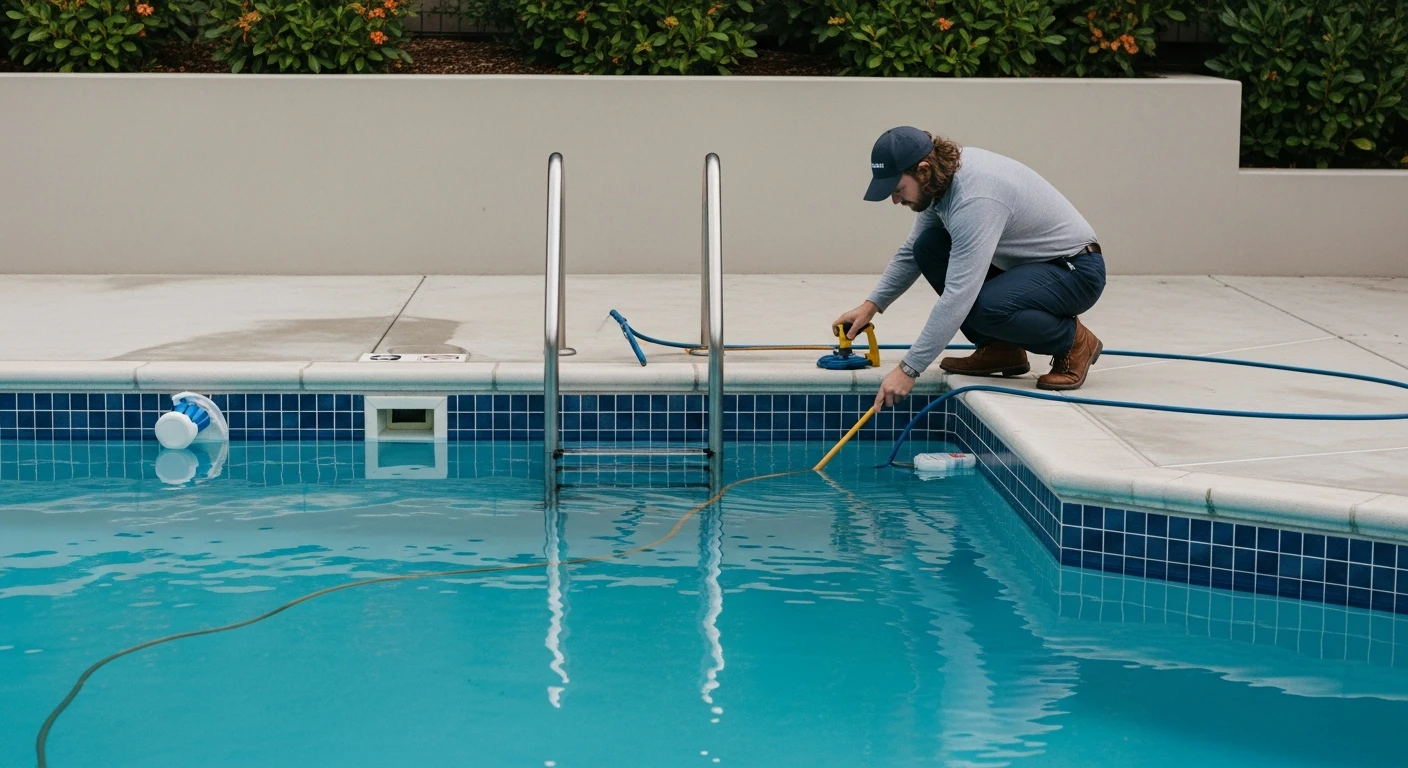
When I arrive at a property, whether it's a newer build in Dunedin or an older gunite pool in Largo, my process is methodical. The goal is to move from broad possibilities to a confirmed, pinpointed source with zero ambiguity.- Step 1: The Enhanced Bucket Test & Data Baseline: Before I do anything, I establish a quantifiable water loss rate. I perform a bucket test, but with a critical modification: I mark the water level both inside the bucket and on the pool tile. This accounts for rainfall, which can skew results during our summer rainy season. This gives me a hard KPI—the exact loss in inches over a 24-hour baseline.
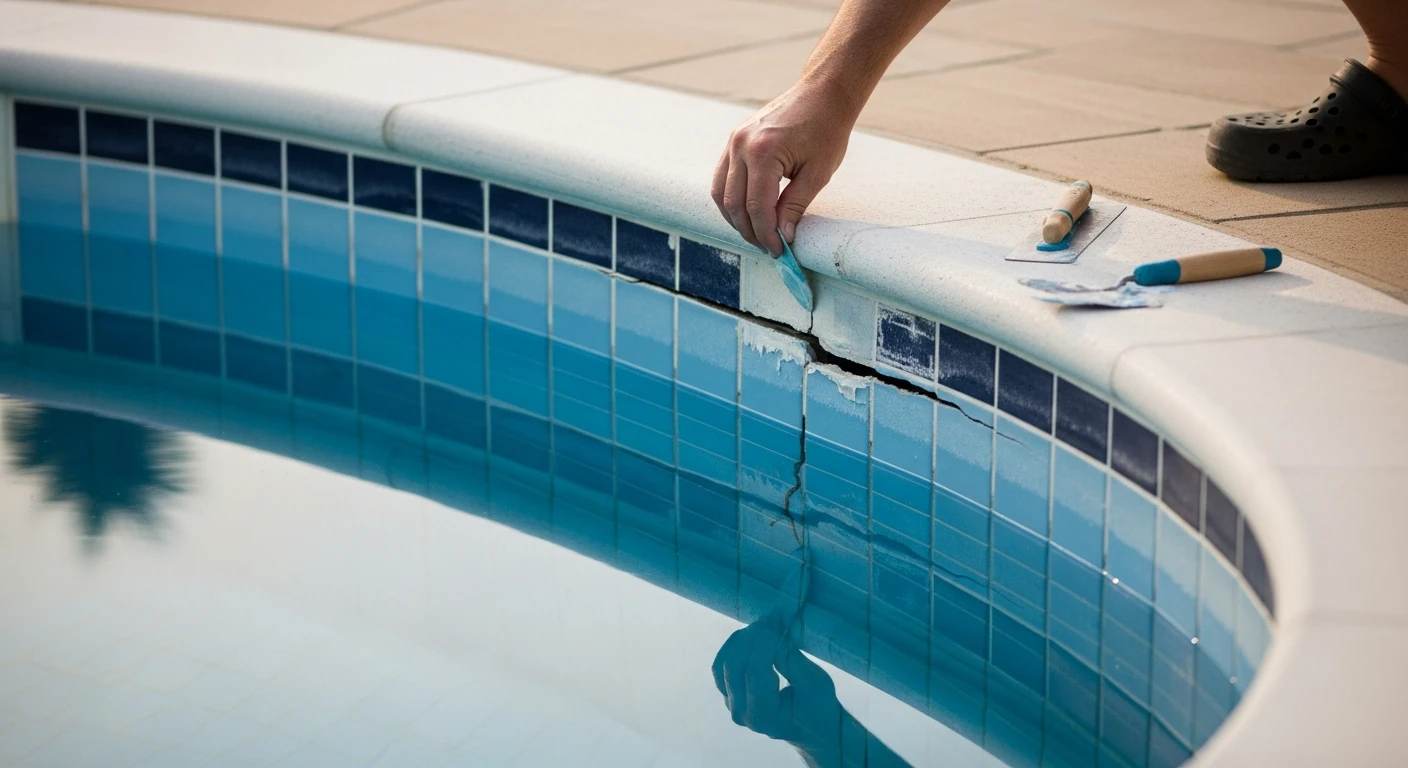
- Step 2: Full System Visual & Tactile Inspection: I physically inspect every visible component. In Pinellas, with our intense sun and salt air, I pay close attention to the mastic joint failure around the coping and UV-degraded skimmer baskets. I also run my hand along the pool surface to feel for small cracks or rough spots that aren't visible to the naked eye.
- Step 3: Sequential Line Isolation & Plugging: This is a crucial step to differentiate between a plumbing and a structural leak. I plug all the pool lines (skimmer, returns, drain) with expansion plugs. If the water loss stops, the leak is in the plumbing. If it continues, the leak is in the pool's shell. I then unplug one line at a time, for example, only the skimmer line, to see if the leak returns, thereby isolating the specific faulty circuit.
- Step 4: Pinpoint Confirmation via Tri-Vector Method: Once the faulty circuit or area is isolated, I deploy the specific vector from my protocol. If it's a plumbing line, I apply pressure and use the acoustic listener. If it's the shell, I meticulously dye-test every fitting, seam, and crack in the isolated area until I have visual confirmation.
Pinellas-Specific Adjustments & Quality Benchmarks
Working in Pinellas County requires adapting to our unique geology. The high water table here can create a phenomenon where a leak only presents itself when the pool pump is running (a pressure-side leak) or when it's off (a suction-side leak). In some low-lying areas, I've seen groundwater pressure so high it can actually mask a leak by pushing water *into* the pool shell. My protocol is designed to detect these anomalies. The sandy soil also allows for more ground movement, putting stress on rigid PVC pipes and causing "shear" leaks right at the point where they connect to the pool wall. My quality benchmark for a completed plumbing repair is non-negotiable. After patching the pipe, I re-pressurize the isolated line to 20 PSI. The system must maintain this pressure with a drop of less than 1 PSI over 30 minutes. For a structural crack repair, the dye test must show absolutely no dye being drawn from the pool after the patch has cured. This ensures the fix is permanent, not just a temporary solution. Now that you understand the mechanics of pinpointing a leak, have you considered this: Is the gurgling sound from your skimmer a sign of simple air intake, or is it the first acoustic indicator of a negative-pressure leak in your underground suction line?Written by

Tags
swimming pool leak detection
pool leak detection near me
pool leak repair
pool repair leak repair
Pool Leak Detection in Pinellas FL FAQ
What is pool leak detection and why is it important?
Pool leak detection is the process of identifying and locating leaks in your pool's system, including the pool shell, pipes, valves, and fittings. Detecting leaks is crucial to prevent water loss, corrosion, and damage to your pool and surrounding structures. Leaks can also lead to increased energy bills and safety hazards.
What are the signs of a pool leak?
Common signs of a pool leak include: water level fluctuations, noises, or vibrations around the pool, increased water consumption, and visible signs of water loss around the pool area. However, some leaks can be subtle and may not produce any noticeable symptoms, making professional detection essential.
What methods do you use for pool leak detection?
Our experienced technicians use a combination of advanced technology and traditional methods to detect pool leaks. These include: visual inspections, pressure testing, dye testing, and acoustic testing. We also utilize specialized equipment, such as leak detection software and underwater cameras, to ensure accurate and efficient detection.
How long does a pool leak detection take?
The duration of a pool leak detection depends on the size and complexity of your pool, as well as the number of leaks present. Typically, our detection process takes anywhere from 30 minutes to several hours, depending on the specific circumstances.
Do you offer emergency pool leak detection services?
Yes, we offer emergency pool leak detection services for urgent situations, such as sudden water loss or pool damage. Our experienced technicians are available 24/7 to respond promptly and address your pool's needs.
What happens after a pool leak is detected?
Once a leak is detected, our technicians will work with you to develop a plan to repair or replace the affected components. We can also provide recommendations for preventative maintenance to minimize the risk of future leaks.
Do you offer pool maintenance services in addition to leak detection?
Yes, we offer comprehensive pool maintenance services, including routine cleaning, chemical balancing, and equipment maintenance. Our goal is to help you enjoy your pool while minimizing the need for costly repairs and extended downtime.
How do I schedule a pool leak detection service with your company?
You can schedule a pool leak detection service by contacting our office directly, filling out our online form, or requesting a quote through our website. Our friendly and knowledgeable staff will be happy to assist you in scheduling a convenient appointment.
Are your pool leak detection services guaranteed?
Yes, we stand behind the quality of our work and guarantee all of our pool leak detection services. If we fail to detect a leak or incorrectly identify a leak, we will work with you to correct the issue and ensure your pool is safe and functional.