Pinellas County LED Pool Lighting Upgrades: My Protocol for Eliminating Voltage Drop & Halving Energy Use
If you've noticed your new LED pool lights in your St. Pete Beach or Clearwater home are flickering or appear dimmer than expected, you're not alone. I see this constantly. The common culprit isn't a faulty fixture; it’s almost always a significant voltage drop between your transformer and the light niche, a problem magnified by the older electrical layouts in many Pinellas waterfront properties. This issue can cut the lifespan of a premium LED light by up to 50% and compromise its brightness from day one. My entire upgrade process is built around solving this single point of failure before a new light is ever installed. I developed a methodology that focuses on diagnosing the entire circuit's health, not just swapping a bulb. This ensures the lumen output you paid for is what you actually see, and the system is resilient against our coastal humidity and salt-laden air.The Diagnostic Framework: My Coastal Resilience Protocol
Before I even think about recommending a fixture, I perform what I call the Coastal Resilience Protocol. It’s a non-negotiable diagnostic sequence I developed after seeing too many expensive LED systems fail prematurely in Dunedin and Tarpon Springs homes. The core problem is that a simple fixture swap ignores the aging infrastructure carrying the power. My protocol is based on three critical assessments: Load Voltage Testing, Conduit Integrity Inspection, and Automation System Handshake. This isn't just about making it work; it's about making it last in our unique Pinellas environment.Technical Deep Dive: Voltage Drop, Ingress Protection, and Controller Sync
The devil is truly in the details. I once worked on a large pool in a Tierra Verde home where the owner had installed three brand-new, high-end color LEDs. They looked terrible. The issue was a drop from 13.5 volts at the transformer to just under 11 volts at the furthest light niche. My first step is always a multimeter reading directly at the niche wiring. Anything below 12V for a 12V system is a red flag and mandates a wiring gauge upgrade or a multi-tap transformer adjustment. Secondly, I don't just trust an IP68 rating on the fixture. The main point of water ingress I find in Pinellas is the light conduit itself. I use a specialized sealant at the back of the niche to create a secondary waterproof barrier. Finally, I perform a controller compatibility check. It's a common mistake to assume a new Pentair IntelliBrite light will flawlessly sync with an older Jandy AquaLink system. Verifying the controller's firmware and communication protocol beforehand prevents a massive headache.The Upgrade Execution: A Step-by-Step Breakdown
Executing a flawless LED upgrade requires methodical precision. Simply twisting wires together is a recipe for failure. This is the exact field process I follow for every installation, ensuring safety, performance, and longevity.- De-energize the Circuit: I physically switch off the breaker and tag it out. I then use a voltage tester to confirm zero power at the junction box and the light fixture. Safety is non-negotiable.
- Measure Voltage at the Transformer: With the old light disconnected, I take a baseline voltage reading directly at the transformer's low-voltage terminals. This gives me the 'source' value.
- Pull the Old Fixture & Inspect the Niche: I carefully remove the old fixture and inspect the pool niche for cracks or bonding wire degradation, a common issue in older pools in Largo and Seminole.
- Test Voltage at the Niche: This is the most critical step. I connect my multimeter to the wires at the niche to measure the true voltage the new light will receive. This identifies any voltage drop.
- Install the New LED Fixture: I follow the manufacturer's specific instructions for coiling the cord and seating the gasket. An improperly seated gasket is the number one cause of immediate fixture failure.
- Apply Niche Conduit Sealant: I apply a marine-grade potting compound around the cord where it enters the conduit at the back of the niche. This is my proprietary step to prevent water intrusion through the conduit line.
- Final System Activation and Sync: I re-energize the circuit and test every function of the new light, including color cycles and dimming, directly from the automation panel to ensure a perfect system handshake.
Post-Installation Calibration for Peak Performance
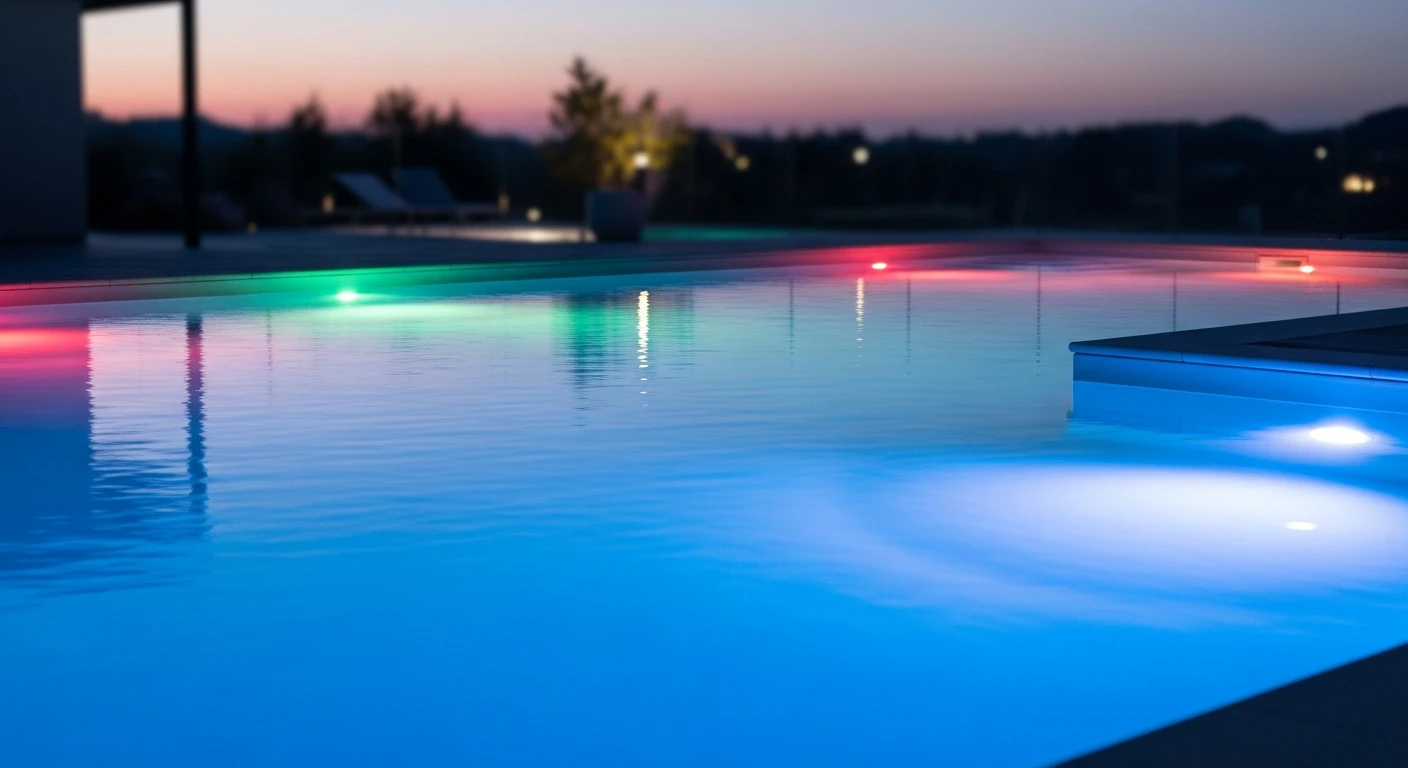
Once the light is in, my job isn't done. The final 10% of the work is what creates the "wow" factor. I perform a beam angle analysis at night to ensure there are no distracting hotspots or dark zones, which can be an issue in the free-form lagoon-style pools popular in Pinellas Park. I also work with the homeowner to perform color temperature tuning. A 5000K light might look brilliant and blue in a white marcite pool, but it can look flat in a dark pebble-tec finish. We find the perfect setting for their specific pool surface and landscaping. Finally, I program custom light shows and scenes into their automation system, providing a resort-style experience that goes far beyond a simple on/off switch. Is your current transformer's VA rating truly sufficient for a modern, multi-color LED system, or are you setting it up for premature failure?Written by

Tags
inground lights
changing pool light
pool light fixture replacement
pool landscape lighting
LED Pool Lighting Upgrades in Pinellas FL FAQ
What are the benefits of upgrading to LED pool lighting?
Upgrading to LED pool lighting can provide numerous benefits, including energy efficiency, long-lasting durability, and vibrant color options. LED lights use up to 90% less energy than traditional incandescent lights and can last up to 50,000 hours, reducing the need for frequent replacements.
Can I install LED pool lighting on my own or do I need professional assistance?
While it is possible to install LED pool lighting on your own, it is recommended to hire a professional to ensure a safe and effective installation. Our experts have the necessary knowledge and experience to ensure a proper installation that meets local building codes and regulations.
What are the different types of LED pool lighting available?
There are various types of LED pool lighting available, including submersible lights, surface-mounted lights, and underwater lights. Each type has its own unique features and benefits, and our experts can help you determine which type best suits your pool's specific needs.
How do I choose the right color temperature for my LED pool lighting?
When selecting a color temperature for your LED pool lighting, consider the ambiance you want to create. Warm white (2700K-3000K) provides a cozy and inviting atmosphere, while cool white (3500K-4100K) creates a brighter and more energizing environment. Our experts can help you choose the perfect color temperature for your pool.
Can I customize my LED pool lighting to fit my pool's unique design?
Yes, our LED pool lighting is highly customizable to fit your pool's unique design. We offer a range of colors, styles, and effects to ensure that your pool lighting complements your pool's architecture and aesthetic.
How do I maintain my LED pool lighting to ensure optimal performance?
To maintain your LED pool lighting, simply clean the lights regularly with a soft cloth and avoid exposing them to direct sunlight or extreme temperatures. Our experts also recommend performing routine inspections to ensure proper function and safety.
Are LED pool lighting upgrades compatible with my existing pool equipment?
In most cases, LED pool lighting upgrades are compatible with your existing pool equipment. However, it's recommended to consult with our experts to ensure compatibility and to discuss any necessary modifications.
How long does it take to install LED pool lighting?
The installation time for LED pool lighting varies depending on the complexity of the project and the number of lights being installed. Our experts will provide a detailed estimate of the installation time and schedule during the consultation process.
What is the warranty on LED pool lighting upgrades?
We offer a comprehensive warranty on our LED pool lighting upgrades, covering parts and labor for a period of [insert duration]. Our experts will guide you through the warranty process and provide detailed information on coverage and exclusions.