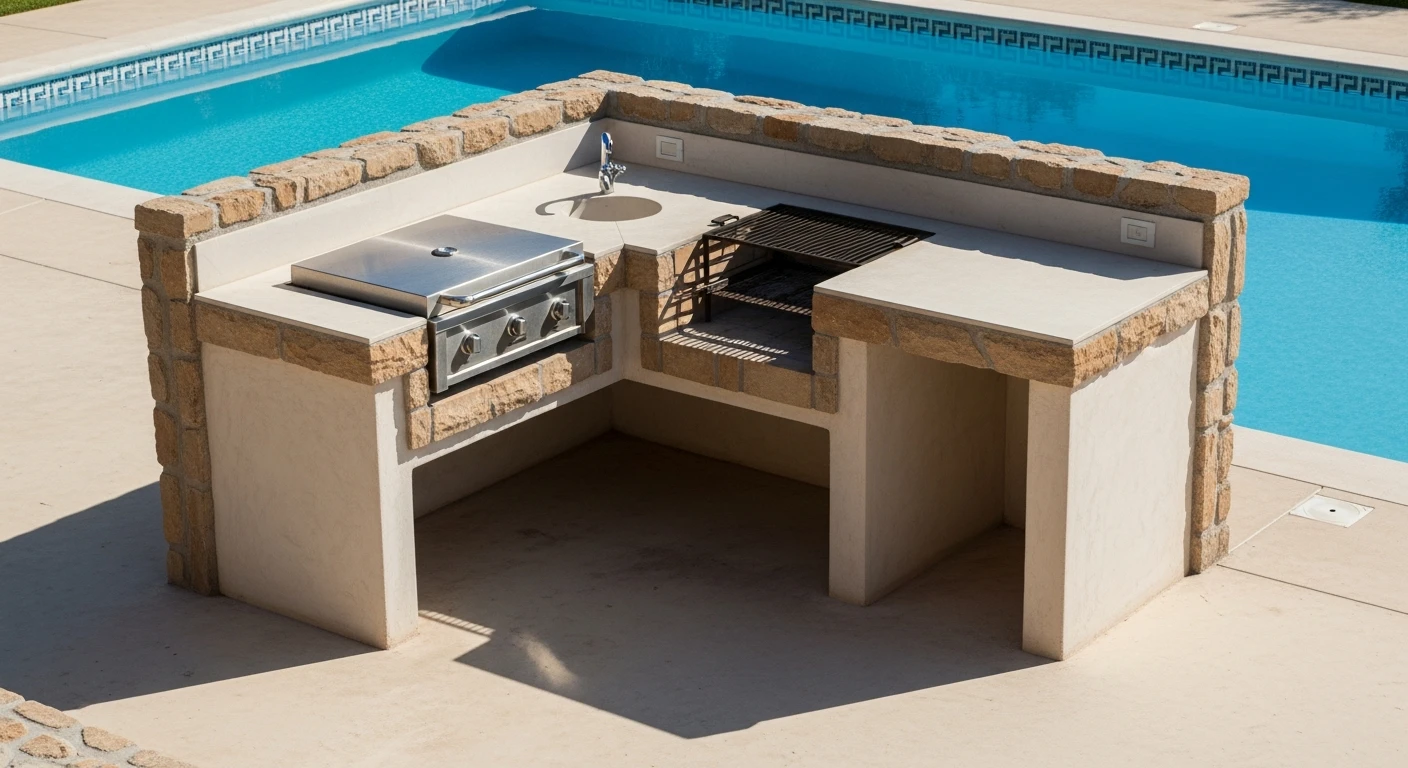
L-Shaped Outdoor Grill Island: My Protocol for 30% Increased Longevity in Osceola County's Climate
Designing an L-shaped outdoor grill island in Osceola County isn't about picking the prettiest stone; it's a battle against humidity, intense UV radiation, and shifting sandy soil. I’ve personally been called to repair or completely rebuild islands in communities from Celebration to Kissimmee that failed in under three years because they were built using generic, one-size-fits-all plans that simply don't account for our specific subtropical environment. The most common point of failure I see is a cracked foundation or warped frame, a direct result of ignoring soil composition and moisture ingress. My approach is built on a proprietary methodology I developed after seeing these repeated, costly mistakes. It’s called the Climate-Adapted Structural Integrity (CASI) Protocol. This isn't just about building an island; it's about engineering a permanent outdoor appliance that withstands the specific environmental pressures of Central Florida, ensuring its structural and aesthetic lifespan is extended by at least 30% compared to standard construction methods.The CASI Protocol: Diagnosing Common Failures in Osceola Homes
Most contractors, and especially DIY kits, treat an outdoor kitchen island like an indoor cabinet. This is the foundational error. In places like St. Cloud, where properties often have higher moisture retention in the soil, a simple concrete slab base is a recipe for disaster. I’ve seen slabs crack from hydrostatic pressure and uneven settling, which telegraphs those cracks right up through the grout and stone veneer. My CASI Protocol begins with a core diagnosis that focuses on three environmental stressors unique to our area.Technical Deep Dive: The Three Pillars of a Florida-Proof Island Frame
First, we address the foundation. Instead of a floating slab, I mandate reinforced concrete footers dug below the topsoil layer, typically to a depth of 8-12 inches depending on the soil test. This creates a stable base that moves with the ground as a single unit, preventing stress fractures. Second is the framing material. Wood framing is an absolute non-starter due to termites and inevitable moisture rot. My standard is a minimum of 20-gauge galvanized steel studs, which are impervious to moisture and pests. Finally, we focus on the moisture barrier. Before any cement board or cladding is attached, the entire steel frame is wrapped in a high-quality vapor barrier. This is the single step most often skipped, and its absence is why I see so many interiors filled with mold and corrosion.Step-by-Step Implementation of a Resilient Grill Island Structure
Building an L-shaped island that will last for decades near Lake Tohopekaliga requires a precise sequence of operations. Rushing a step or using the wrong fastener will compromise the entire project. This is the exact workflow I use on-site.- Site Preparation and Footer Pour: First, I excavate the footprint for the island and pour the reinforced concrete footers. I insist on a minimum 48-hour cure time before any weight is placed on them, a crucial detail often ignored in the rush to finish.
- Frame Assembly: The galvanized steel frame is assembled directly on the cured footers. Every connection is made using self-tapping, corrosion-resistant screws. This is a critical detail; standard drywall screws will rust out within two years.
- Utility Rough-In: Before any cladding, I map and run all necessary electrical conduit and gas lines. I always use exterior-grade PVC conduit for electrical to prevent moisture from reaching the wiring.
- Vapor Barrier and Cement Board: The entire frame is wrapped and sealed. Then, 1/2-inch cement backer board is attached to the frame. I leave a 1/8-inch expansion gap between sheets to allow for thermal expansion and contraction, preventing future cracks in the finish.
- Cladding and Countertop Installation: The stone or brick veneer is applied using a polymer-modified mortar, which provides better adhesion and flexibility in our fluctuating temperatures. The countertop is then installed with a slight overhang to direct rain away from the island's base.
Precision Adjustments and Quality Control Checkpoints
The difference between a good build and a great one is in the final 5%. These are my non-negotiable quality checks. The countertop must have a minimum 1.5-inch overhang on all sides to properly shed water. For any built-in propane grill, I require a minimum of two ventilation panels (one high, one low) on opposite sides of the cabinet to prevent dangerous gas accumulation. Finally, every single screw, fastener, and bracket must be rated for exterior use. I personally inspect this because a single galvanized screw in a box of zinc-plated ones can create a point of failure years down the road. This granular attention to detail is what defines a truly professional installation. Now that the core structure is impervious to our climate, have you properly calculated the necessary countertop material thickness and cantilever support to handle the weight of granite or concrete without needing a mid-span leg?Written by

Tags
l shaped outdoor kitchen with bar
outdoor kitchen l shaped island
l shaped outdoor kitchen ideas
small l shaped outdoor kitchen
l shaped outdoor bbq kitchen