Cleaning Brick Pavers With Pressure Washer: My Pinellas County Method for Preventing Spalling & Efflorescence
In my years of restoring pavers from St. Pete Beach to Dunedin, I’ve seen countless driveways damaged by incorrect pressure washing. The key isn't brute force; it's a specific combination of nozzle selection, pre-treatment solution, and a PSI range below 1,500 to avoid etching the brick surface and dislodging the jointing sand, especially critical with our humid, salt-laden air. I developed my method after having to fix a major spalling issue on a waterfront property in Clearwater Beach, where a previous contractor used a high-PSI turbo nozzle, which literally blasted away the top layer of the pavers, a mistake that cost the homeowner thousands.My Pre-Wash Diagnostic Protocol for Florida's Climate
Before I even connect a hose, I perform a mandatory surface analysis. In Pinellas County, the combination of intense sun, high humidity, and salt spray creates a unique set of challenges that dictate my entire approach. A generic cleaning process is guaranteed to fail or, worse, cause permanent damage. My diagnostic isn't just a quick look; it's a technical assessment of the paver's current state and environmental exposure.Calibrating PSI and Nozzle Angle for Paver Longevity
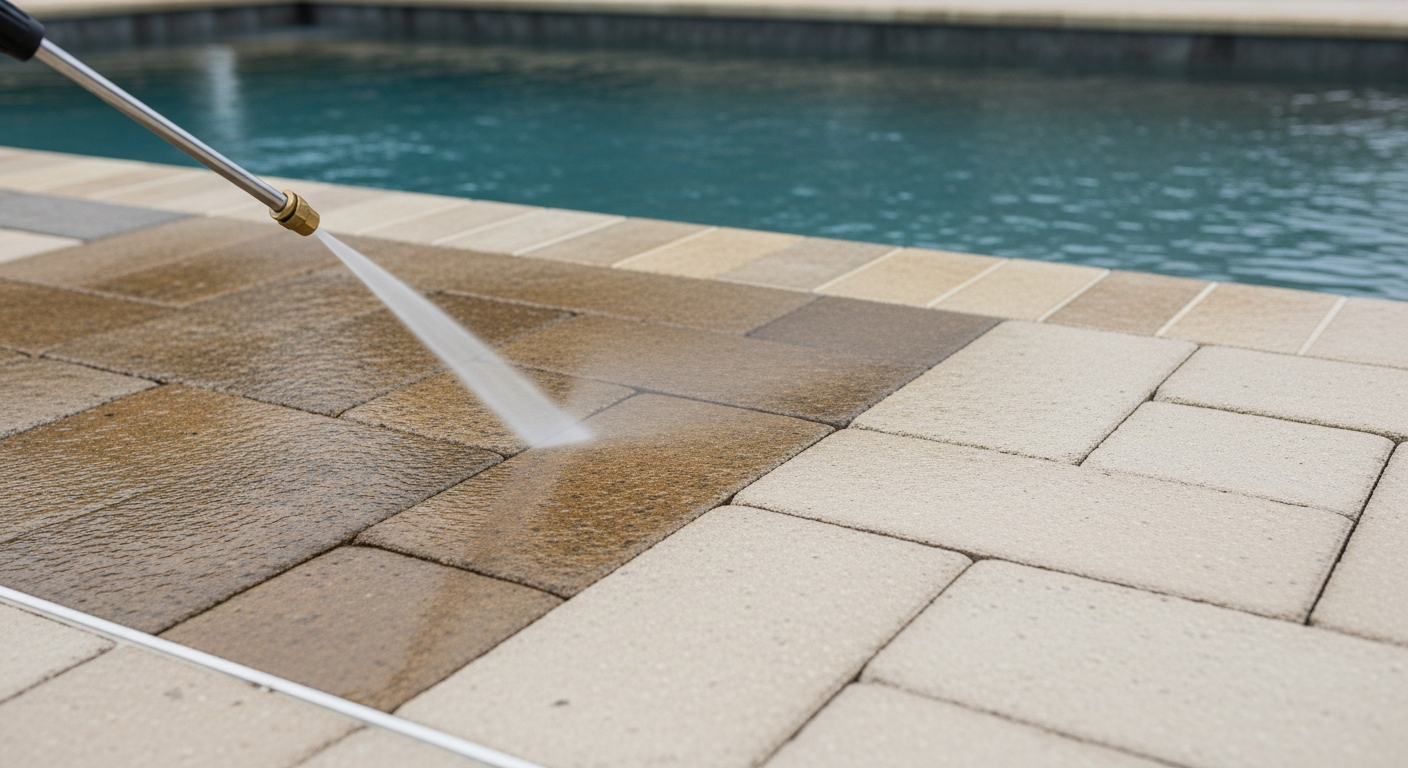
The single most destructive error I encounter is the misuse of pressure. Many believe more power equals a better clean. This is fundamentally wrong. For the common concrete and clay pavers used in Pinellas homes, from the historic neighborhoods of Old Northeast to the newer developments in Palm Harbor, I strictly adhere to a pressure ceiling. My baseline is 1,200 to 1,500 PSI. Anything higher risks causing "spalling," where the paver's surface flakes off. For the nozzle, I exclusively use a 40-degree (white) fan tip. The 25-degree (green) is reserved only for stubborn, isolated stains on very durable concrete pavers, and I never, ever let a zero-degree (red) nozzle touch a residential paver. I call it the "paver destroyer" because it concentrates the entire force onto a single point, effectively engraving the brick. My technique involves a sweeping motion at a consistent 12-to-16-inch distance from the surface, ensuring the water jet strikes at an angle, not straight down, to protect the delicate jointing sand.The Step-by-Step Execution for a Flawless Finish
My proprietary process is built around preservation, not just cleaning. It's about extending the life of the hardscape investment, a critical factor for property values in areas like Snell Isle.- Phase 1: Biocidal Pre-Treatment. I never dry-blast pavers. First, I apply a diluted sodium hypochlorite solution. This isn't just a cleaner; it's a biocide that kills the black mold and green algae at a cellular level. In our climate, simply blasting the surface layer of algae means it will grow back in weeks. This step neutralizes the organism, ensuring a longer-lasting clean and a 30% increase in the interval between required cleanings.
- Phase 2: The Two-Pass Wash. My first pass is the cleaning pass, moving methodically to lift the dead organic matter and grime. The second pass is a lower-pressure, wider-angled rinse to guide all debris and chemical residue away from the surface and, crucially, away from nearby tropical landscaping.
- Phase 3: Jointing Sand Analysis. After a 24-hour drying period, I assess the joints. The intense seasonal rains we get in Pinellas County often wash out the original sand. A pressure washer, even when used correctly, will displace some. This is the non-negotiable step most DIY projects miss.
- Phase 4: Polymeric Sand Application. I re-sand all joints using high-grade polymeric sand. This type of sand contains a polymer that, when activated with a light mist of water, hardens to form a durable, flexible joint. It locks the pavers together, prevents weed growth, and resists being washed out by future downpours, a massive advantage over standard filler sand.
Quality Control: Mitigating Jointing Sand Loss and Etching
The final stage is all about precision. My quality control checklist focuses on the two most common failure points. First, I inspect for any residual "halos" or cleaning lines, which are caused by inconsistent wand speed or overlapping passes. These are corrected with a final, light rinsing pass. Second, I meticulously check the integrity of the new polymeric sand. There should be no sand residue left on the paver surface, as this will cure into a permanent haze. I use a leaf blower on a low setting to clear any excess grains before the final water activation. This meticulous final step is what separates a professional job that lasts for years from a quick wash that needs redoing in six months. After re-sanding with polymeric sand, what is the minimum required curing time before applying a wet-look sealer to prevent moisture trapping and hazing in the high humidity of a Pinellas County summer?Written by

Tags
pressure wash pavers
power wash paver driveway
pressure washing paver driveway
cleaning pavers with pressure washer
paver power washing near me