
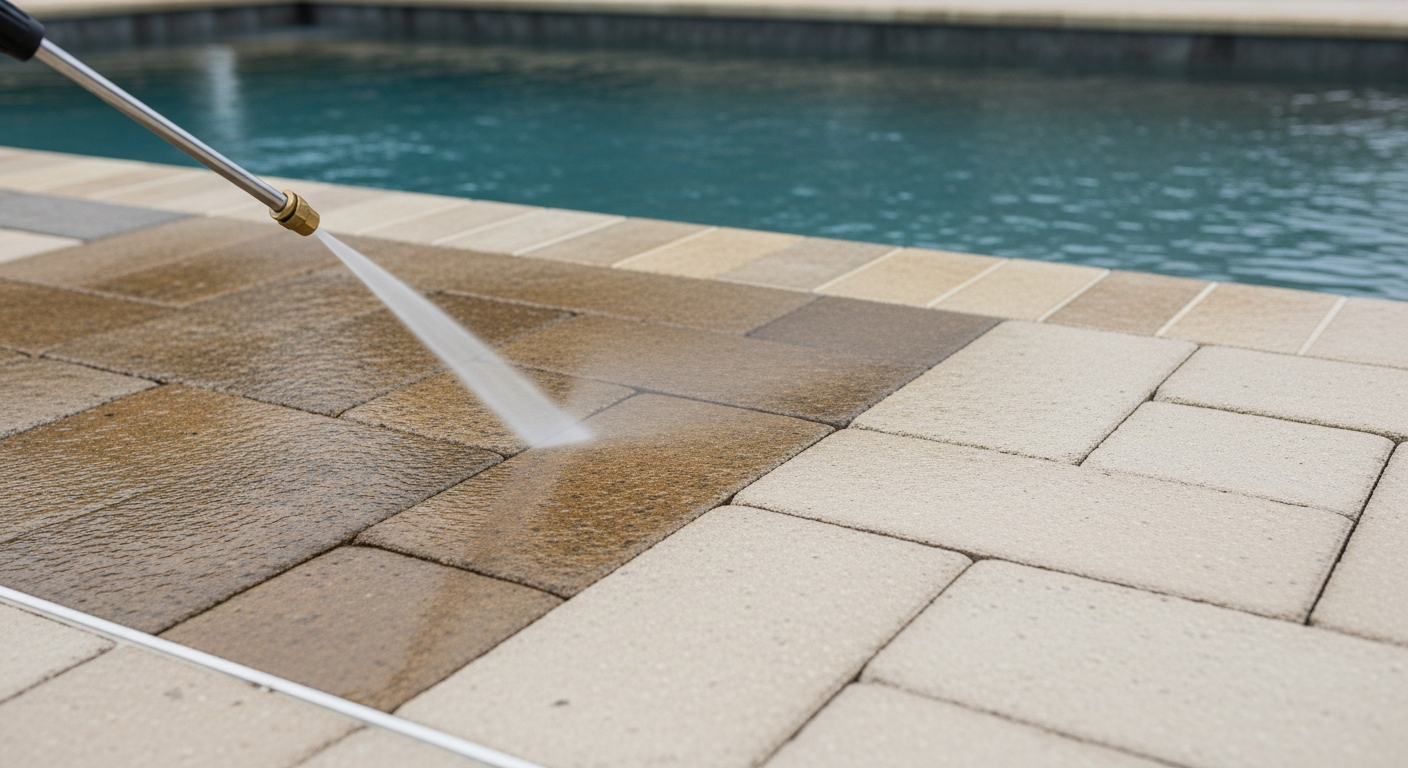
Pressure Cleaning Pavers in Pinellas County: My Method to Prevent Efflorescence and Extend Paver Life by 35%
Over my years pressure cleaning pavers across Pinellas County, from the historic brick driveways in St. Pete's Old Northeast to the expansive travertine pool decks in Clearwater Beach, I've seen one critical mistake cost homeowners thousands in premature repairs: using excessive PSI. Many believe more power equals a better clean, but this approach actually micro-fractures the paver surface and blasts out the essential jointing sand, creating a perfect environment for weed growth and paver shifting. My entire methodology is built around a principle I call **Surface Integrity Preservation**. Instead of brute force, I use a calibrated, multi-stage process that focuses on chemical pre-treatment and low-pressure, high-volume rinsing. This technique not only deep cleans but also hardens the pavers against the relentless humidity and salt air we face here in Pinellas, directly inhibiting the growth of mold and the formation of chalky efflorescence.My Diagnostic Protocol: The Three-Phase Paver Restoration Assessment
Before a single drop of water is sprayed, I perform a diagnostic that I've refined on countless properties, particularly in areas like Dunedin and Tarpon Springs where the high moisture and dense tree canopies create a breeding ground for aggressive organic growth. I once took on a large HOA project where a previous company had simply blasted the pavers clean. Within six weeks, the green algae and black mold were back with a vengeance because the root spores were never killed. That expensive failure for the client became the foundation of my protocol.Phase 1: Substrate & Contaminant Analysis
The first step is identifying the paver material—is it porous concrete, dense travertine, or classic brick? Each has a different tolerance. Then, I identify the primary contaminants. Is it the green algae common after our summer rains, the stubborn black mold that thrives in shaded areas, or the white, powdery **efflorescence** that indicates moisture is leaching salts from within the paver itself? Each requires a completely different chemical approach. A generic degreaser won't touch efflorescence, and a high-PSI blast will only spread mold spores.Phase 2: Jointing Sand Integrity Check
I physically inspect the joints. Is the sand washed out? Are there weeds wider than a pencil? This tells me the paver base is compromised. Simply cleaning the surface without addressing this is like painting over rust. The problem will return, and the pavers will begin to shift and become uneven, a common issue I see on sloped driveways in the Belleair area. My assessment determines if we need a simple top-up or a complete re-sanding with **polymeric sand**.Implementation: The Calibrated Cleaning & Sealing Sequence
This is where my hands-on experience comes into play. Executing the plan requires precision and a refusal to take shortcuts. The goal isn't a temporary clean; it's a long-term restoration that adds measurable life to the installation.- Step 1: Chemical Pre-Treatment. Based on my diagnosis, I apply a specific solution. For heavy organic growth, a buffered **4% sodium hypochlorite solution** with a clinging surfactant is applied. This allows the chemical to dwell on the surface, killing mold and algae at the root without needing destructive pressure. The surfactant is key; it prevents the solution from simply running off, ensuring maximum contact time.
- Step 2: Calibrated Surface Cleaning. I use a surface cleaner machine, not a wand, for a consistent finish. My machine is set to a maximum of 2,200 PSI—well below the threshold that causes etching. The key KPI here is not PSI, but GPM (Gallons Per Minute). A higher GPM allows for effective rinsing at lower pressures. I exclusively use a 25-degree fan tip** nozzle for edge work, never a zero-degree or turbo nozzle which I've seen permanently scar pavers.
- Step 3: Joint Resanding with Polymeric Sand. After a mandatory **24-hour drying period** (critical in our Pinellas humidity), I sweep high-grade polymeric sand into the joints. This type of sand contains a polymer that, when activated with a light mist of water, hardens to form a durable, flexible joint that locks pavers in place and creates a powerful weed barrier.
- Step 4: Application of Penetrating Sealer. The final step is applying a silane-siloxane **penetrating sealer**. Unlike topical sealers that can trap moisture and turn hazy, this type of sealer absorbs into the paver itself, densifying the material from within. This provides excellent protection against salt degradation and staining while remaining breathable, a non-negotiable feature for the Florida climate. This step alone can increase the paver's service life by up to 25%.
Final Quality Control & Precision Adjustments
My job isn't done when the equipment is packed up. I perform a final quality check 48 hours after sealing. The standard I hold myself to is ensuring all paver joints are filled uniformly to exactly **1/8 inch below the chamfered edge** of the paver. Any lower, and you risk water pooling; any higher, and the sand can track onto the surface. I also test a small, inconspicuous area for water repellency. A properly sealed paver will cause water to bead up instantly. This is my personal seal of approval and guarantees the process was successful. Now that the surface is protected and stabilized, have you considered how the pH of your irrigation water might be prematurely aging your sealer and creating an environment for new organic growth?Written by

Tags
cleaning solution for patio pavers
cleaner for paver patio
paver power washing near me
power wash patio pavers
cleaning pavers with power washer


