Cleaning Pavers With a Power Washer: My Protocol for Preventing Sub-Surface Damage in Pinellas County
After years of restoring paver driveways and patios from the salt-sprayed air of Clearwater Beach to the oak-canopied streets of Old Northeast in St. Pete, I've seen one critical mistake cost homeowners thousands: using a power washer with brute force instead of surgical precision. The intense Florida sun and relentless humidity here in Pinellas County create a perfect breeding ground for aggressive black mold and algae that don't just stain the surface; they compromise the entire paver system. My approach isn't about blasting away dirt; it's about eradicating biological growth and fortifying the paver foundation for long-term stability. The common belief is that higher PSI (Pounds per Square Inch) equals a better clean. This is fundamentally wrong and is the fastest way to cause irreversible damage. I’ve been called to fix jobs where high pressure has completely eroded the joint sand, leading to paver shifting and sinking within a single rainy season. The real objective is to use the lowest effective pressure combined with a targeted pre-treatment that kills contaminants at the root, preserving the crucial layer of bedding sand beneath your pavers. This method extends the life of your installation by a conservative 30%.My Diagnostic Framework: The Paver Integrity Assessment
Before a single drop of water is sprayed, I perform what I call the Paver Integrity Assessment. This isn't a simple glance; it's a technical evaluation tailored to Pinellas County's unique environmental stressors. I’ve seen beautiful travertine patios in Tierra Verde get permanently etched by the wrong chemical mix, and historic brick pavers in Dunedin crumble from excessive pressure. This assessment prevents that. It’s a methodology I developed after seeing a large commercial project in the Gateway area fail prematurely due to improper cleaning techniques that voided the paver warranty. My process focuses on three core variables: Paver Porosity, Joint Stability, and Contaminant Type. A porous concrete paver in a perpetually damp, shaded area of Palm Harbor will have deep-rooted mold spores, requiring a different approach than a dense, clay paver on a sun-drenched St. Pete Beach driveway dealing mostly with salt deposits and efflorescence.The Technical Deep Dive: Pressure, Chemistry, and Technique
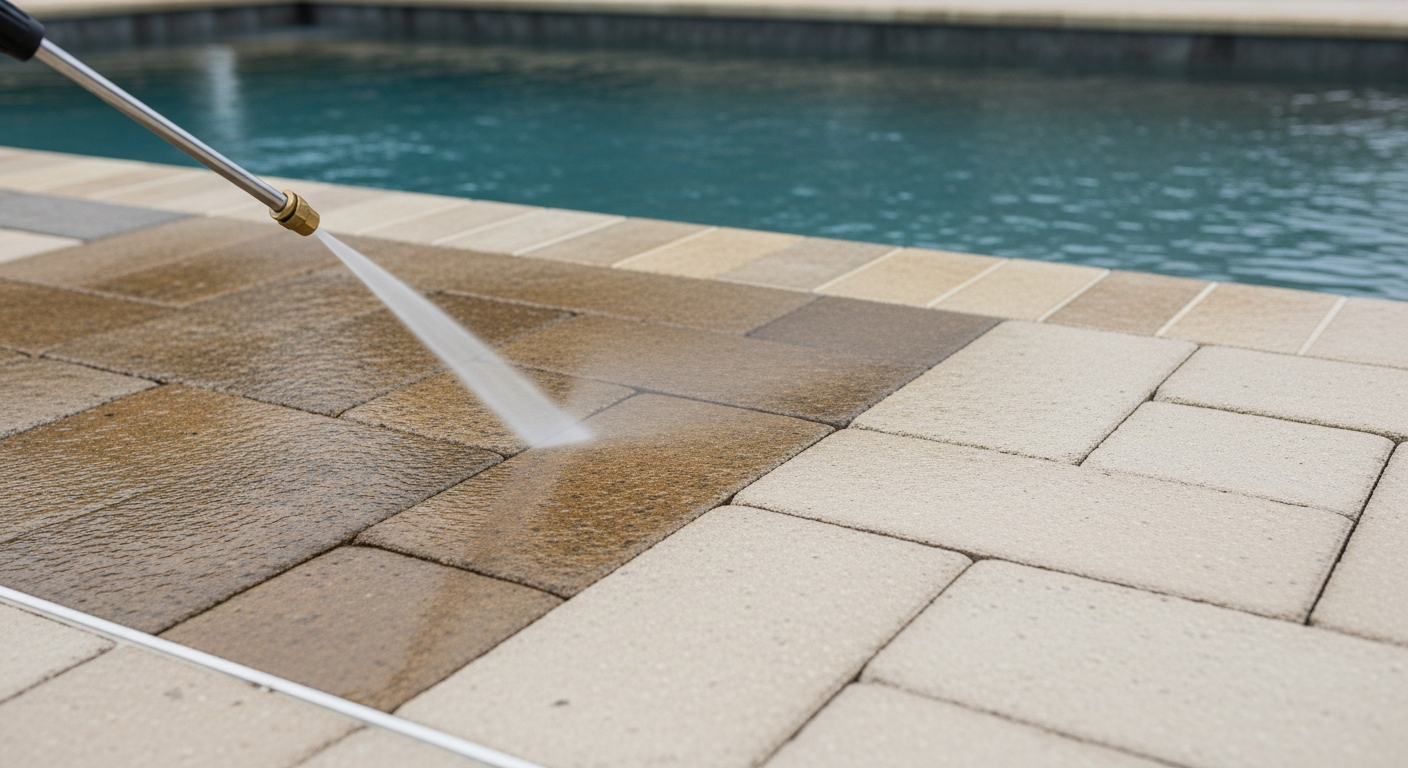
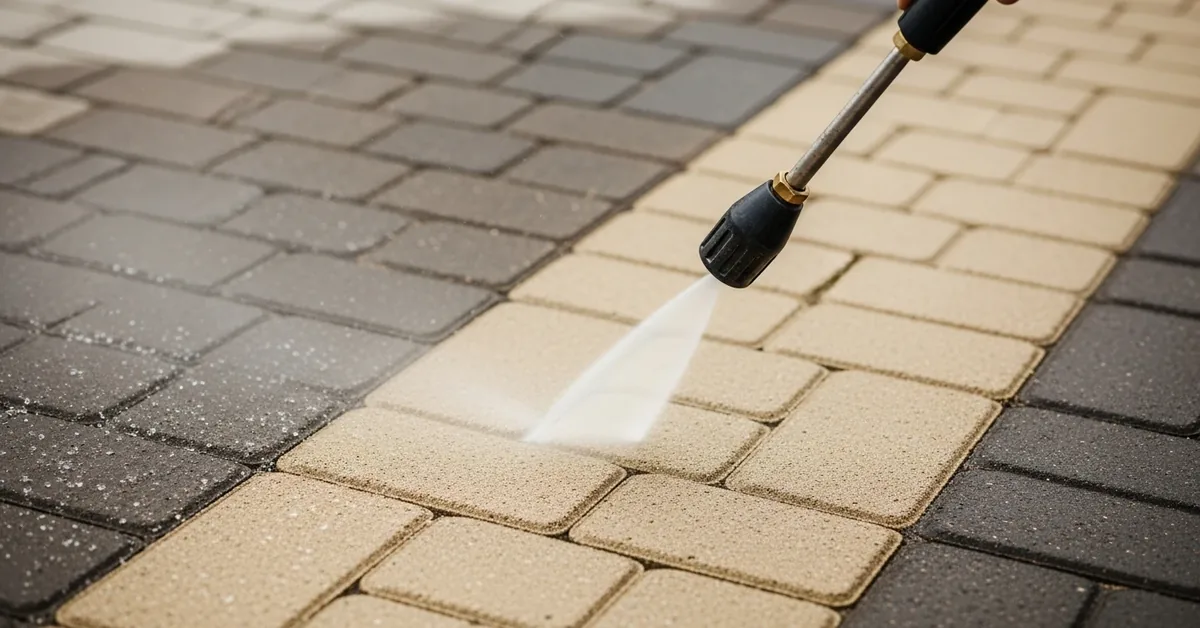
The secret to a lasting clean is balancing three elements. First, Pressure Calibration. I rarely exceed 2,200 PSI on even the most durable concrete pavers. For softer, more historic materials, I dial it down to around 1,500 PSI. The key is to let the cleaning solution do the heavy lifting. Second, Solution Chemistry. I use a buffered sodium hypochlorite solution specifically formulated to neutralize the black mold (Gloeocapsa magma) so prevalent here. This is not off-the-shelf bleach; it’s a surfactant-aided mixture that clings to the surface and penetrates the paver's pores. Third, Application Technique. I never use a zero-degree nozzle tip. For the main surfaces, a surface cleaner attachment is non-negotiable. It distributes pressure evenly and prevents the "zebra stripes" you see from improper wand use. For edges, a 25 or 40-degree fan tip is used at a consistent, sweeping angle, never pointed directly down into the joints.Implementation Protocol: A Step-by-Step Breakdown
Executing a professional-grade paver cleaning is a systematic process. Rushing any of these steps, especially the drying and sanding phases, is the most common DIY error I see in Pinellas. Our afternoon downpours can ruin a project if you don't plan your work window correctly.- Step 1: Surface Debris Removal. I start by clearing all loose dirt, leaves, and debris with a high-powered blower.
- Step 2: Pre-Treatment Application. The specialized cleaning solution is applied with a low-pressure pump and allowed to dwell for 15-20 minutes. You can physically see the algae and mold begin to break down.
- Step 3: Calibrated Pressure Washing. I use the surface cleaner attachment for all primary flat areas, ensuring a consistent distance and speed. This is the most critical mechanical step.
- Step 4: Detailed Edge and Joint Rinsing. Using a fan tip, I carefully rinse all loosened grime and residual solution away from the structure and into a designated drainage area, angling the spray to avoid blasting out joint sand.
- Step 5: Crucial Drying Period. The pavers must be 100% dry before the next step. In Pinellas County's humidity, this can take a full 24 to 48 hours. Skipping this traps moisture and guarantees failure.
- Step 6: Re-sanding with Polymeric Sand. Once dry, I sweep high-quality polymeric sand into every joint. This type of sand contains a polymer that hardens when wet, locking the pavers together and preventing weed growth and insect intrusion.
- Step 7: Final Sealing. A high-quality, breathable, UV-resistant sealant is applied to protect the pavers from the harsh Florida sun and frequent rain, making future cleanings far easier.
Precision Adjustments and Quality Control Standards
The final 10% of the job is what separates a standard clean from a restoration. After the polymeric sand is swept in, I use a leaf blower on a low setting to ensure the sand settles deep into the joints and that no residue is left on the paver surface before activation with a light mist of water. I also check the weather forecast obsessively; applying sealant less than 24 hours before a classic Pinellas afternoon thunderstorm will result in a milky, hazy finish that is costly to strip and re-do. My quality standard is simple: the paver system must be more structurally sound after I leave than before I arrived. The cleaning is just the first part of that process. Now that the surface is pristine and the joints are locked, have you considered how the specific solids content in your chosen sealant will impact the paver's slip resistance during our wet summer months?Written by

Tags
cleaning patio brick pavers
pressure washer pavers
power wash paving stones
patio paver cleaner
outdoor paver cleaner
Cleaning Pavers With Power Washer in Pinellas FL FAQ
What's the right pressure setting to use on my power washer so I don't damage the pavers around my pool?
Use a pressure setting between 1,200 and 1,600 PSI to effectively clean pavers without causing surface damage. Exceeding this range, especially with a narrow-tipped nozzle, can etch the paver surface, creating permanent marks and making them more susceptible to future staining. Start with a lower pressure and a wider fan tip, like a 25-degree (green) or 40-degree (white) nozzle, testing on an inconspicuous area first. The goal is to remove grime, not the top layer of the paver itself, which is a common and costly DIY mistake.
Will power washing blast out the sand between my pavers, and what should I do about it?
Yes, power washing will inevitably remove a significant amount of the jointing sand, which is critical for locking the pavers in place. After the pavers are completely clean and dry, you must sweep new polymeric sand into the joints to stabilize the entire surface. Skipping this step allows pavers to shift and wobble, leading to an uneven deck and trip hazards. The new sand, when lightly misted with water, hardens to form a durable bond that also helps prevent weed growth.
How do I prevent dirty water and cleaning chemicals from getting into my pool?
Always direct your spray pattern away from the pool edge, working from the pool outwards towards the yard or drains. Before starting, you can slightly overfill the pool so that water flows out of the skimmers, creating an outward current that pushes debris away. If using a chemical cleaner, ensure it is specifically rated as safe for pool areas; runoff from general-purpose cleaners can introduce phosphates that fuel algae blooms or metals that stain your pool's surface, forcing you to rebalance a water chemistry with a pH level that has been thrown out of the safe 7.2 to 7.6 range.
Can I use the power washer to remove those stubborn black spots on my pavers?
A power washer alone may not remove embedded organic stains like black algae or lichen, which can root into the porous surface. For these, you will need to pre-treat the area with a paver-safe algaecide or a diluted bleach solution, allowing it to dwell before washing. A common mistake is using a high-pressure, zero-degree (red) nozzle to blast these spots, which is extremely dangerous and almost certain to permanently scar the paver. The right approach is chemical treatment followed by washing with an appropriate fan tip.
What's the most common mistake people make when power washing their own pool deck?
The most damaging mistake is inconsistent technique, creating visible lines and unevenly cleaned patches called 'zebra striping'. This happens from holding the nozzle too close to the surface, moving at an inconsistent speed, or stopping and starting in the middle of a paver. To avoid this, maintain a constant distance of 20 to 30 cm (8 to 12 inches) between the nozzle and the paver. Work in long, sweeping, slightly overlapping motions to ensure a uniform finish across the entire deck.
Do I need to seal my pavers after I'm done power washing them?
Sealing your pavers after cleaning and re-sanding is highly recommended to protect your investment and simplify future maintenance. A quality sealer will protect against stains from spills, inhibit weed and algae growth, and prevent the color from fading due to UV exposure. Critically, you must wait at least 24 to 48 hours after washing for the pavers and the new jointing sand to be bone-dry before applying a sealer. Applying sealer to a damp surface will trap moisture, resulting in a cloudy, white haze that is very difficult to remove.