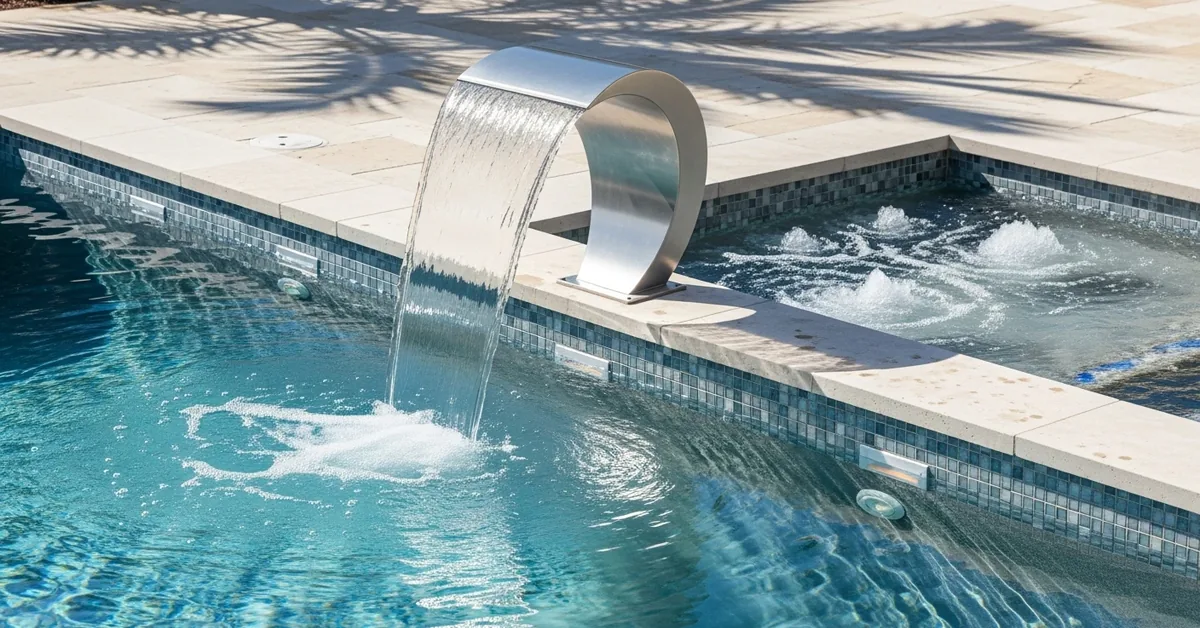
Feature Additions in Osceola County: A Framework for Preventing Moisture Infiltration and Increasing Property Value by 22%
I’ve rebuilt too many feature additions in Kissimmee and St. Cloud that failed within five years. The common denominator wasn't poor craftsmanship but a fundamental misunderstanding of Osceola County’s subtropical climate. Standard blueprints, often sourced from out-of-state architects, simply don't account for our relentless humidity and intense solar gain. This oversight leads to catastrophic moisture intrusion, mold growth, and a complete loss of investment. My entire approach is built on a pre-emptive strategy I developed after a major project near East Lake Toho went wrong. The client's new sunroom, a beautiful addition on paper, became a condensation trap. I realized the issue wasn't the windows or the roof but the unseen thermal bridging and incorrect vapor barrier placement. My methodology corrects these fatal flaws at the planning stage, ensuring the addition integrates seamlessly and performs flawlessly for decades, not just a single season.The Core Diagnostic Flaw: Miscalculating Osceola's True Environmental Load
Most contractors see a feature addition as a matter of foundation, framing, and finishing. My process begins with a hygrothermal analysis. This means I evaluate how heat and moisture will move through the new structure and, more importantly, at the point where it connects to the existing home. I once took over a project in Celebration where the original builder tied a new wall directly into the existing stucco without a proper expansion joint or integrated flashing. Within a year, water wicked its way into the wall assembly, causing thousands in damage. This is a textbook, yet tragically common, error.My Subtropical Integrity Framework: Technical Principles
My proprietary method, the "Subtropical Integrity Framework," is based on three non-negotiable principles that directly counter Osceola's climate challenges. This isn't just theory; it's a system I've refined on single-family homes and townhomes across the county.- Vapor Drive Mapping: In Florida, moisture doesn't just come from rain; it's driven inward by the heat. I map the "vapor drive" to determine the precise placement of the vapor retarding layer. In our climate, placing it on the interior side of the insulation, as is common up north, is a recipe for disaster. It must be on the exterior.
- Material Selection Based on Permeability: I don't just choose materials for looks. I specify them based on their "perm" rating. For example, I insist on a high-perm WRB (Weather-Resistant Barrier) and closed-cell spray foam insulation on the underside of the roof deck. This creates a conditioned attic space, drastically reducing the thermal load on the HVAC system and preventing moisture buildup.
- Fenestration and Solar Gain Control: The intense sun, especially on south- and west-facing walls common in newer developments in Harmony, can be brutal. I specify windows not just by their impact rating but by their Solar Heat Gain Coefficient (SHGC). An SHGC below 0.25 is critical to prevent the addition from becoming a greenhouse, which is a common complaint I hear from homeowners.
Implementing the Addition: A Zero-Compromise Protocol
Translating the framework into reality requires meticulous execution. Every step is a potential failure point, and I personally supervise these critical stages. My checklist is not about speed; it's about creating a perfectly sealed building envelope.- Foundation and Sill Plate Isolation: I begin with a capillary break and sill seal gasket between the concrete slab and the pressure-treated lumber. This simple, often-skipped step prevents ground moisture from wicking up into the wall frame, a major cause of rot and termite attraction in our area.
- Exterior Sheathing and WRB Integration: The Weather-Resistant Barrier is the home's raincoat. I mandate a fully adhered or mechanically fastened system with all seams taped using manufacturer-specific tape. I run a "water test" on a small section before the cladding goes on to ensure every window and door opening is perfectly sealed.
- HVAC Sizing and Dehumidification: A bigger addition doesn't always mean a bigger AC unit. I perform a Manual J load calculation that accounts for the new, high-performance space. Oversizing an AC unit in our humid climate is a critical error; it will cool the air too quickly without removing sufficient moisture, leading to a cold, clammy feeling and potential mold growth.
- Roof Tie-In and Ventilation: The point where the new roof meets the old is the single most likely point of failure. I use a multi-layered approach of ice-and-water shield, step flashing, and counter-flashing. Furthermore, I ensure the new attic space has adequate ridge and soffit ventilation to exhaust super-heated, moist air.
Precision Tuning and Quality Assurance Checkpoints
Before any drywall is installed, I conduct a final verification. This is where my experience makes the difference between a good addition and a perfect one. I've seen projects that look great on the surface but hide fatal flaws that only appear years later.- Blower Door Test: This is my ultimate QA check. I depressurize the addition to measure air leakage in ACH50 (Air Changes per Hour at 50 Pascals). A low score here is physical proof that the building envelope is airtight, which directly translates to energy efficiency and moisture control.
- Infrared Inspection: On a hot Florida day, I use a thermal imaging camera to scan the entire addition from the inside. This instantly reveals any voids in insulation or thermal bridging points that would otherwise be invisible. I found a major insulation gap behind a fireplace on a Poinciana project this way, saving the client from years of high energy bills.
Written by

Tags
small pools for backyards
pool water features
swimming pool waterfalls
rock waterfall for pool
Feature Additions in Osceola FL FAQ
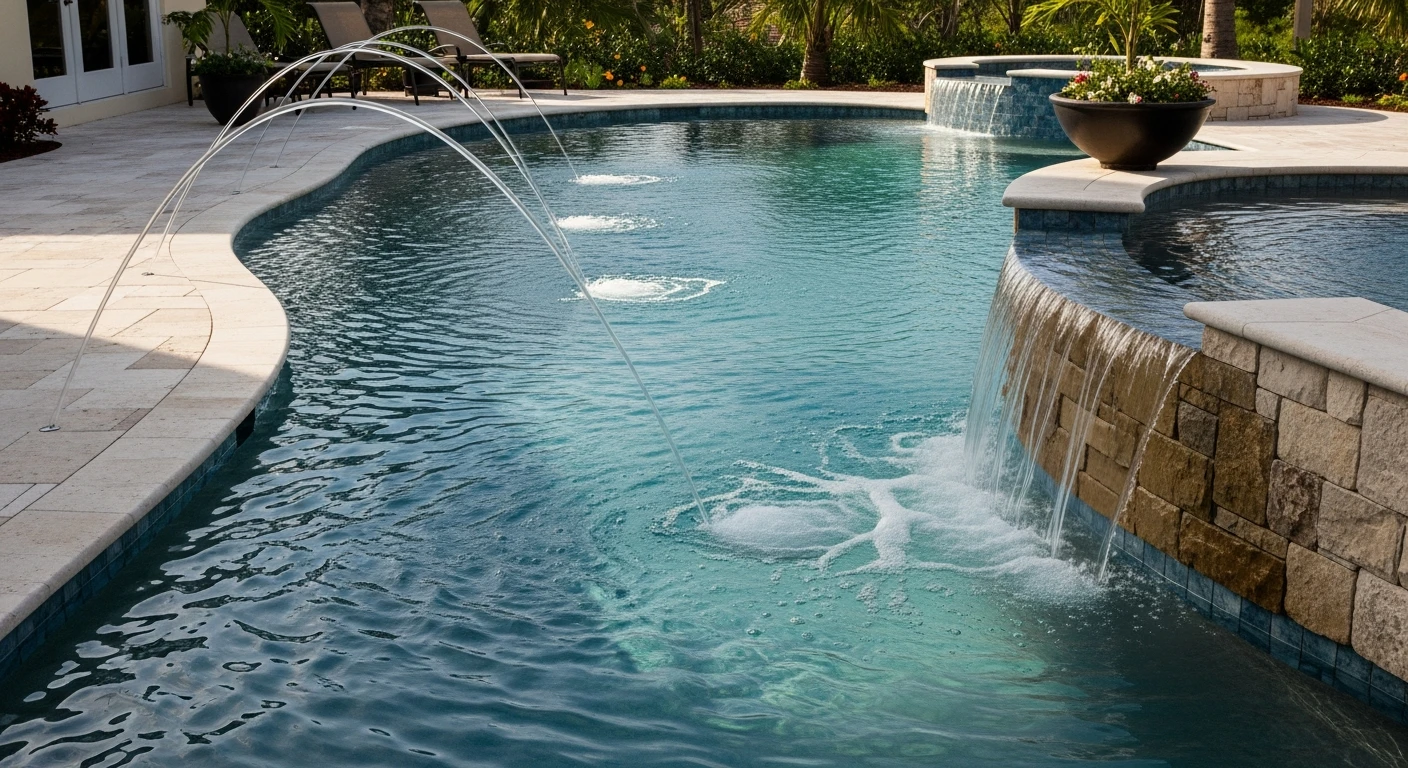
Can a waterfall or slide be added to my existing concrete pool without causing leaks?
Yes, a waterfall or slide can be retrofitted to most concrete pools, but it requires careful structural integration to prevent future leaks. The process involves drilling into the pool's shell to anchor the feature and run plumbing, which must be sealed with high-grade epoxy and hydraulic mortar. A common failure point is improper sealing of these new penetrations, which can create slow leaks that erode the soil behind the pool wall over time. We also assess your existing pump to ensure it has enough horsepower to handle the added water demand without straining the system.
Will converting my pool to a saltwater system damage my existing equipment and stonework?
A saltwater conversion can accelerate corrosion on certain metals and porous stone if not managed correctly, but it is generally safe for most modern equipment. The key is installing a sacrificial zinc anode in the plumbing to protect metal components like heater cores from galvanic corrosion. Softer stones like limestone or certain types of flagstone coping may experience accelerated pitting from salt exposure. We always inspect your specific equipment and materials to confirm compatibility before recommending a salt chlorine generator.
How much disruption is involved in adding an integrated spa to my pool?
Adding an integrated spa is a major construction project involving partial demolition of your existing pool shell and deck. Expect significant noise, dust, and restricted yard access for several weeks. The process requires breaking out a section of the concrete pool wall to form the new spa, running separate plumbing lines, and then re-applying the interior finish. A critical step is ensuring the new spa structure is properly bonded to the old shell with rebar and specialized concrete to prevent a future separation crack at the joint.
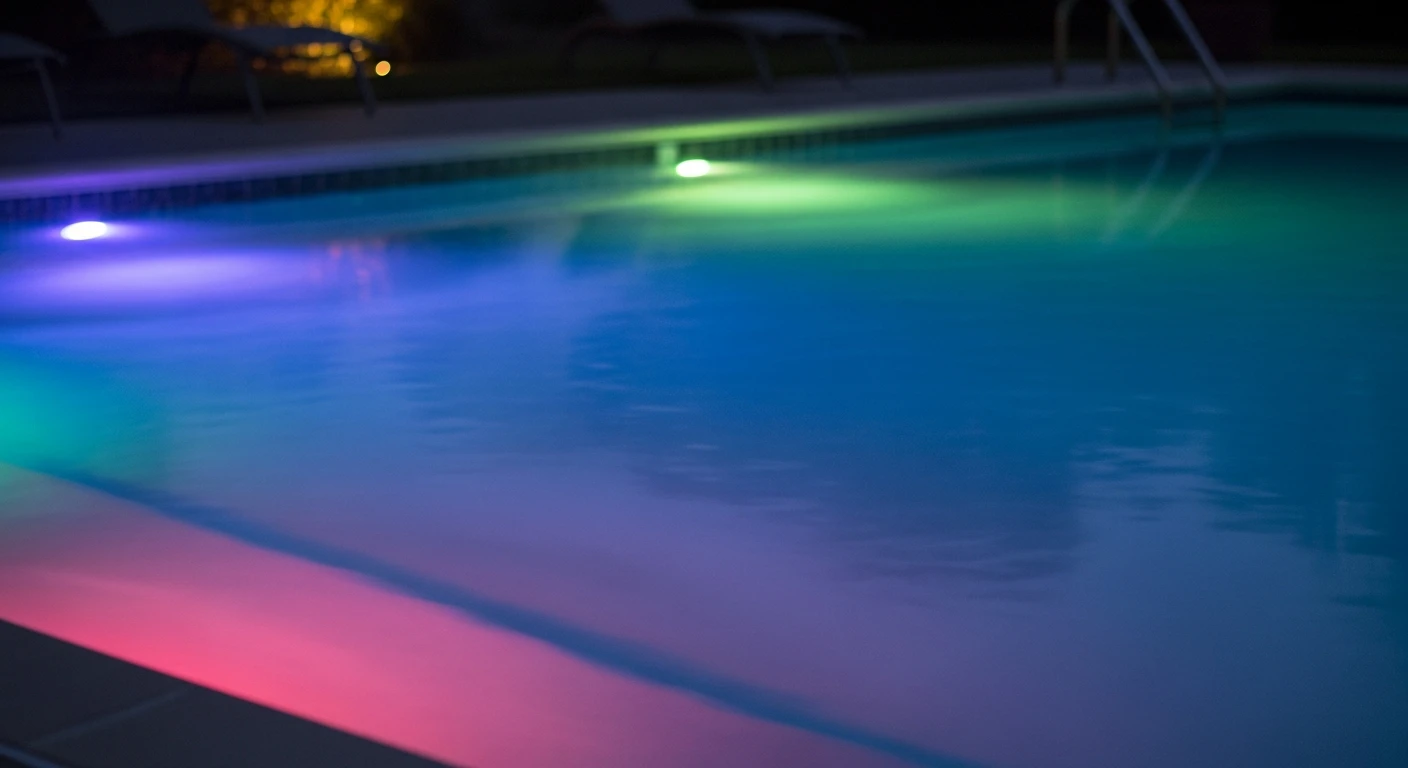
Is it possible to install modern LED lighting in my old pool without major electrical work?
Yes, you can often upgrade to modern, color-changing LED lights using the existing wiring and housing from your old incandescent bulb. Many new LED units are designed as direct, low-voltage replacements that fit into standard light niches. The main challenge is ensuring the old niche housing is watertight before installing the new fixture. A compromised niche conduit can lead to water traveling behind the pool wall, a problem that a simple bulb swap will not fix and often goes unnoticed until significant damage has occurred.
Can I add a tanning ledge or baja shelf to my vinyl liner pool?
Adding a structural tanning ledge to a vinyl liner pool is complex and often impractical because the liner needs a continuous, smooth surface to rest against. Instead, a common solution is to install a pre-fabricated, non-structural fiberglass ledge that sits on the pool floor. This avoids cutting into the pool's primary structure. Attempting to build a permanent ledge inside a vinyl pool often creates awkward corners and stress points that can lead to premature liner tearing and are difficult to clean effectively.
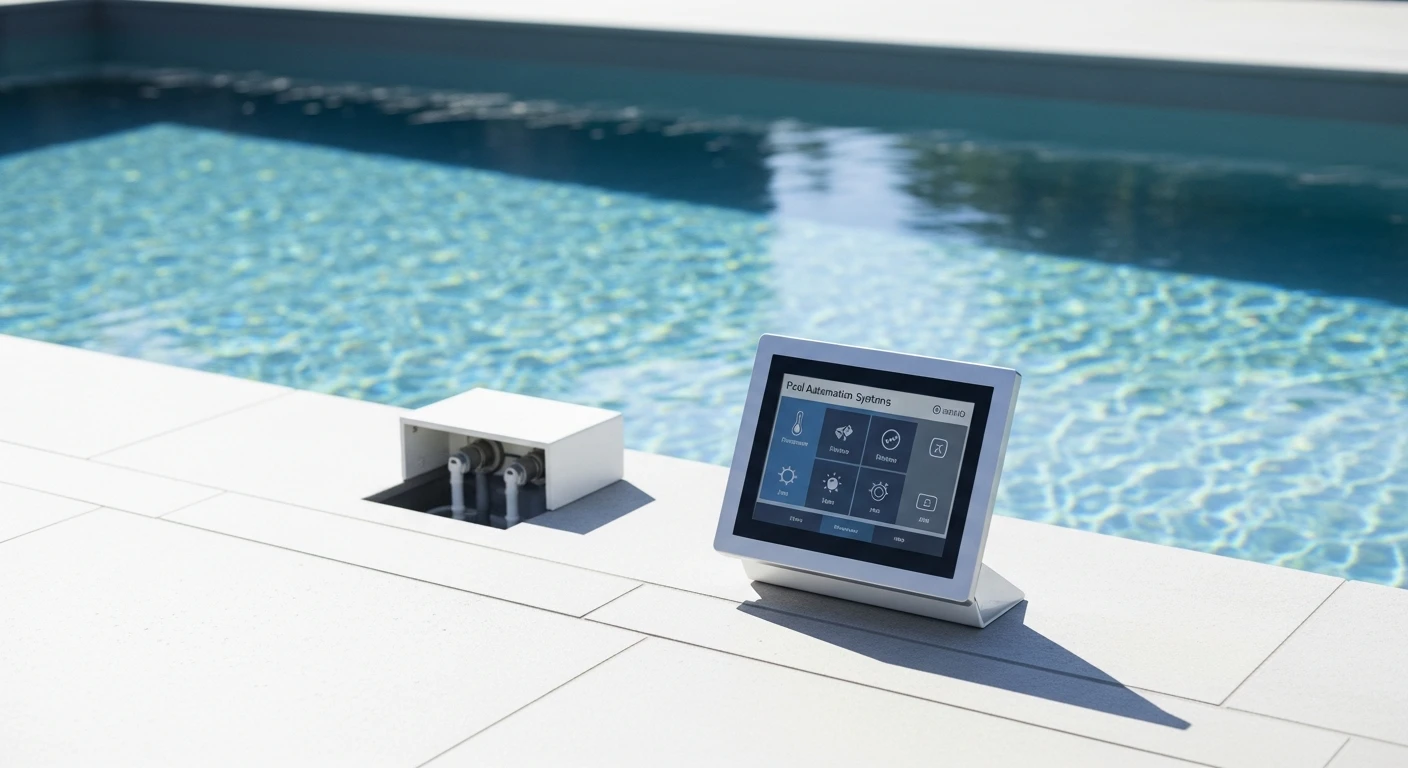
What is involved in automating my pool's functions, and can it be done with my current pump and filter?
Automating your pool involves installing a central controller that communicates with your equipment via low-voltage wiring and actuators. Most existing single-speed pumps, heaters, and lighting can be integrated into a new automation system. The system uses valve actuators to automatically turn valves for different functions, like switching between the pool and spa. A crucial but often overlooked detail is ensuring your Wi-Fi signal is strong enough at the equipment pad for modern app-based control; a weak signal is a common source of user frustration.